Learn with us
Classes · resources · materials
Repair clubs
Repair clubs
Filters
No results found
No results match your search. Try removing a few filters.
Classes FAQs
-
Nothing! All materials will be provided. If you are coming to a repair class, feel free to bring an item to practice on.
-
All of our workshops are held in our HQ in Y Felinheli . Our address is
Snowdonia Gear Repair
Hen Ysgol Aberpwll
Y Felinheli
LL56 4JS
-
All of our classes are beginner friendly unless otherwise stated 😊 Read the class description to learn more about what to expect.
-
We will! Read more about our team here. Or check out the class listing to see who will be teaching your class.
‘‘Really informative and interactive experience! As a learning environment it was spot on- just the right number of people, plenty of equipment to use and a great introduction to the art of outdoor clothing repair.’’
-Nigel, Heat & glue class participant
Repair resources
Everything you need to know for strong and durable repairs at home.
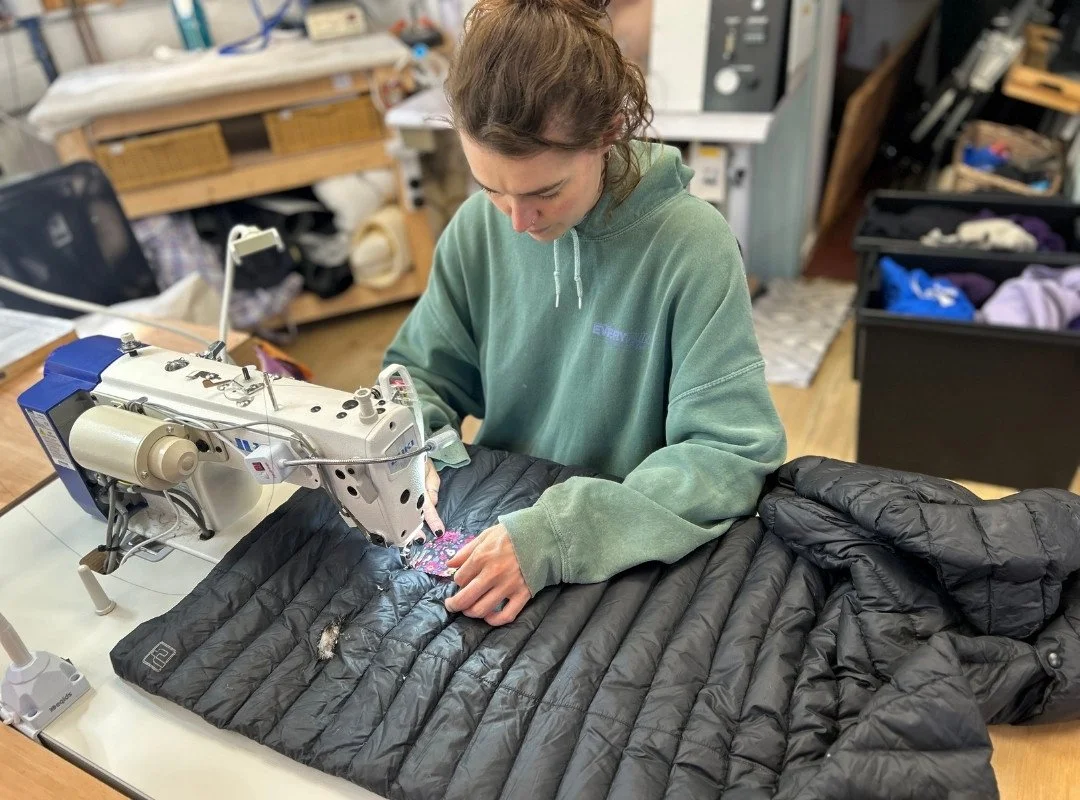
There is an amazing network of repairers around the UK!
We have made this list of people we would recommend for a wide range of repair needs
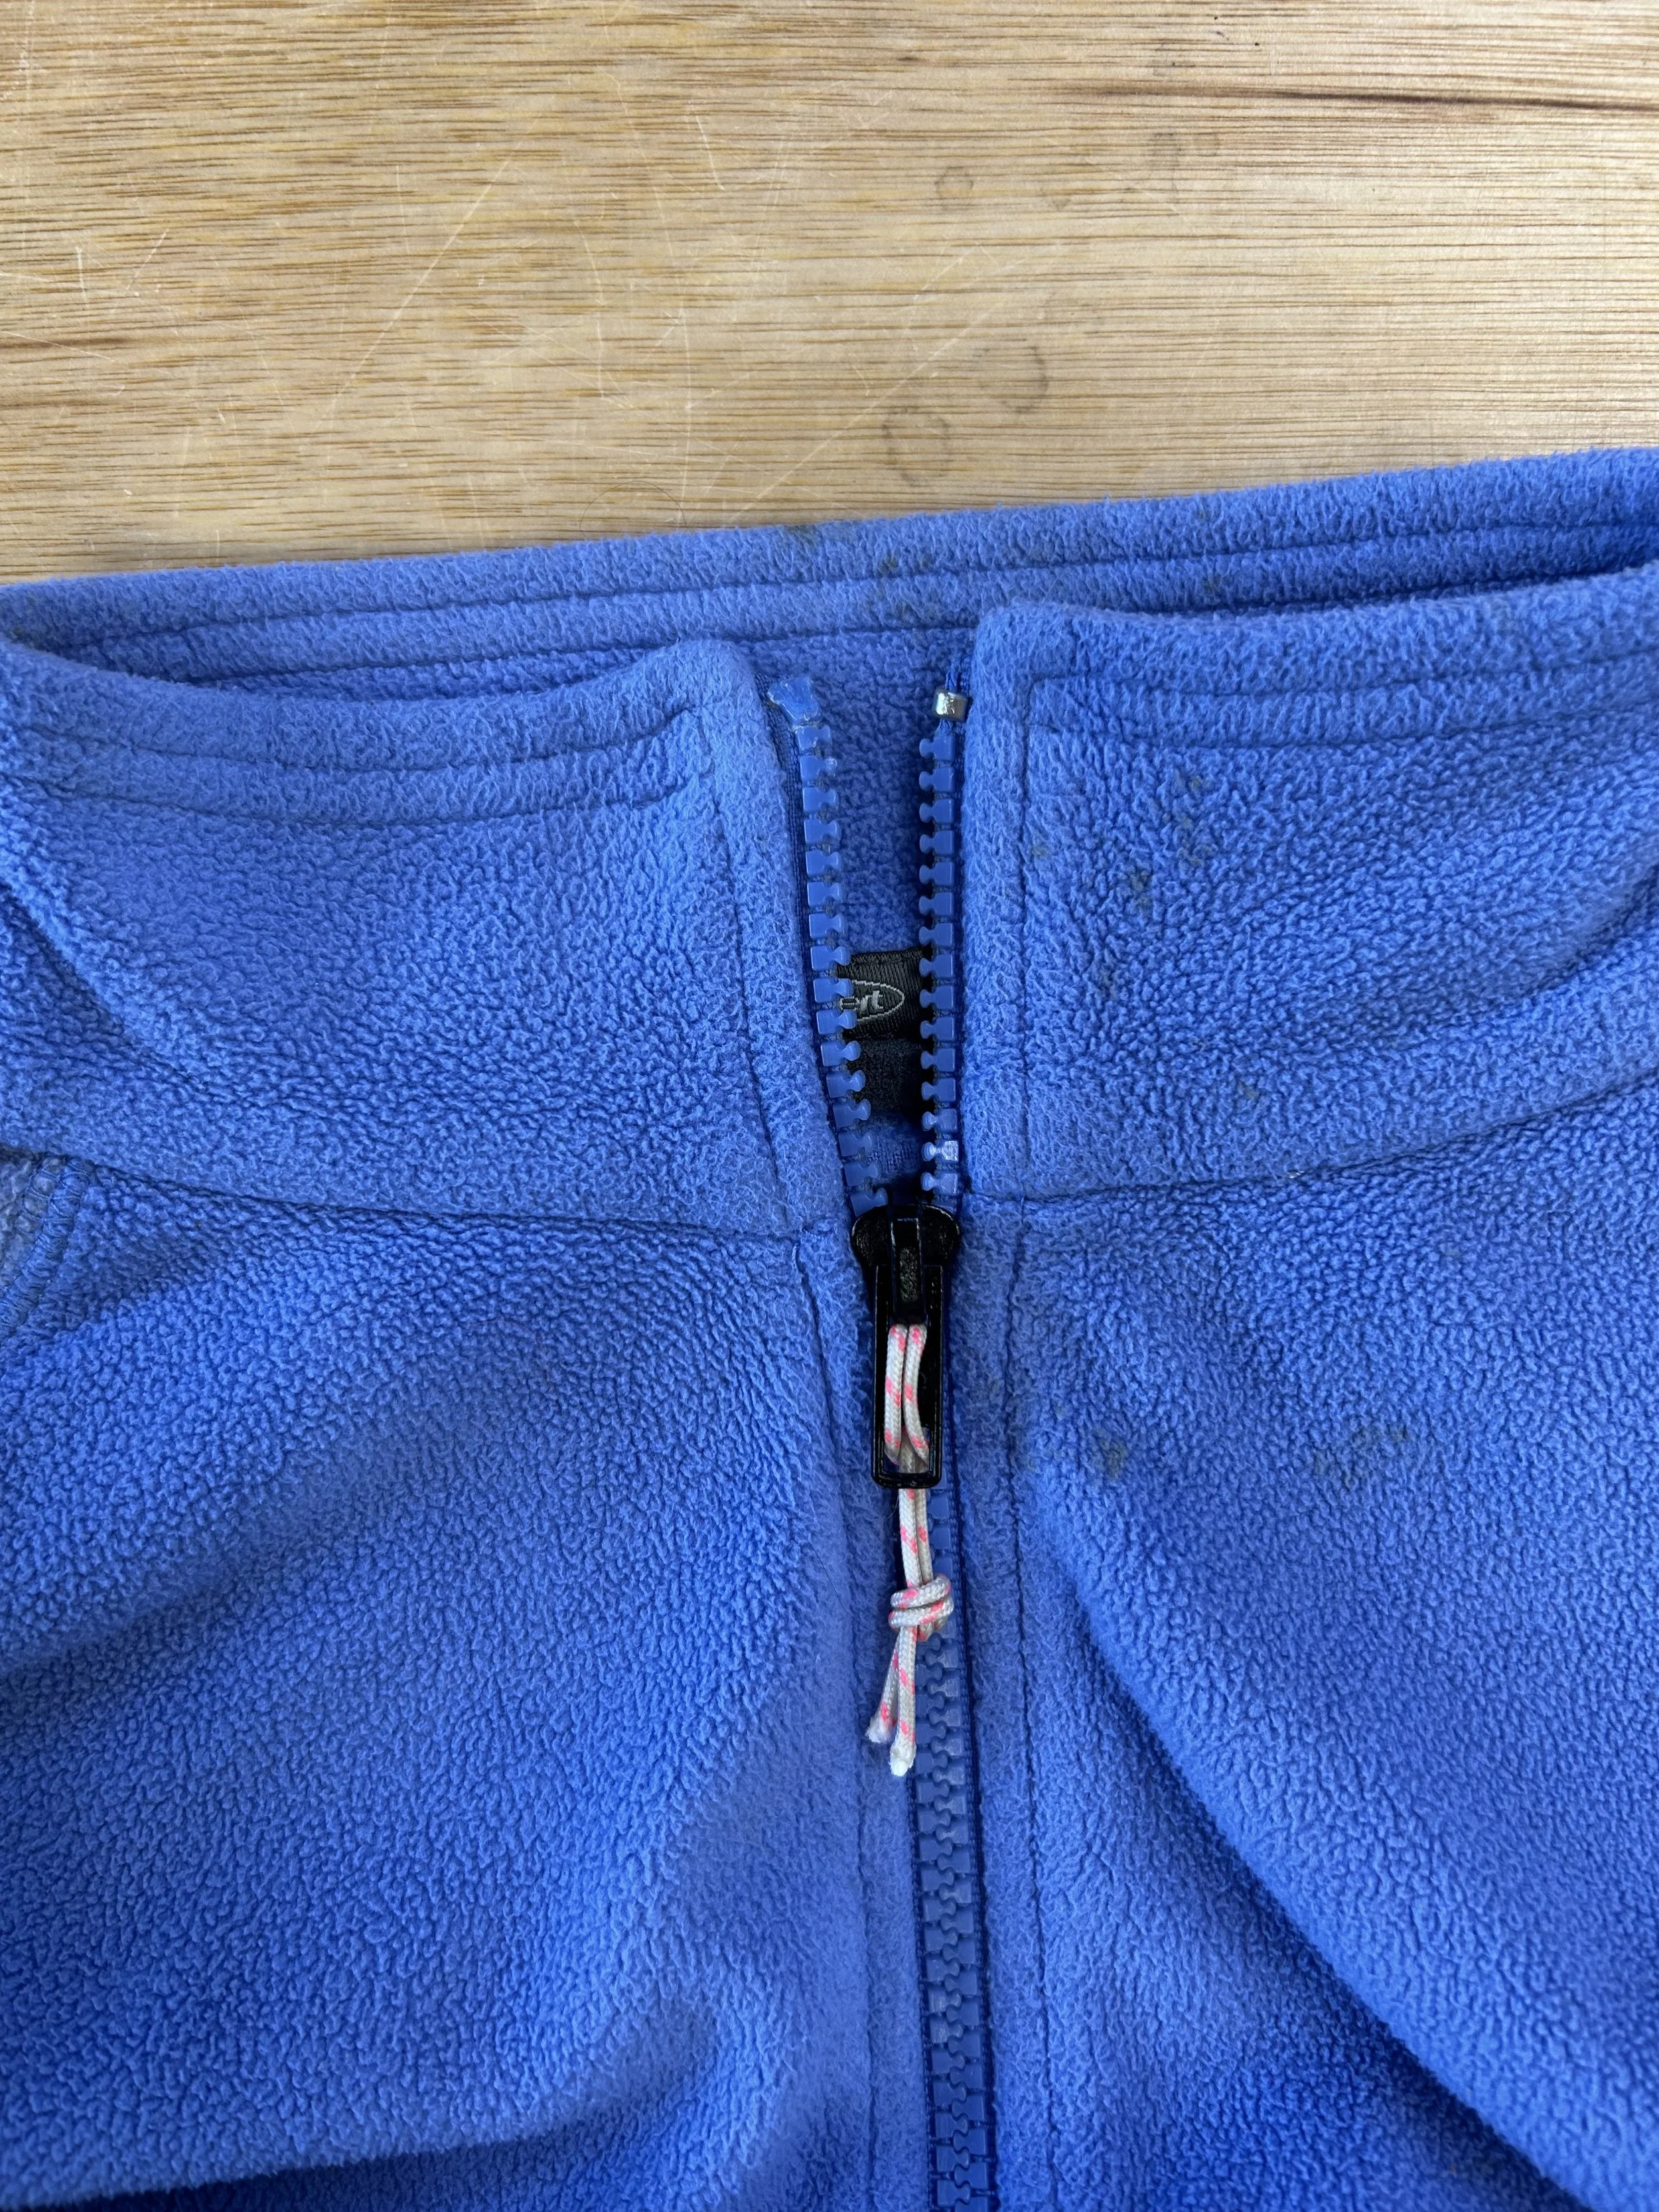
When your zip is playing up, the first thing to do is to work out what has broken. A broken slider or a broken zip can both mean the zip stops functioning.
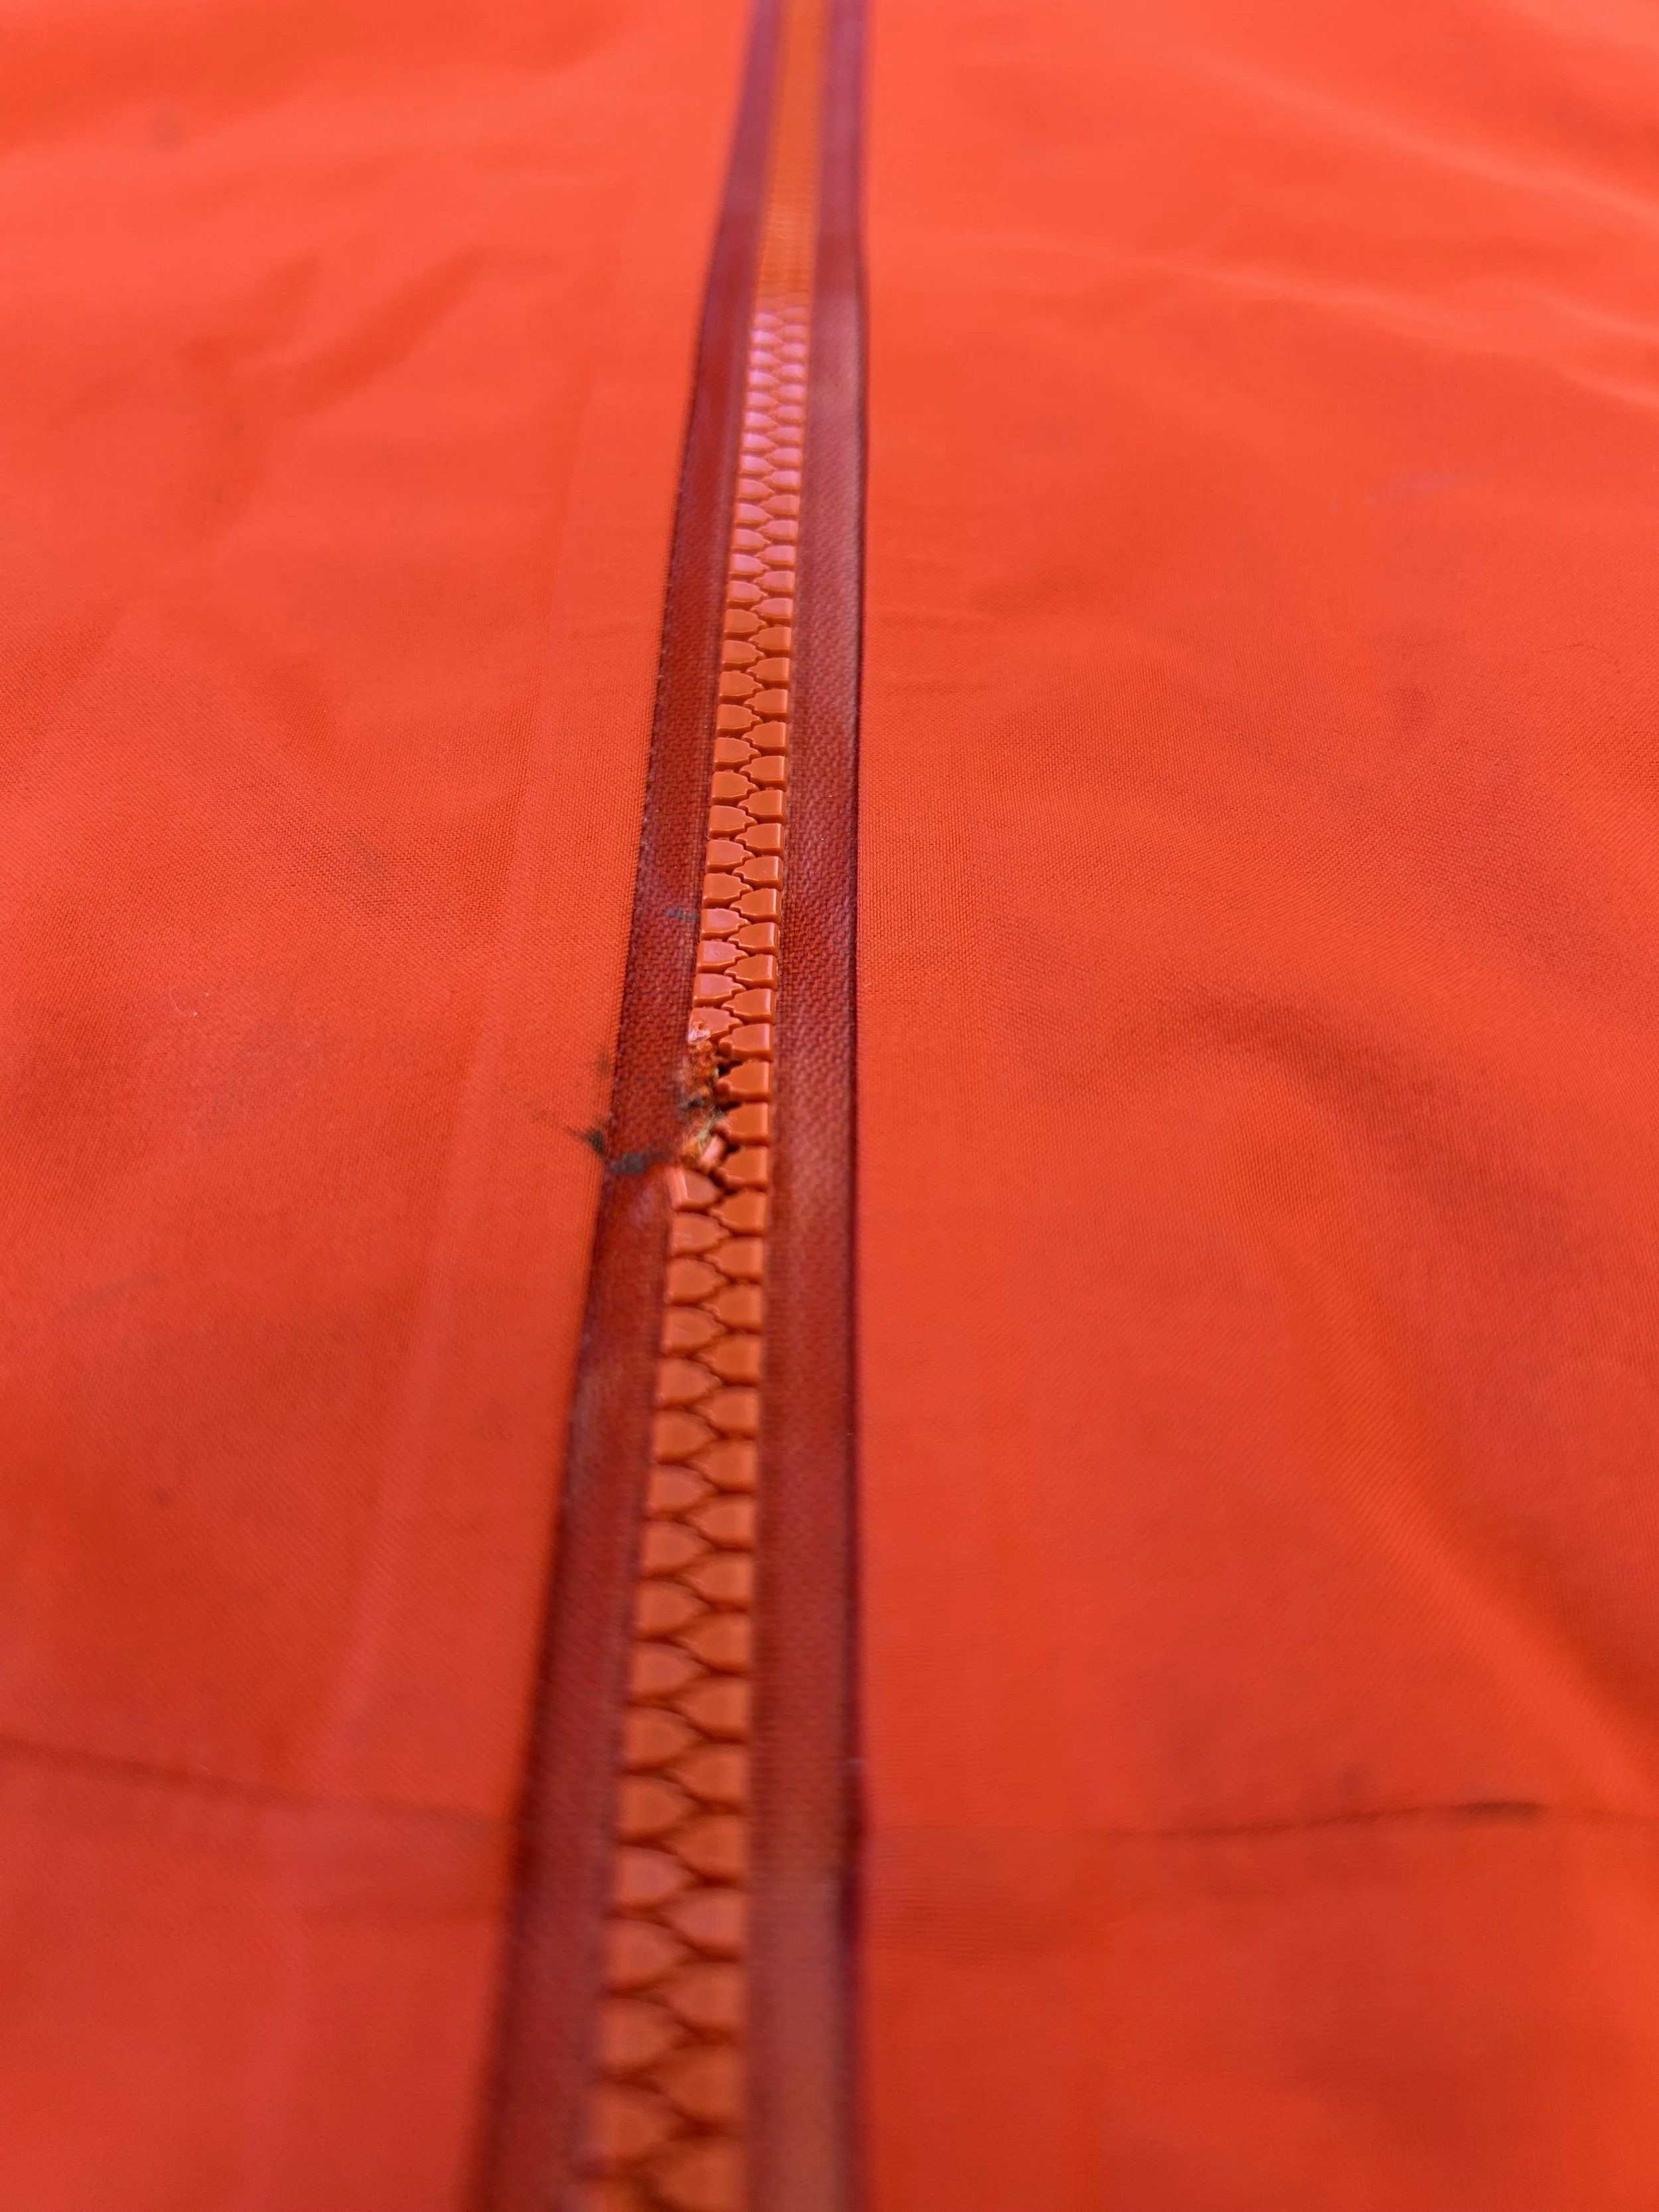
This technique is for when part of a coil zip has come loose from the tape, but the rest of the zip is in good condition. We recommend only using this method if the damage is around 1cm or less in size, if it's larger a full zip replacement might be needed.
A coil zip is essentially a plastic coil wrapped around a central cord, with that cord needing to be secured to the zip tape - this is where the stitching comes in.
The snip & staple method is useful when a slider needs to be replaced on a closed ended zip. It is particularly useful for pockets.
The method creates a small cut across the zip, allowing the slider to be threaded on, then uses a staple to close and secure the opening.
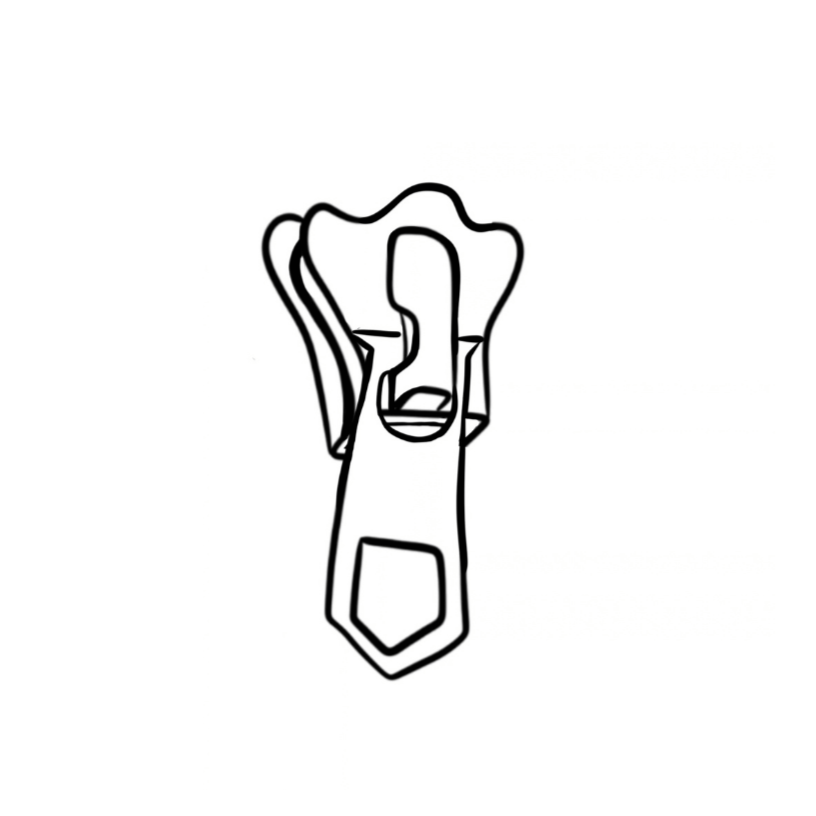
A damaged or worn slider doesn't always mean you need to replace the whole zip. If the teeth or coil, zip tape, bottom box and pin are all in good condition, replacing the slider can be a much simpler repair.
Learning how to shorten a zip is one of the first steps in zip replacements, allowing you to bring your gear back to life!
The slider is the part of the zip that moves along the teeth or coil, bringing the two sides of the zip together.
There are different types and sizes of sliders, so when identifying or replacing a slider, it is important to look at the zip type, size, function and brand.
Don’t see what you’re looking for? Contact us for advice.
Shop repair materials
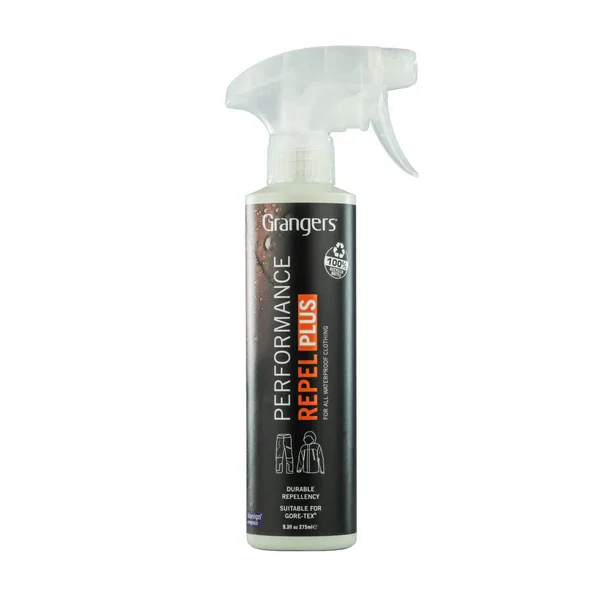
A spray on re-proofing treatment to help keep you dry in that beautiful British rain that we all know so well.
Ideal for:
Waterproof layers
Windproof layers
How to use:
Step 1: Wash your item following its care instructions
Step 2: While the item is still damp, spray on performance repel plus. focusing closely on high abrasion areas (e.g. elbows & shoulders).
Step 3: Wipe off any excess product with a clean cloth
Step 4: Leave to naturally dry or follow your care label’s drying instructions.
Specifications & More Detail:
100% Recycled bottle.
blue sign approved.
PFC-free.
Quick fix for small tears and rips - Tenacious Tape is a strong, flexible and weatherproof tape.
*This tape does not come with packaging or written instructions. We buy it straight from GearAid to try and minimise our packaging, it also means we are able to sell it cheaper than Tenacious Tape rolls.
Ideal for repairing:
Insulated Jackets
Down Jackets
Softshells
Also sticks to waterproofs, but for that we recommend tuff tape
How to use:
Cut a patch to size (backer is gridded to aid neat cutting), and round the edges. Peel off the backer and stick it down.
If you can, we would recommend using a small amount of heat to set the glue even better, either with a hair dryer or iron.
For this - start the iron on a very low temperature and work your way up so as not to burn your jacket. You want to see the melted adhesive just peeking out from the edge of the tape. Be careful not to iron over plastic toggles or metal eyelets - they can melt your jacket.
Specifications & More Detail:
Material: Nylon
Adheres To: Nylon, polyester, vinyl, rubber, and GORE-TEX fabric
Application Temperature: Room temperature
It's backed by an ultra-aggressive adhesive that won't peel off on technical fabrics, machine washable after 24 hours. Machine washing can affect the adhesive. If machine washing, wash cold
Ultra waterproof tape to fix up your favorite gear ready for the rainy weather.
Ideal for repairing:
Waterproofs
How to use:
Cut tape to the size you need for the repair - we recommend leaving at least 10mm around the rip/tear/hole to give more surface for the adhesive to bond to.
Round the edges, this gives the patch more longevity in our experience.
Peel the backing and stick over the repair.
Use the palm of your hand to smooth & press down patch as well as to heat up the adhesive a little.
See our repair tape guide here for more details :)
Specifications & More Details:
1 × 2m TUFF Tape strip (7.5cm wide)
Tuff Tape is made of a thin, but very tough, polyurethane film with a pressure sensitive adhesive
It is waterproof and air tight.
For a more lightweight & flexible patch we recommend Tenacious Tape
Ultra waterproof tape to fix up your favorite gear ready for the rainy weather.
Ideal for repairing:
Waterproofs
How to use:
Cut tape to the size you need for the repair - we recommend leaving at least 10mm around the rip/tear/hole to give more surface for the adhesive to bond to.
Round the edges, this gives the patch more longevity in our experience.
Peel the backing and stick over the repair.
Use the palm of your hand to smooth & press down patch as well as to heat up the adhesive a little.
See our repair tape guide here for more details :)
Specifications & More Details:
1 × 0.5m TUFF Tape strip (7.5cm wide)
Tuff Tape is made of a thin, but very tough, polyurethane film with a pressure sensitive adhesive
It is waterproof and air tight.
For a more lightweight & flexible patch we recommend Tenacious Tape
Ultra waterproof patches to fix those pesky small and medium tears, ideal for when you’re out adventuring.
Ideal for repairing:
Waterproofs
How to use:
Peel the backing and stick over the repair.
Use the palm of your hand to smooth & press down patch as well as to heat up the adhesive a little.
Specifications & More Details:
5 × 75mm diameter patches
Tuff Tape is made of a thin, but very tough, polyurethane film with a pressure sensitive adhesive
It is waterproof and air tight.
For a more lightweight & flexible patch we recommend Tenacious Tape
This durable spray-on waterproofing treatment ensures you’re ready for every adventure!
Ideal for:
Waterproof
Windproof
Soft Shell
How to use:
Step 1: Spray directly onto a freshly-cleaned, damp garment, focusing more on areas prone to abrasion.
Step 2: Remove any excess product with a clean cloth.
Step 3: Allow to dry naturally or follow your care label’s drying instructions.
Specifications & More Detail:
100% Recycled bottle.
bluesign approved.
PFC-free.
Effective without heat activation.
Neutral smell.
Protect your gear against the elements by restoring the water-repellent finish found in all technical gear.
It’s simple to use and harmless to the environment and your lungs.
Zipper cleaner and lubricant that frees your zips of sand & salt and keeps them running smoooothly.
Ideal for repairing:
Tents
Drysuits
Wetsuits
Gear bags
Backpacks
Jackets
Salopettes
How to use: Use the brush top to remove grit and grime from your zipper, before squeezing the cleaner right to the zip teeth, leaving behind a protective and lubricating film to prevent future corrosion.
Specifications & More Detail:
For Use On: coil, plastic, nylon and metal zippers
Size: 2 fl oz
Silicone & paraffin free
A high-performance wax that prevents zippers getting stuck and protects them from wear, corrosion, and debris.
Ideal for repairing:
Jackets
Bags
Wetsuits
Drysuits
& more
How to use:
Use an old toothbrush to clean away any grit & dirt out of your zip
Run zip wax along the teeth while the zip is unzipped
Zip it up and down a few times to work the wax through the slider and around the zipper
Buff any excess was with the toothbrush
For more detailed instructions with pictures check out our guide
Specifications & More Detail:
For us on: metal and plastic zips
Paraffin-based
Regular use helps prevent damage from dirt, salt and sand
Size: 20g
A fast curing, clear, flexible seal to fix leaks that will keep moisture out all year long.
Ideal for repairing:
PU coated tents
Tarps
Pop-ups
How to use:
Ensure the area is clean and dry.
Place the item as flat as possible, and apply a thin film to the inside seams by squeezing sealant through brush head.
For large items, work section by section allowing each area to dry fully before moving to the next.
Allow 2 hours to fully cure, leaving item level.
See our liquid seam seal guide here for more details :)
Specifications & More Detail:
Material: water-based urethane
Size: 60 mL
Colour: clear
Adheres To: nylon, canvas, polyester, vinyl
Coverage: 720” x 0.25” (60 ft of seams)
Cure time: 2 hours
Storage: store in cool, dry place
Do not use on silicone based, including sil-nylon, products, for these click here
Quick dry water-based urethane coating. Flexible, long-lasting film with a non-gloss finish. Applied with brush or sponge.
A compact kit including both tape and liquid glue sealed in a small container. Ideal for repairing small tears to more critical kit. Perfect as part of an emergency on the hill repair kit
Ideal for repairing:
Inflatable items
Backpacks
Footwear
PU coated Tents
How to use:
Ensure the area is clean and dry. Place the item as flat as possible, and apply the patch by peeling off the backing and smoothing over the area with the ball of your hand.
Once the patch is secure, use the liquid sealant to create a waterproof sealing by running around the edge of the patch. Allow to dry. Check again to ensure the patch is fully stuck down, apply more liquid as necessary
Specifications & More Detail:
The repair kit includes 1 clear PVC repair patch, 1 black nylon patch, 1 tube of urethane rubber seam sealer, a brush, and gloves.
Not suitable for silicone based tent fabrics such as sil-nylon. For use on silicone, see here
Material: Thermoset urethane, PVC & Nylon
Colour: Clear & black
Adheres To: Nylon, canvas, vinyl, polyester
Cure time: 8-12 Hrs
Washable: Yes
Camping-themed shapes make for a fashion-forward repair.
Ideal for repairing:
Waterproofs
Insulated jackets
Sleeping bags
How to use: Simply remove backing and apply to the surface with pressure, and there you have it, a funky new addition to your gear!
Specifications & More Detail:
Material: Nylon
Application Temperature: Room temperature
Like all Tenacious Tape, it has an ultra-strong adhesive that stays put no matter the weather. Put it through the wash or run them through the dishwasher, it stays stuck.
Adheres to materials including nylon, vinyl, and polyester.
20 patches various shapes & sizes
*Only suitable for small tears, for larger repair needs see Tenacious Tape Rolls
Wildlife-themed shapes make for a fashion-forward repair.
Ideal for repairing:
Waterproofs
Insulated jackets
Sleeping bags
How to use: Simply remove backing and apply to the surface with pressure, and there you have it, a funky new addition to your gear!
Specifications & More Detail:
Material: Nylon
Application Temperature: Room temperature
Like all Tenacious Tape, it has an ultra-strong adhesive that stays put no matter the weather. Put it through the wash or run them through the dishwasher, it stays stuck.
Adheres to materials including nylon, vinyl, and polyester.
20 patches various shapes & sizes
*Only suitable for small tears, for larger repair needs see Tenacious Tape Rolls
Seam Seal is applied to the inside of a stitched seam in waterproof items including waterproof jackets & tents. Seam tape is heat activated with adhesive on one side and a waterproof membrane on the other creating a sealed seam.
*This tape does not come with packaging or written instructions.
Ideal for repairing:
The inside of waterproofs
How to use:
Lay your item inside out and flat so you can see the line of stitching you want to seal.
Cut the tape to the length you need and round the corners.
Place the tape along the stitching you want to seam seal with the lighter slightly shiner side down.
Put a non-textured tea towel or baking paper over the tape.
Set your iron to the lowest heat setting.
Press the iron onto the tape for 2–3 seconds, then lift it and check the area.
Continue heating the tape for 3 seconds checking each time for a slightly shiny edge around the tape. This means the glue has melted and the tape is stuck down properly.
If the glue isn’t melting, gradually increase the temperature of the iron until it does.
Continue along the tape in short sections with the same methods.
See our full guide on how to apply seam tape here :)