How to sew Coil Zip Teeth
What is this technique for?
This technique is for when part of a coil zip has come loose from the tape, but the rest of the zip is in good condition. We recommend only using this method if the damage is around 1cm or less in size, if it's larger a full zip replacement might be needed.
A coil zip is essentially a plastic coil wrapped around a central cord, with that cord needing to be secured to the zip tape - this is where the stitching comes in.
Needle & thread
Use a sharp needle, and some thread (for thin zips use a single layer of thread, for larger zips you can double up your thread to make it stronger).
Here are the ones we would recommend:
Gutermann Tera 80 thread
Prym Household Sewing Needles
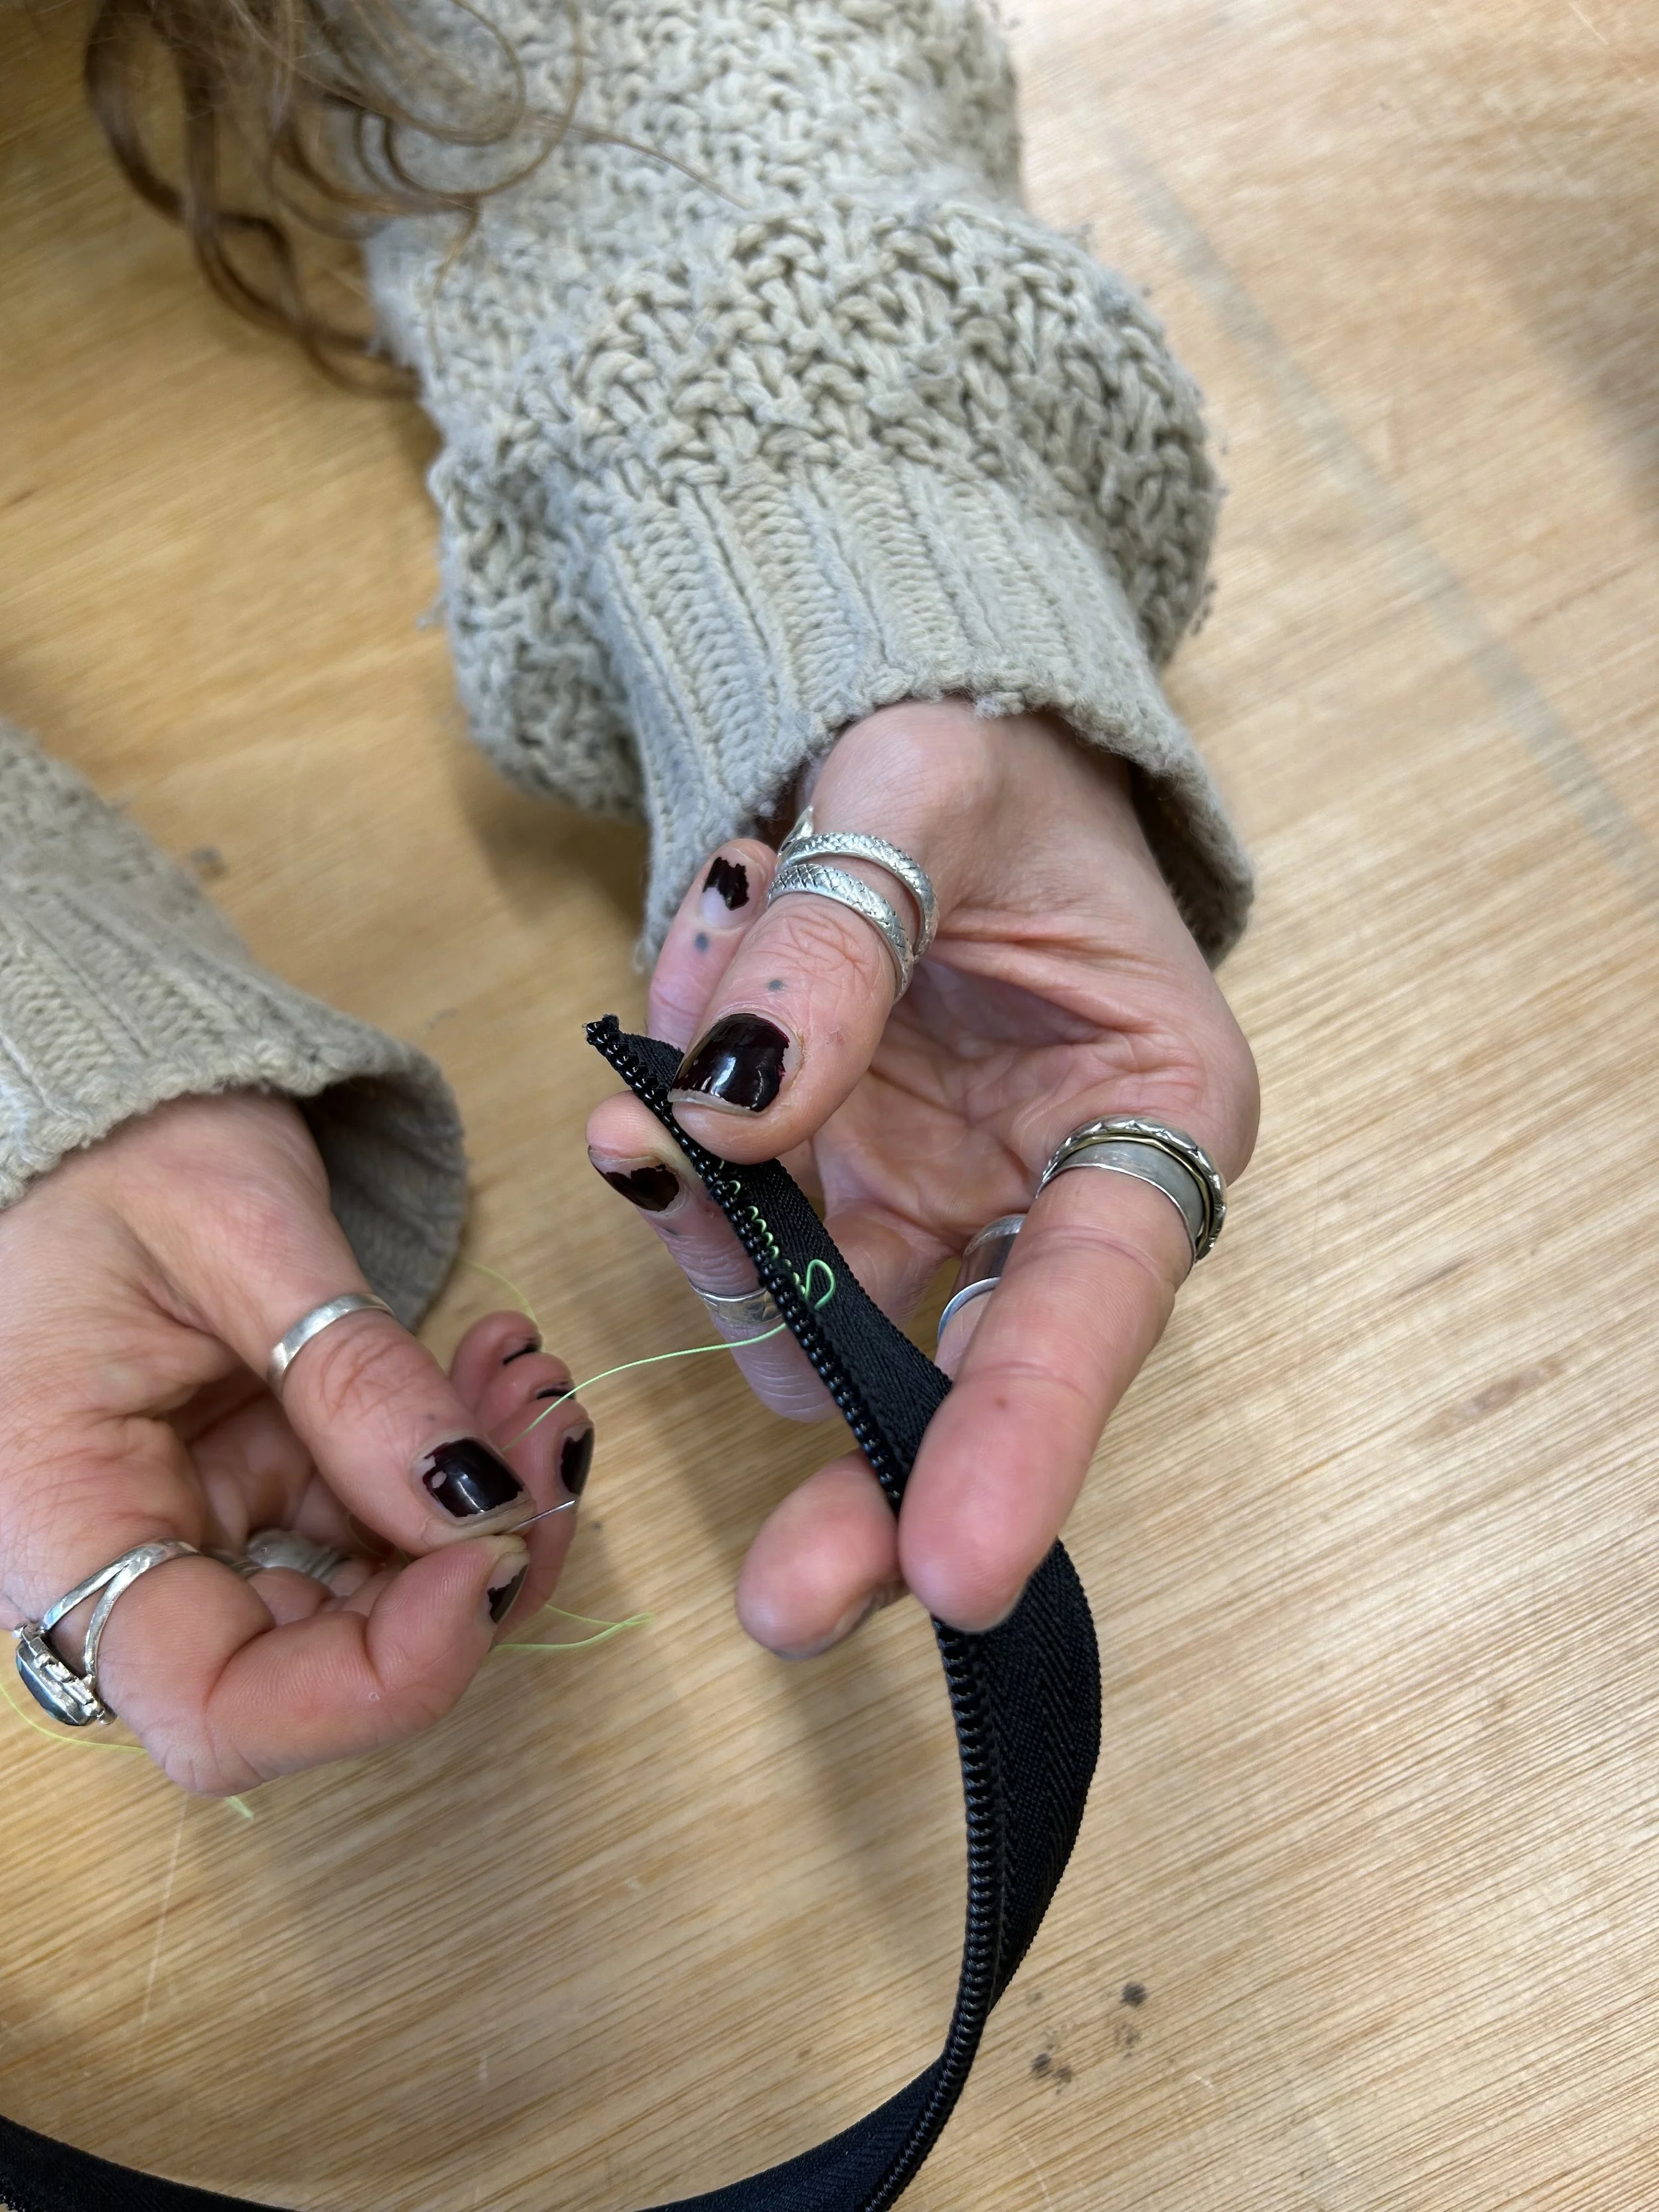
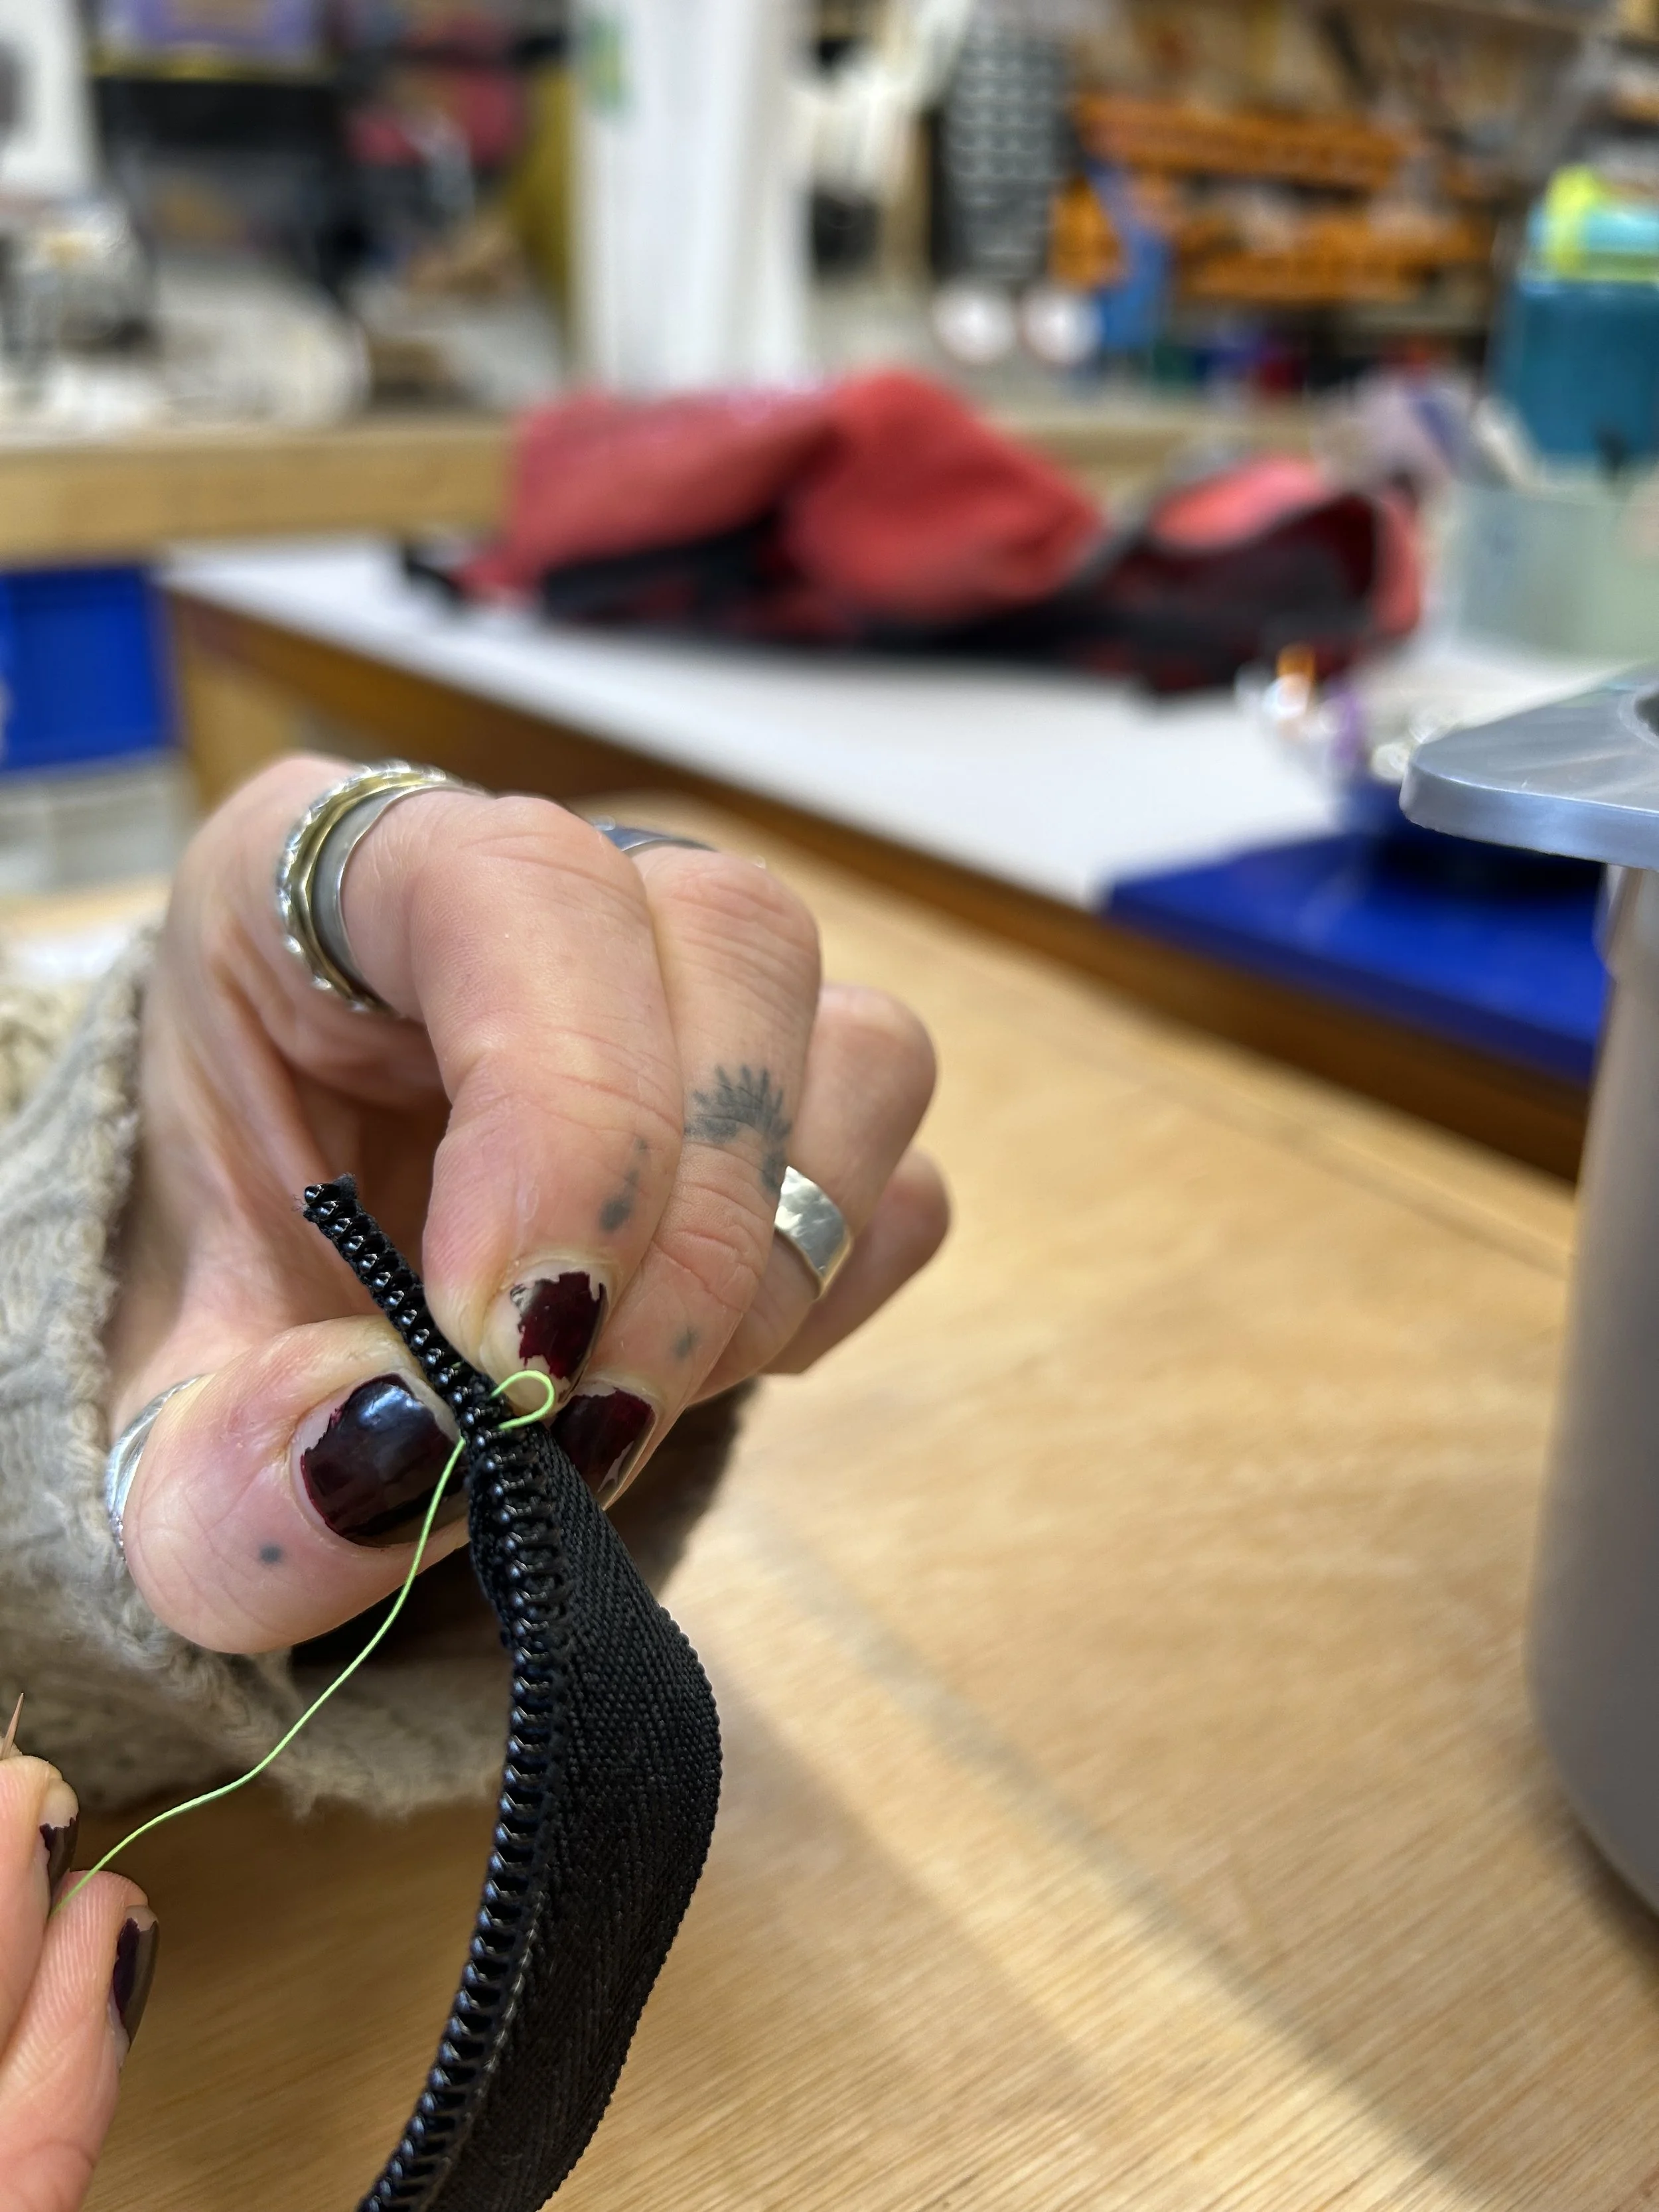
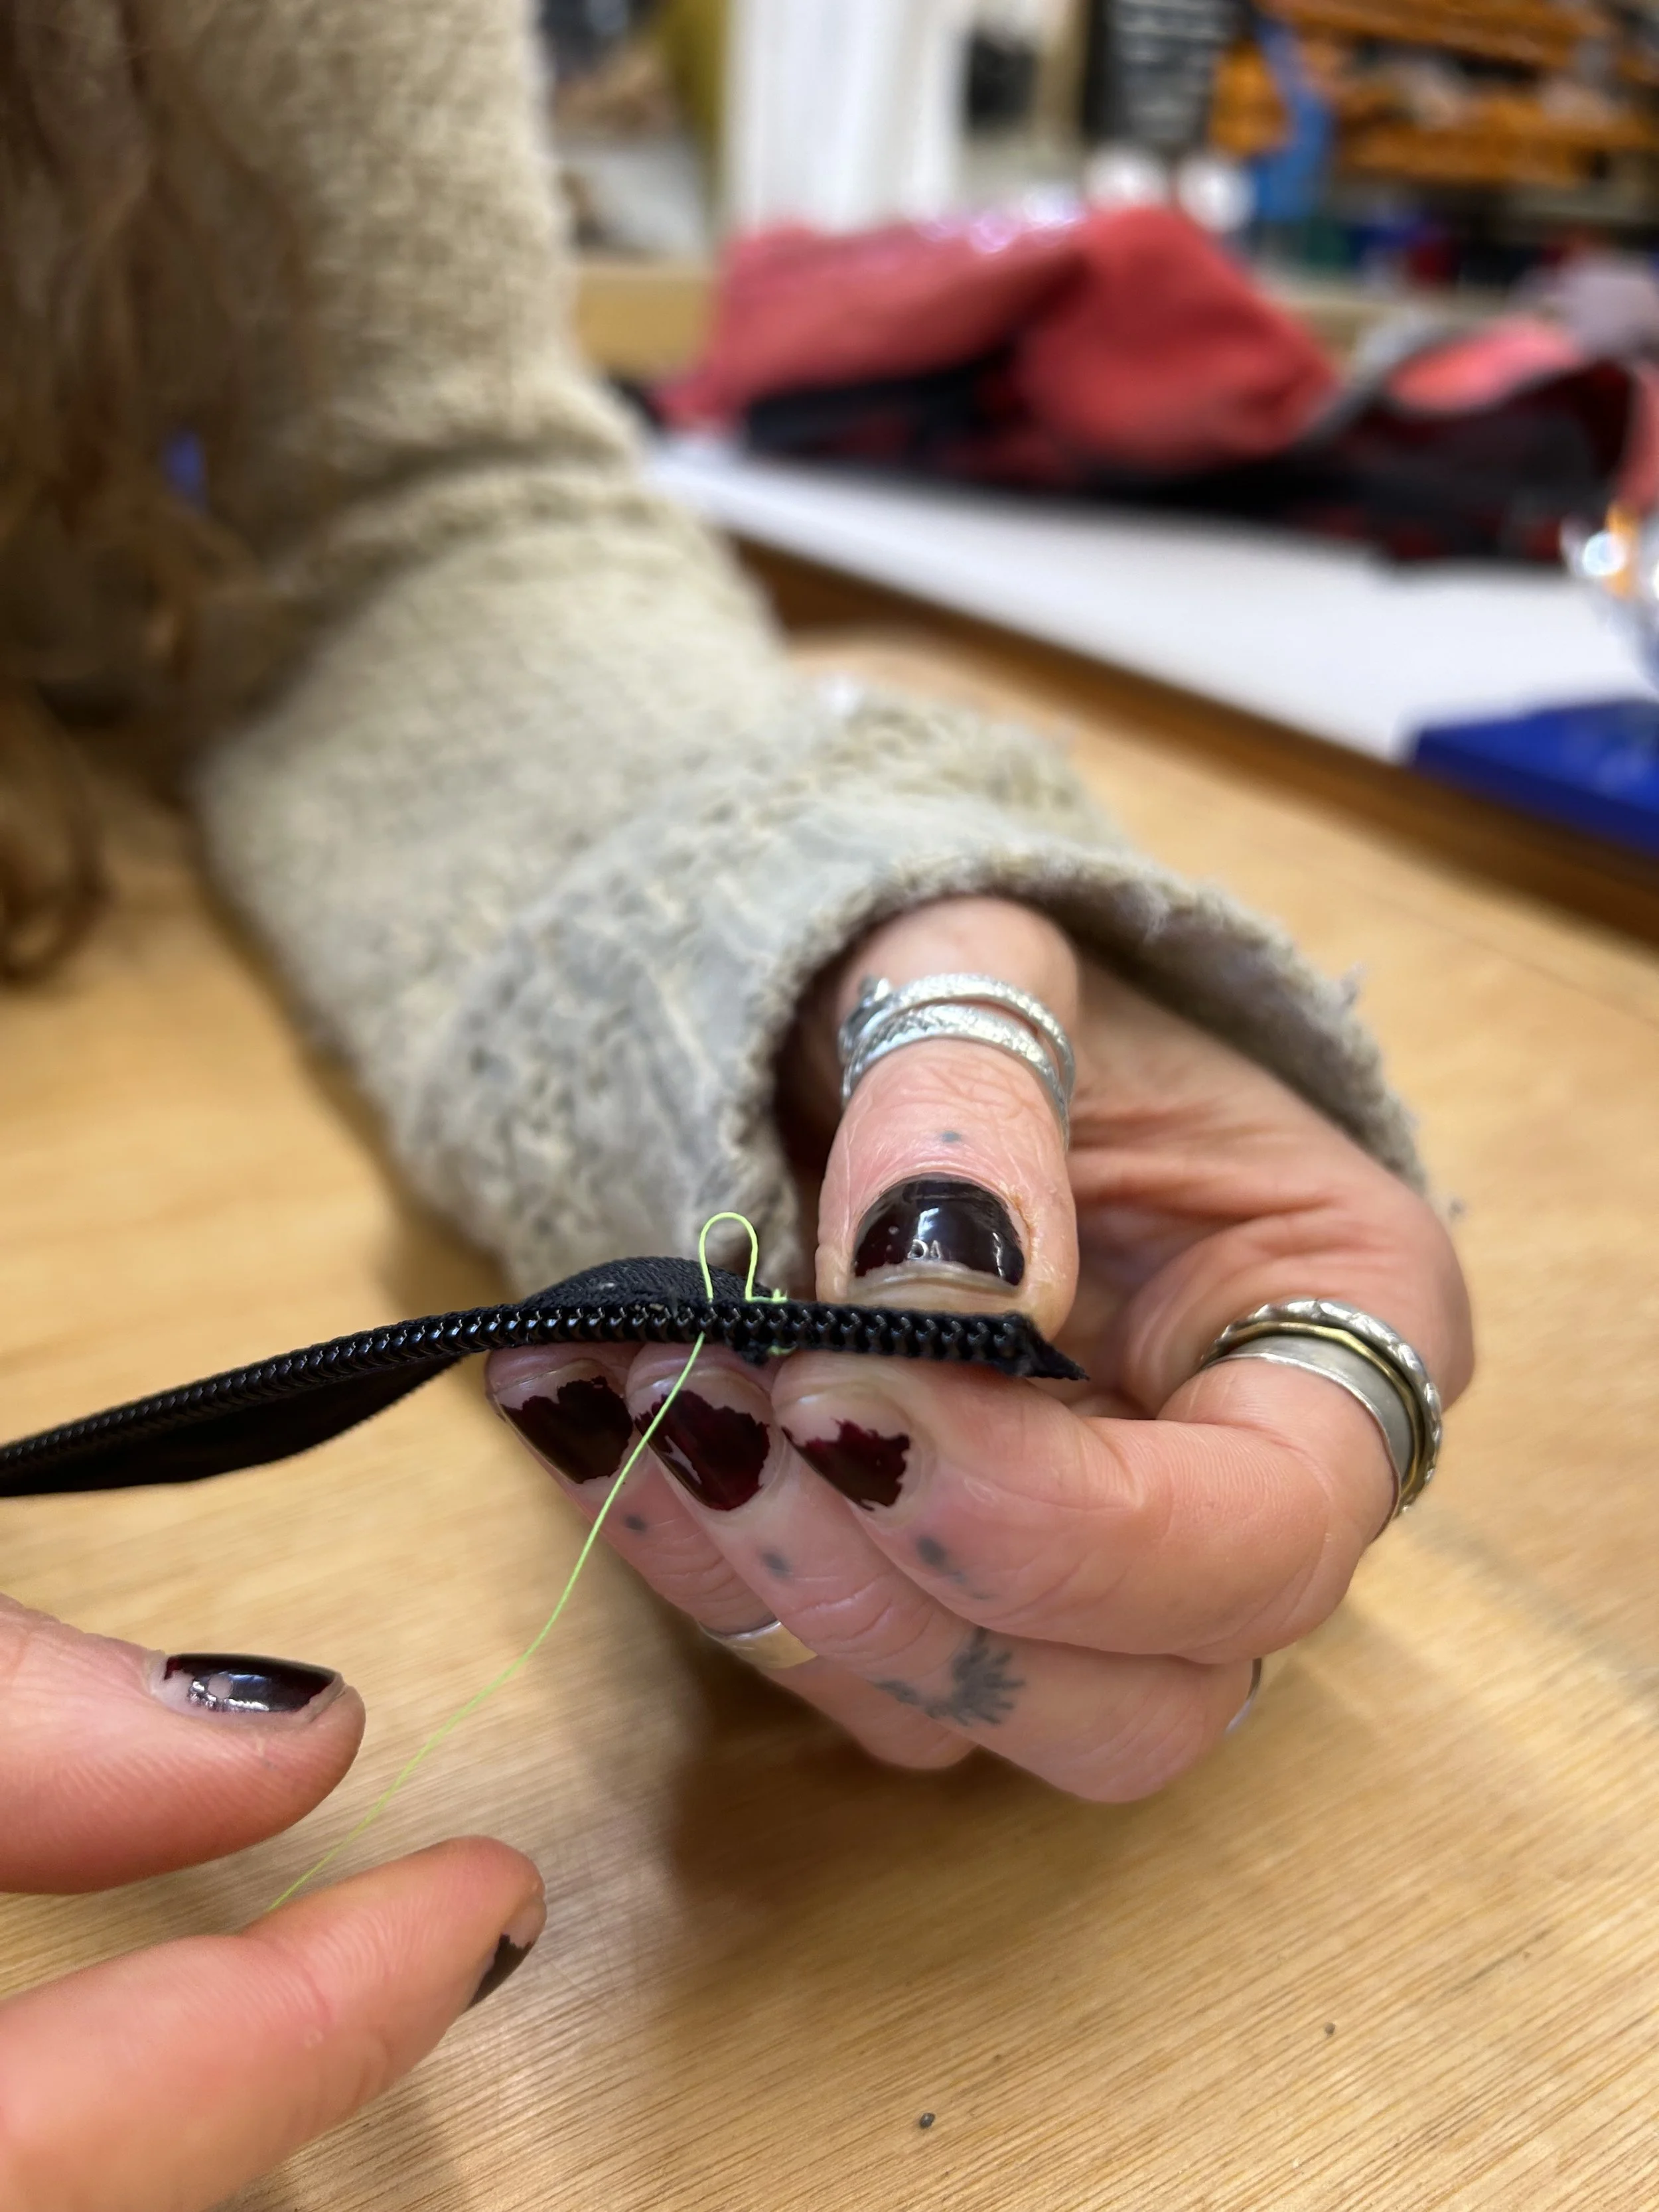
Creating the first stitch
Start approximately 4-5 teeth back from the damage.
Pass the needle through the zip tape.
Then pass back through but leave a small loop rather than pulling the thread completely through.
Bring the needle back through the original hole and through the loop.
Pull it tight to secure the starting point
Stitching the coil
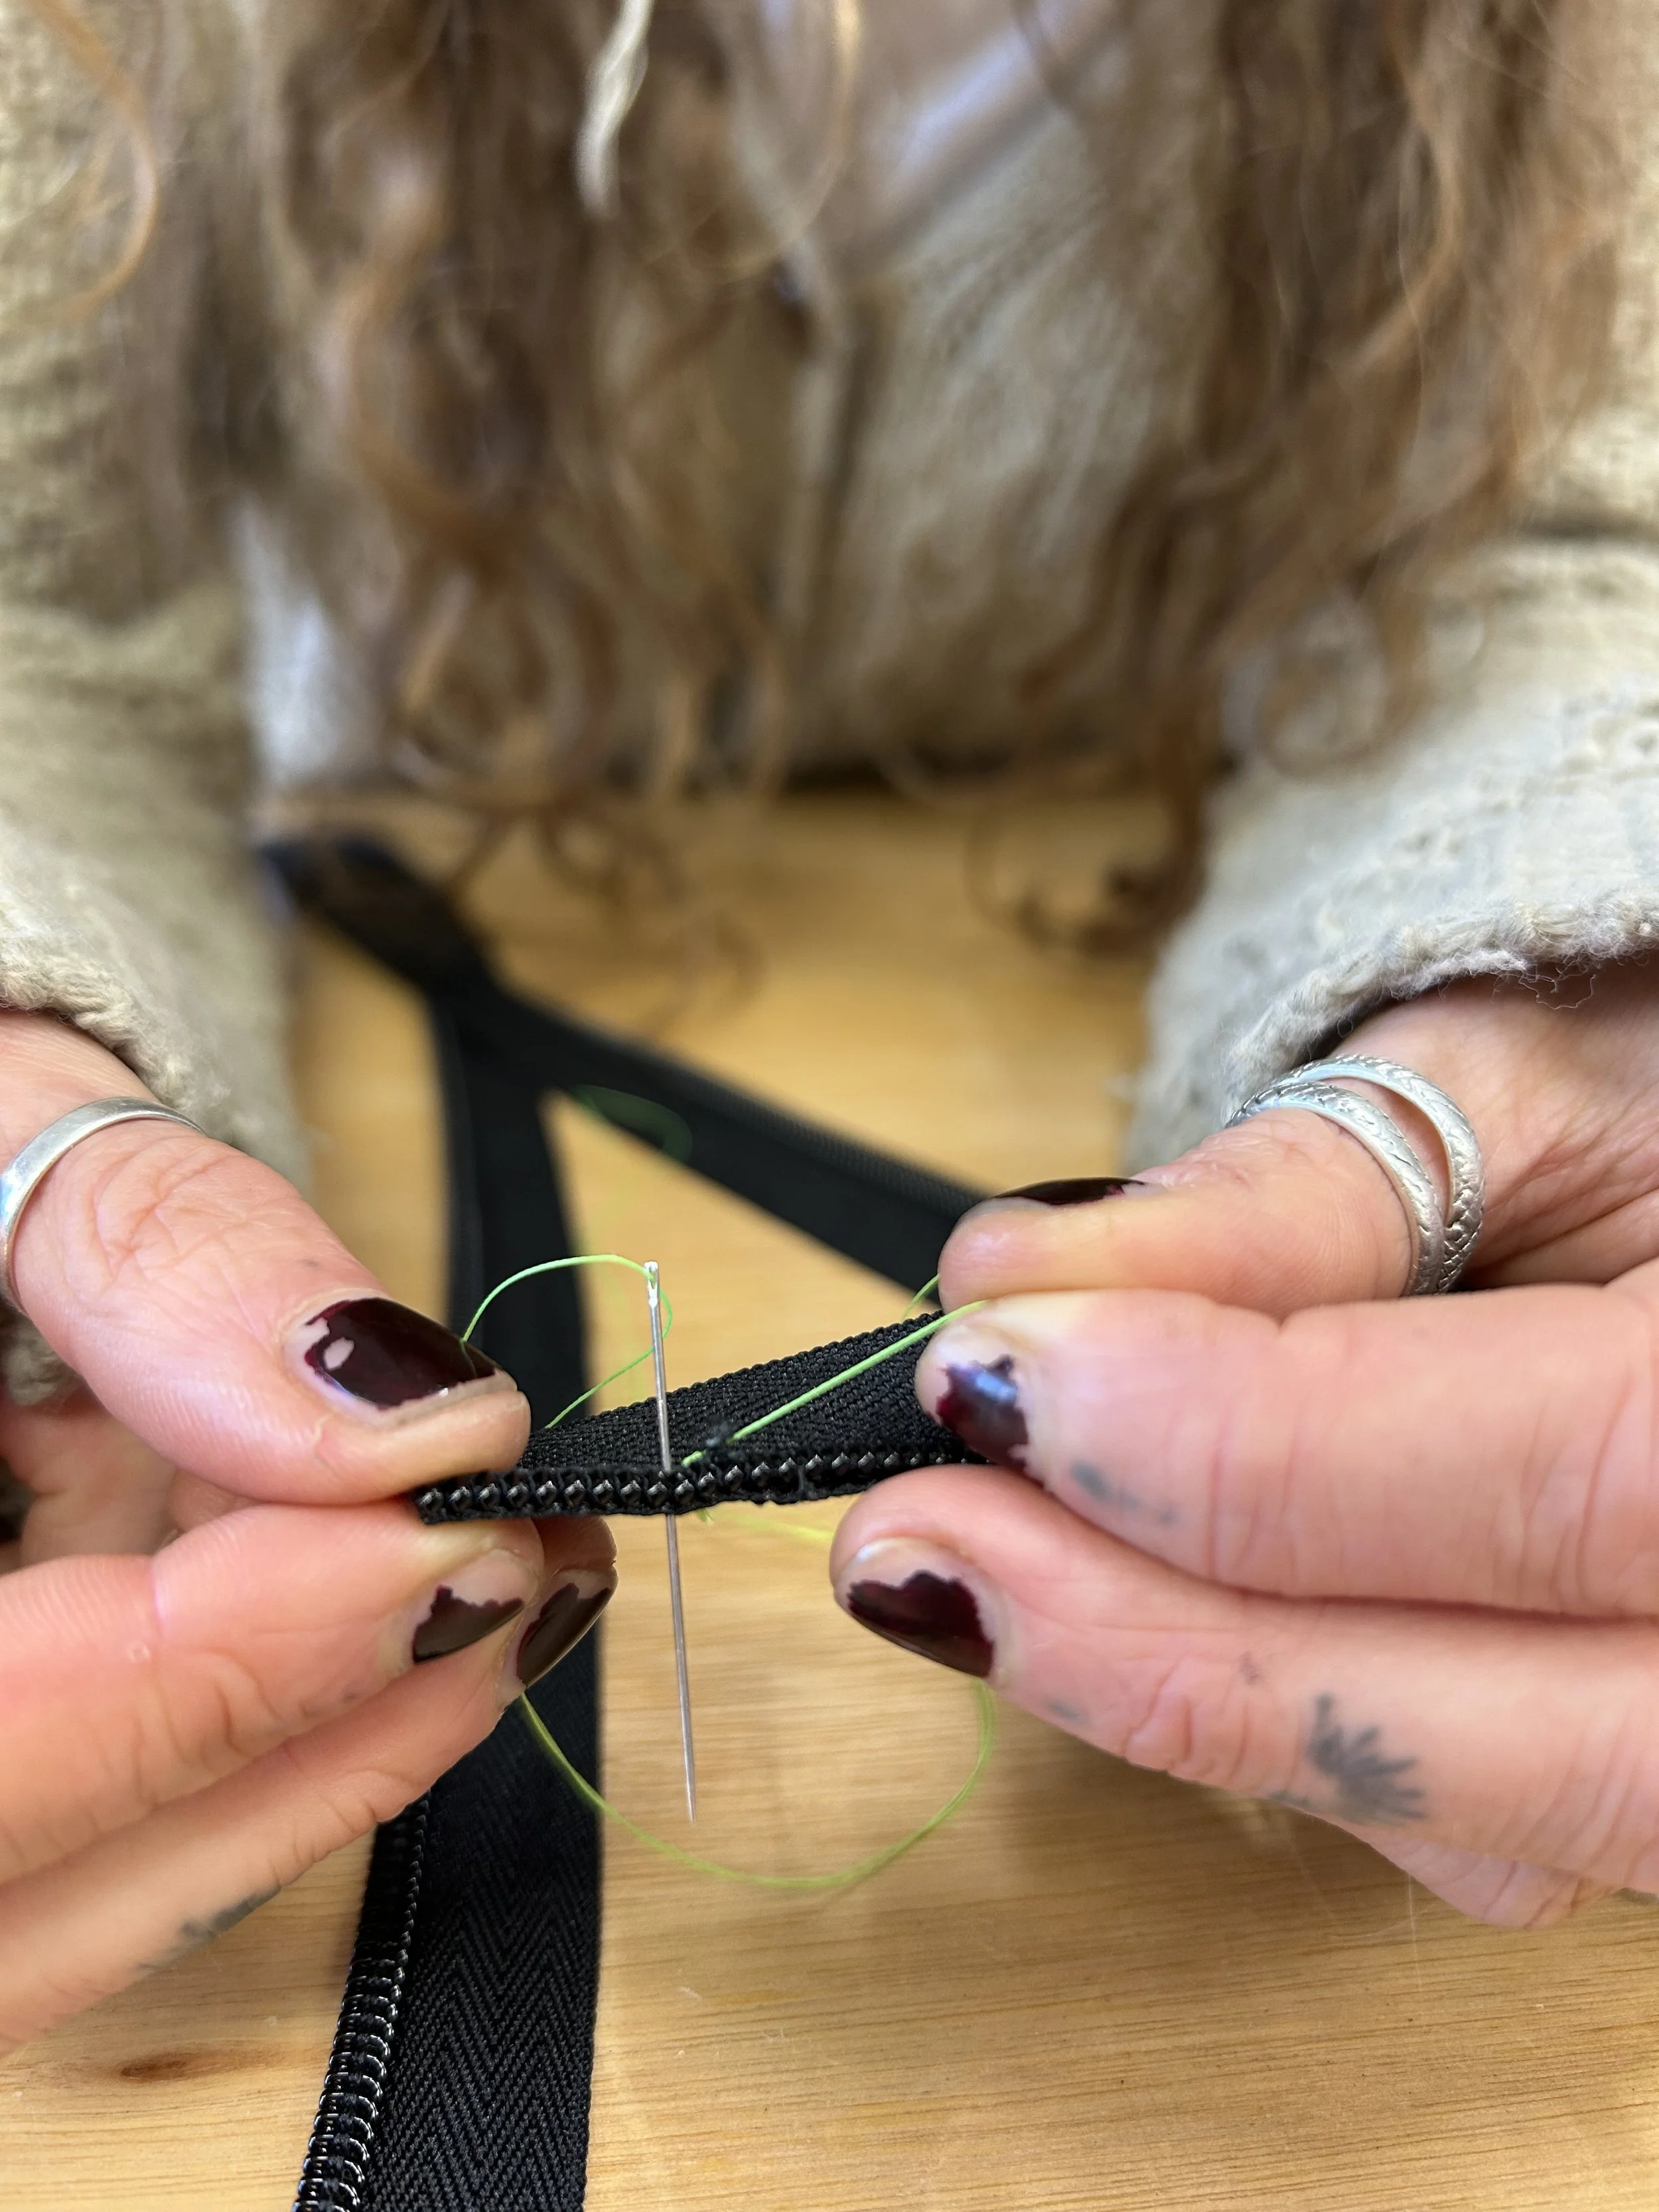
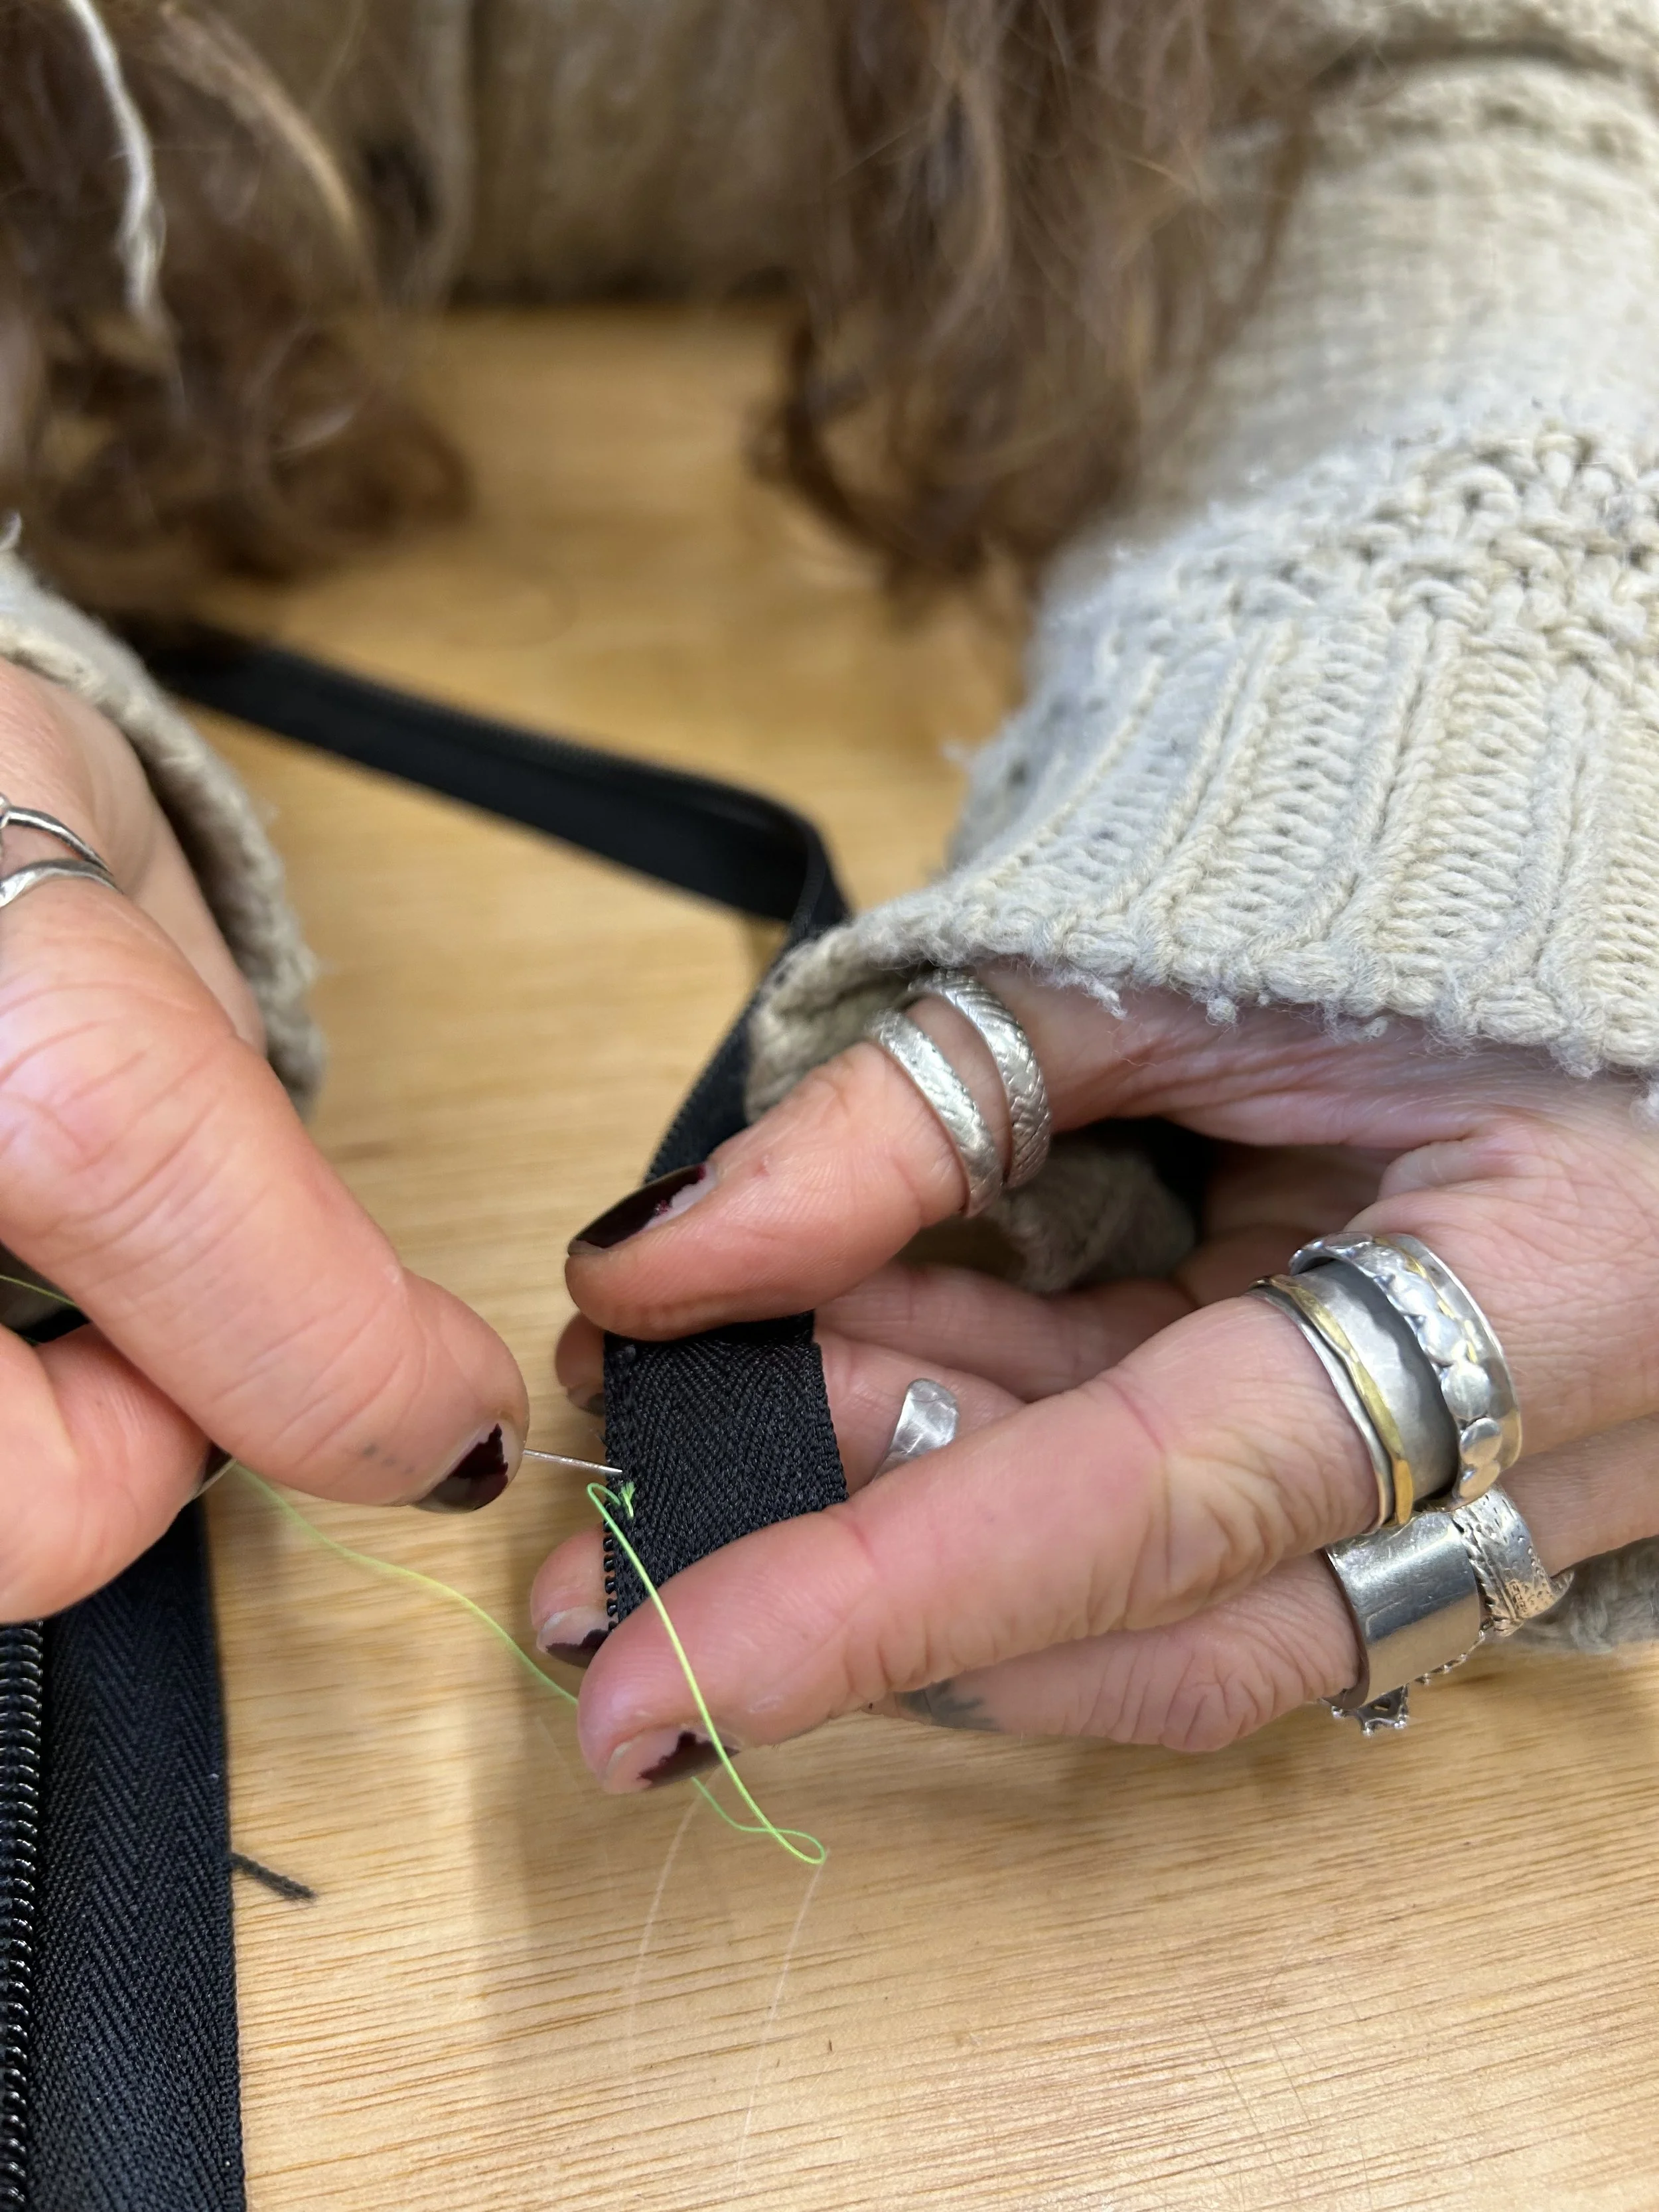
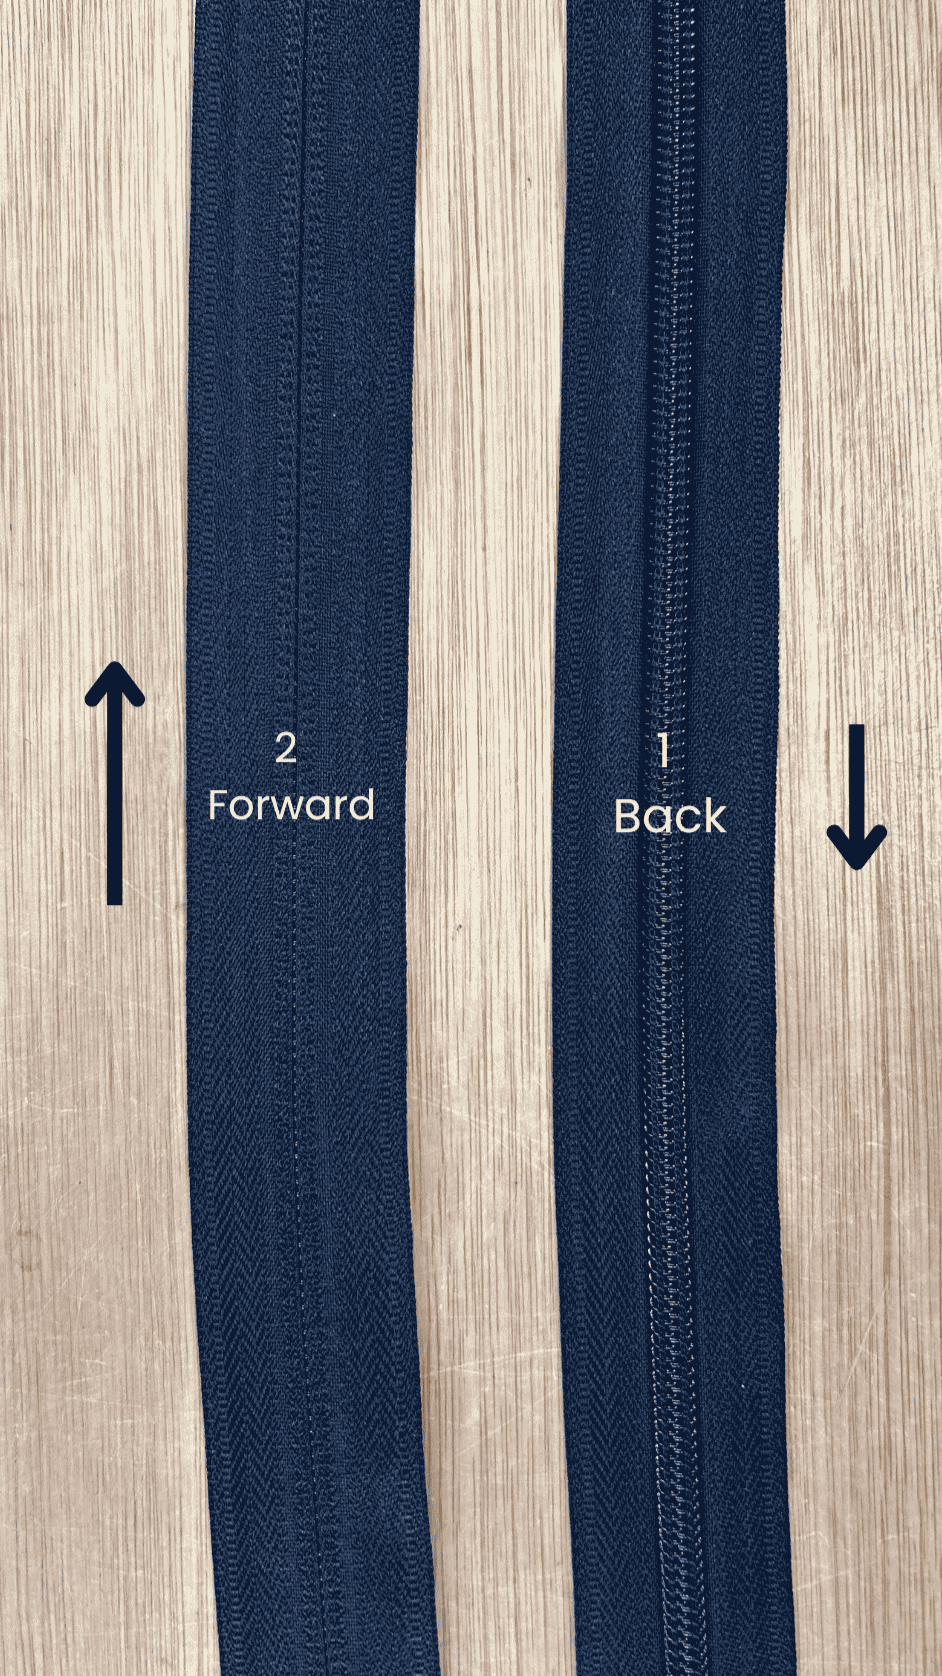
We follow a 2 forward, 1 back pattern when stitching coil zip teeth.
Starting on the side of the zip where you can’t see the coil, jump with the thread 2 coils forward making sure to catch the centre chord, tape and coil with the needle (it doesn’t have to be exactly central but as close as you can get it is great).
Then move to the side where the coil is visible and stitch 1 coil back.
Continue repeating this pattern — 2 coils forward, 1 coil back — until you have stitched approximately 4–5 teeth beyond the damaged section.
Finishing
Tie off the thread using a lock stitch (the same process as we did at the beginning). Trim the tails with some scissors
Lastly - Check the zip slider can travel smoothly across the repair. And you’re ready to go!