
How to Apply Seam Tape At Home
Seam sealing stops water from leaking through the tiny holes creating by stitching on waterproofs. The tape is activated with heat and sticks over the stitching to create a waterproof seal. Over time this seam sealing tape can peel away, making the garment less waterproof.
If you’re into climbing, hiking, trail running, mountain biking, or playing in the snow, you’ll likely know the struggle of getting cold and wet - and how much you rely on your gear to keep warm, dry and cosy out in the elements.
Here’s our guide to replacing failed seam tape:
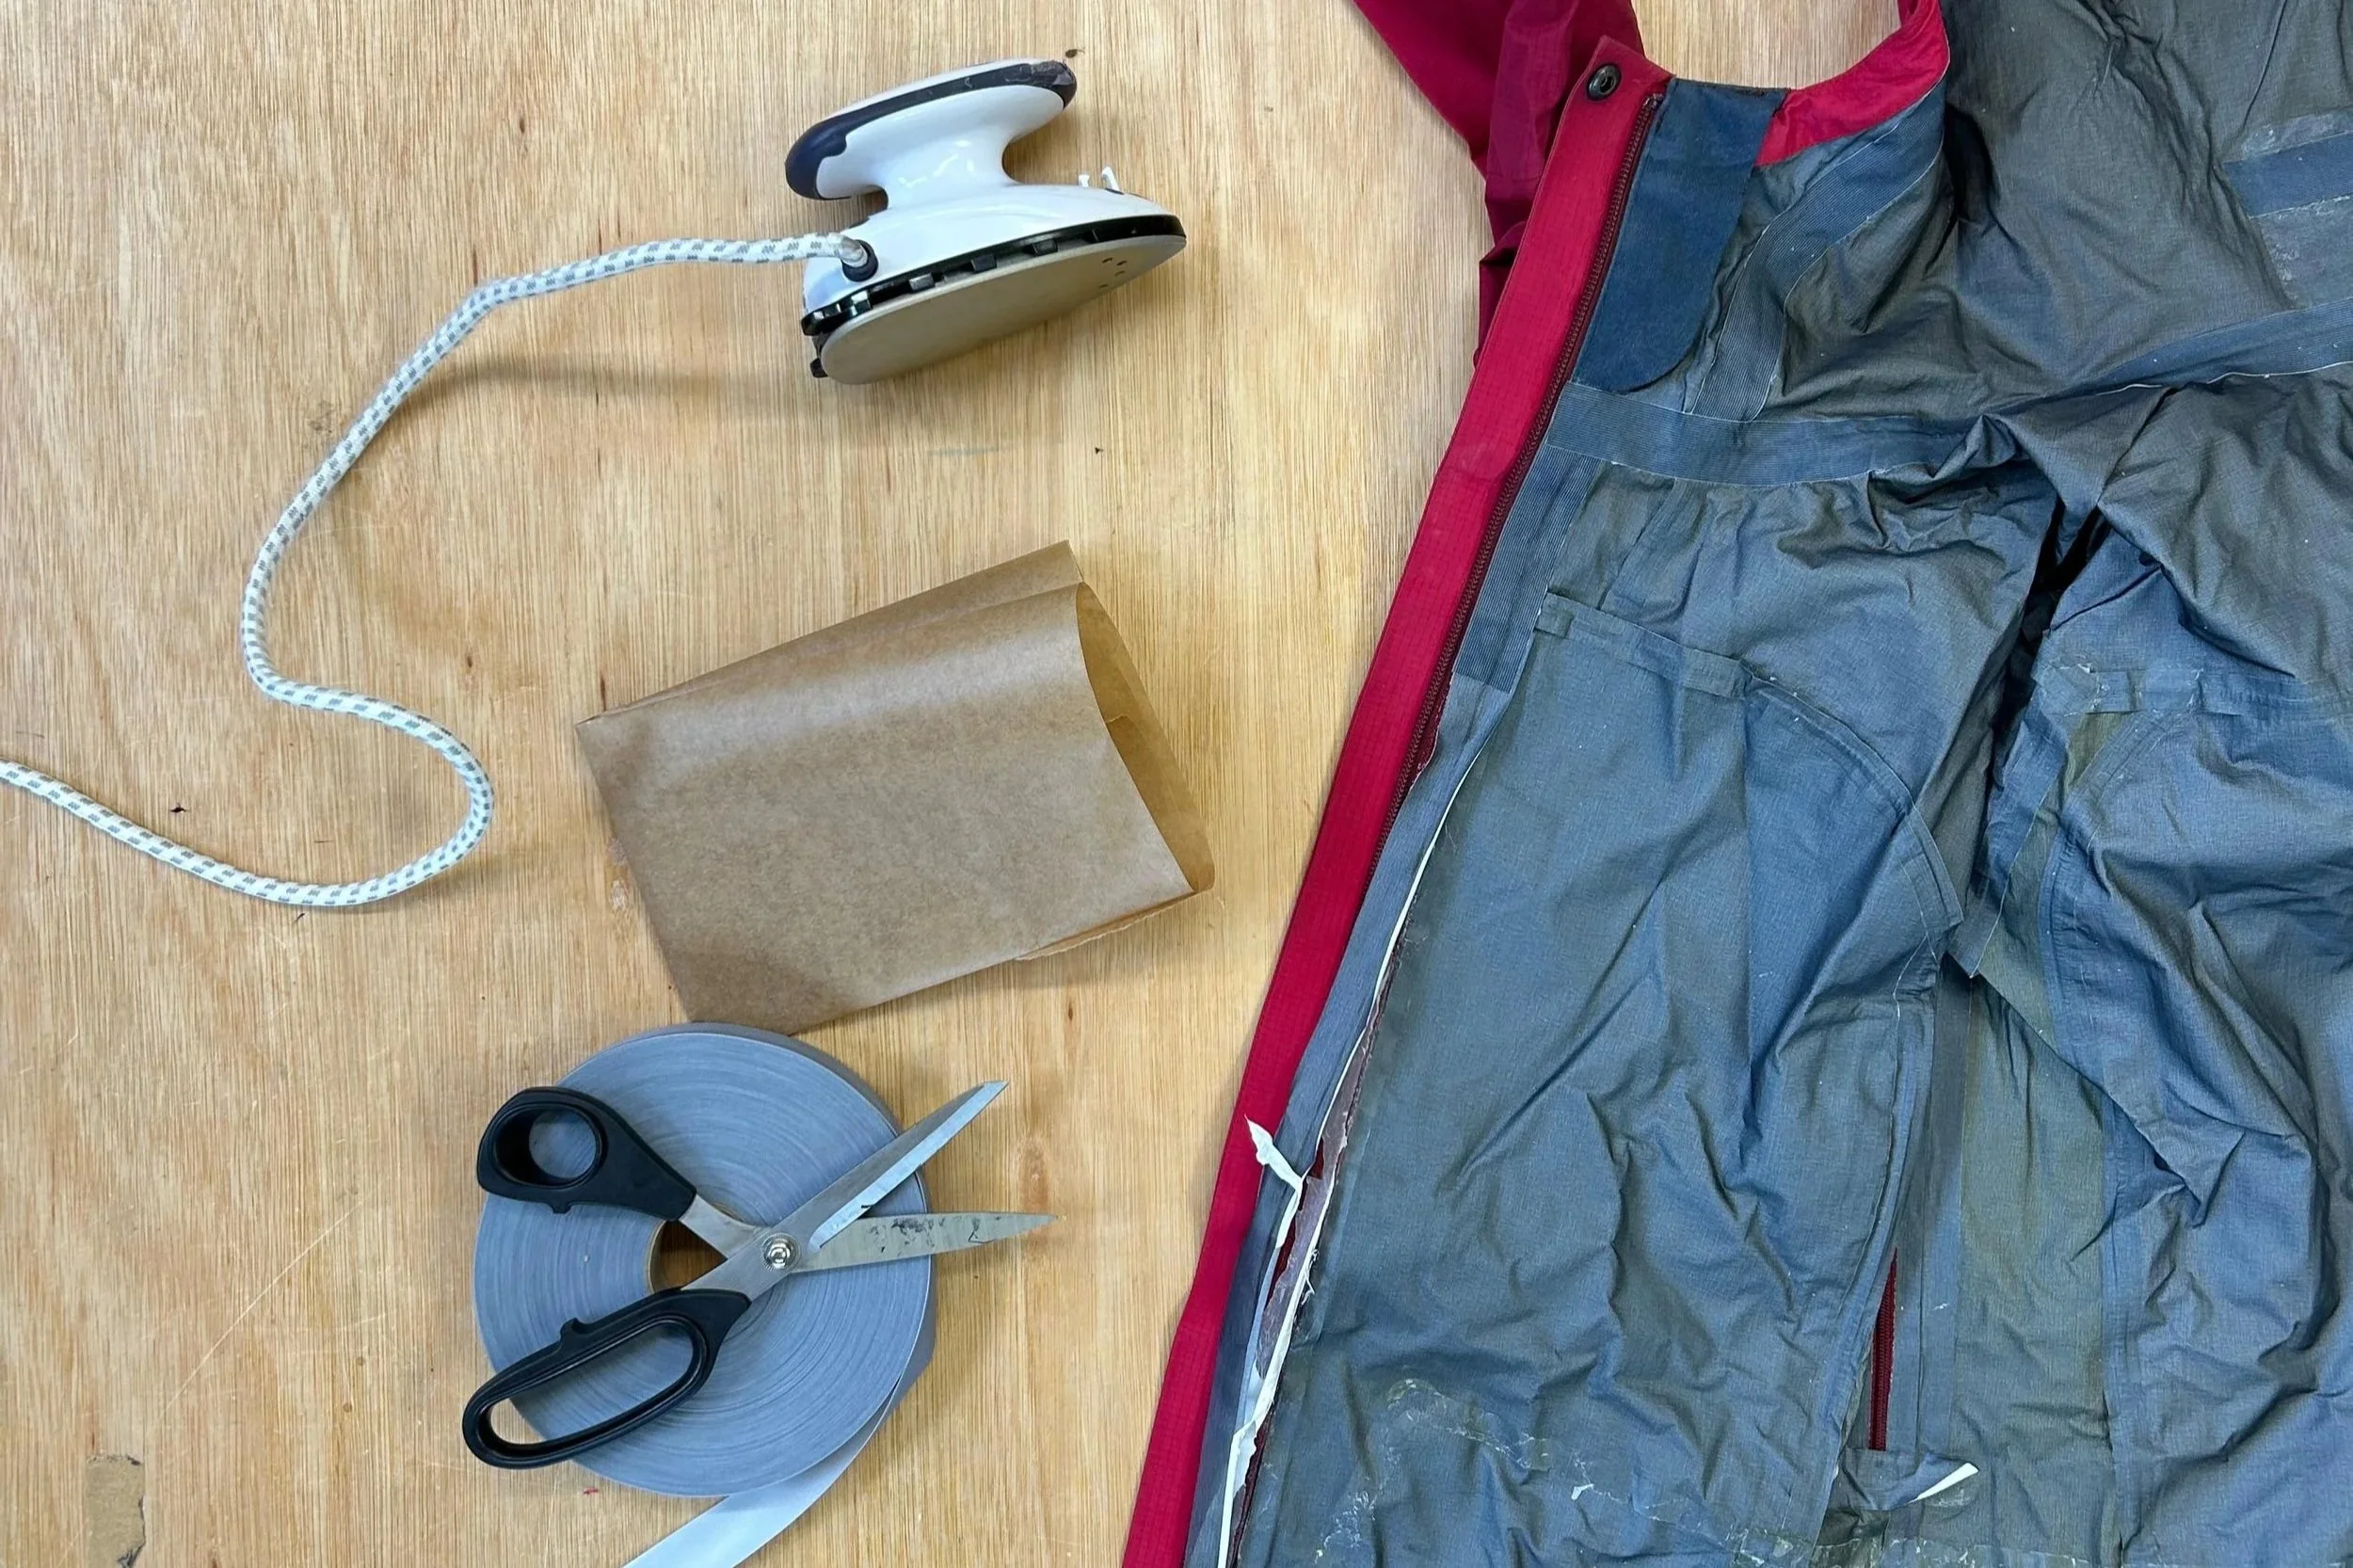
What you’ll need
A domestic iron (a small/travel iron is ideal)
A non-textured tea towel or baking paper
Scissors
A flat ironing surface
A Hair dryer & a plastic card (if removing old tape)
Preparing your item
If you’re seam taping over old seam tape, make sure to remove all of the old tape before applying the new. Sometimes it will just peel away, if its doesn’t we recommend using a hair dryer to warm up the tape (make sure to use it on low to avoid damaging the fabric) and use a plastic credit card to scrape it away.
If you are unable to remove the old tape, we recommend using liquid seam seal rather than tape - find our guide to liquid seam seal here.
Wash your item before applying seam tape, make sure to follow the item's washing instructions and an appropriate technical wash/reproof (if the seam seal is failing - hand wash with cold water and do not use the tumble dryer!)
If you're unsure whether your garment can be seam sealed, feel free to pop us a message, we’re very happy to help!
Applying the tape
Lay your item inside out and flat so you can see the line of stitching you want to seal.
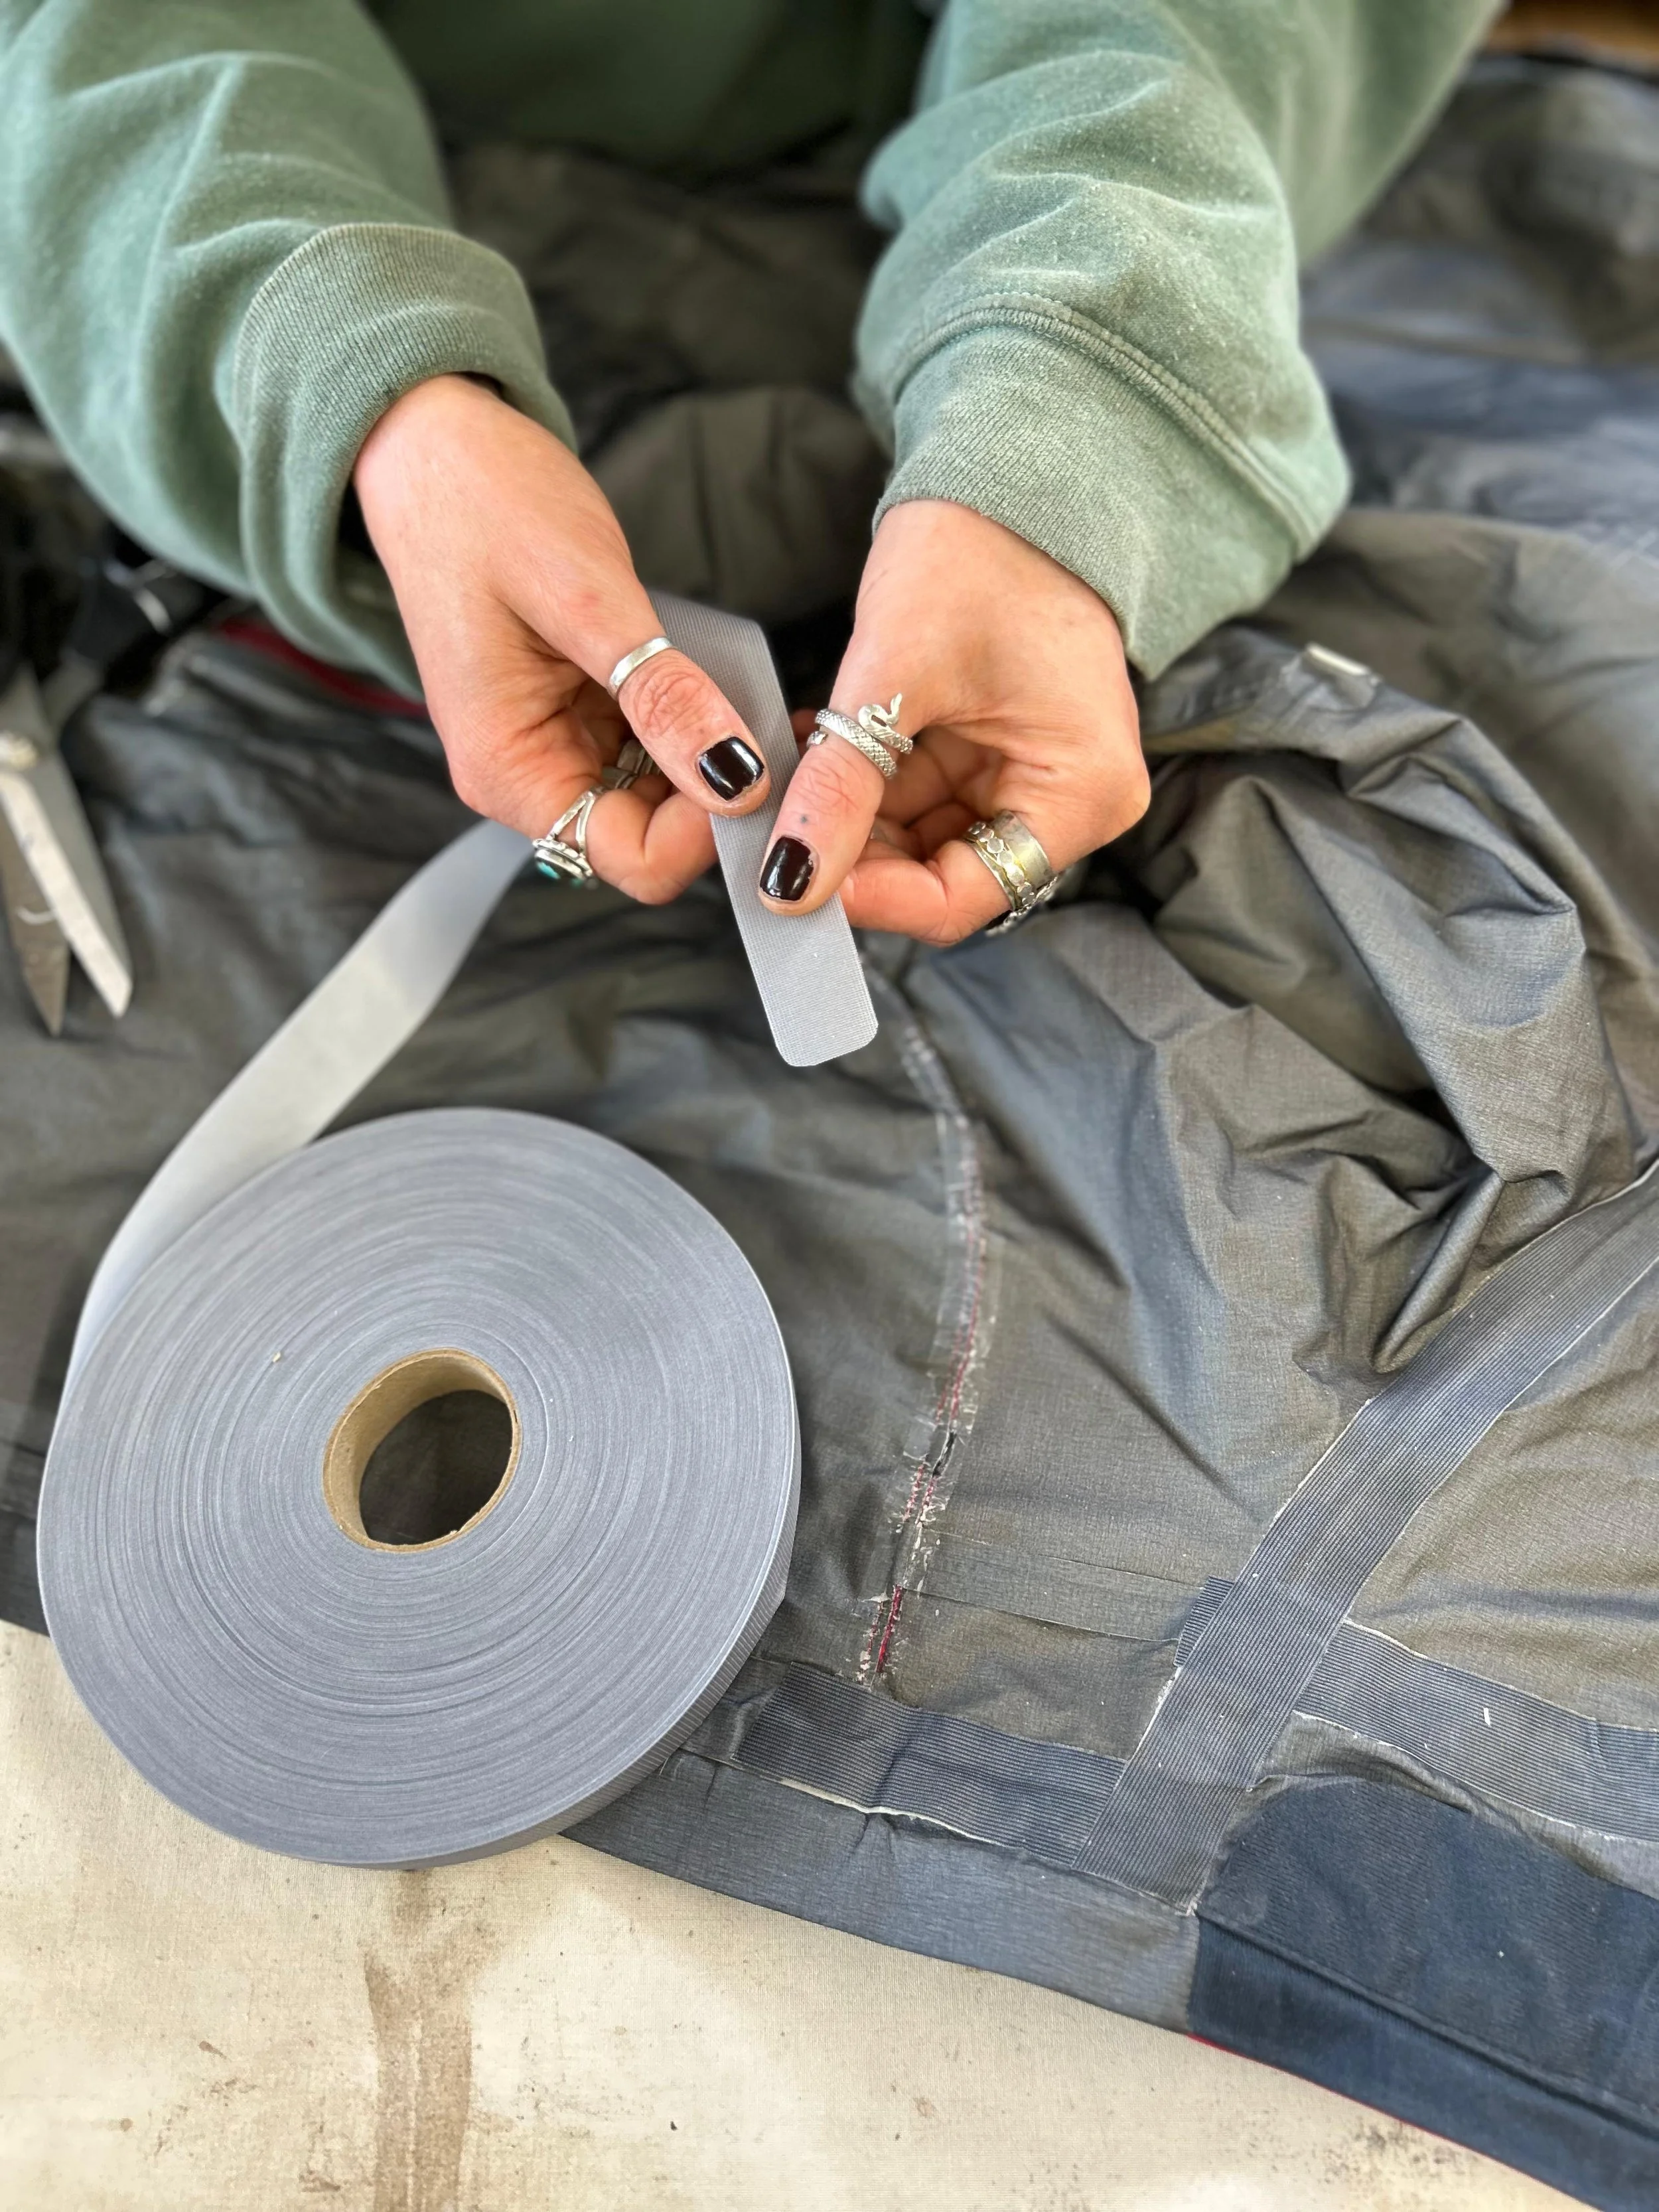
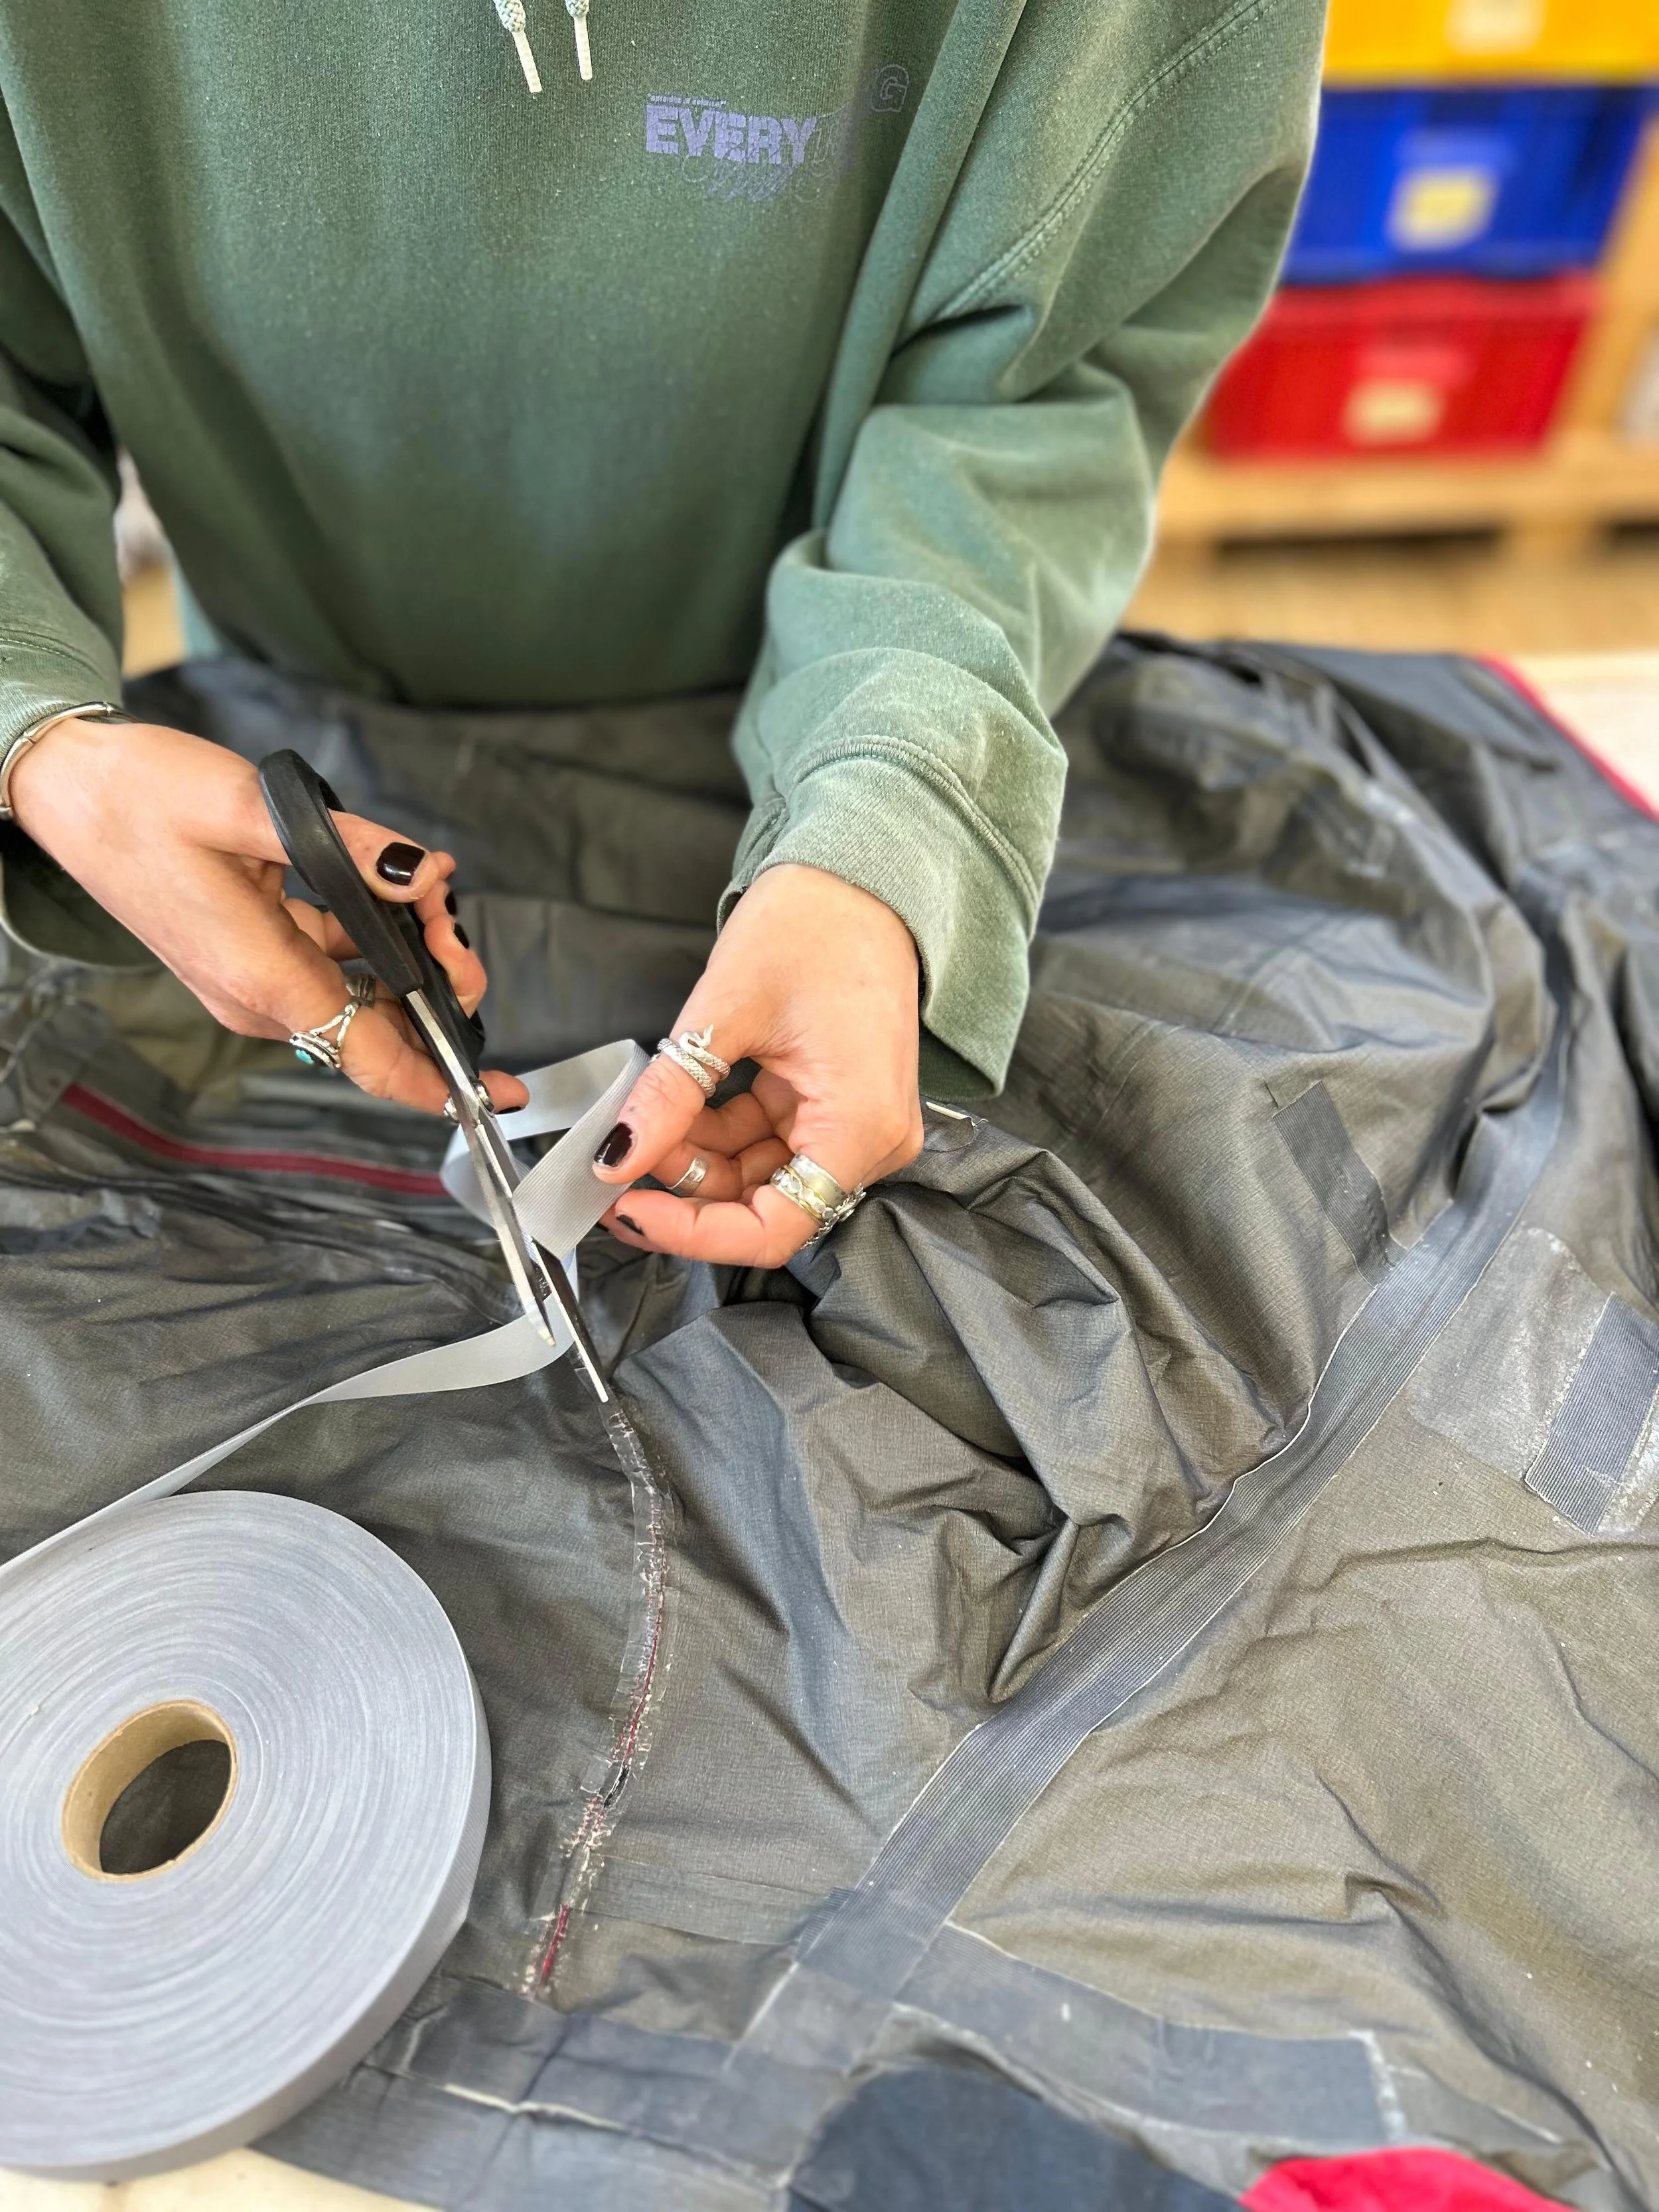
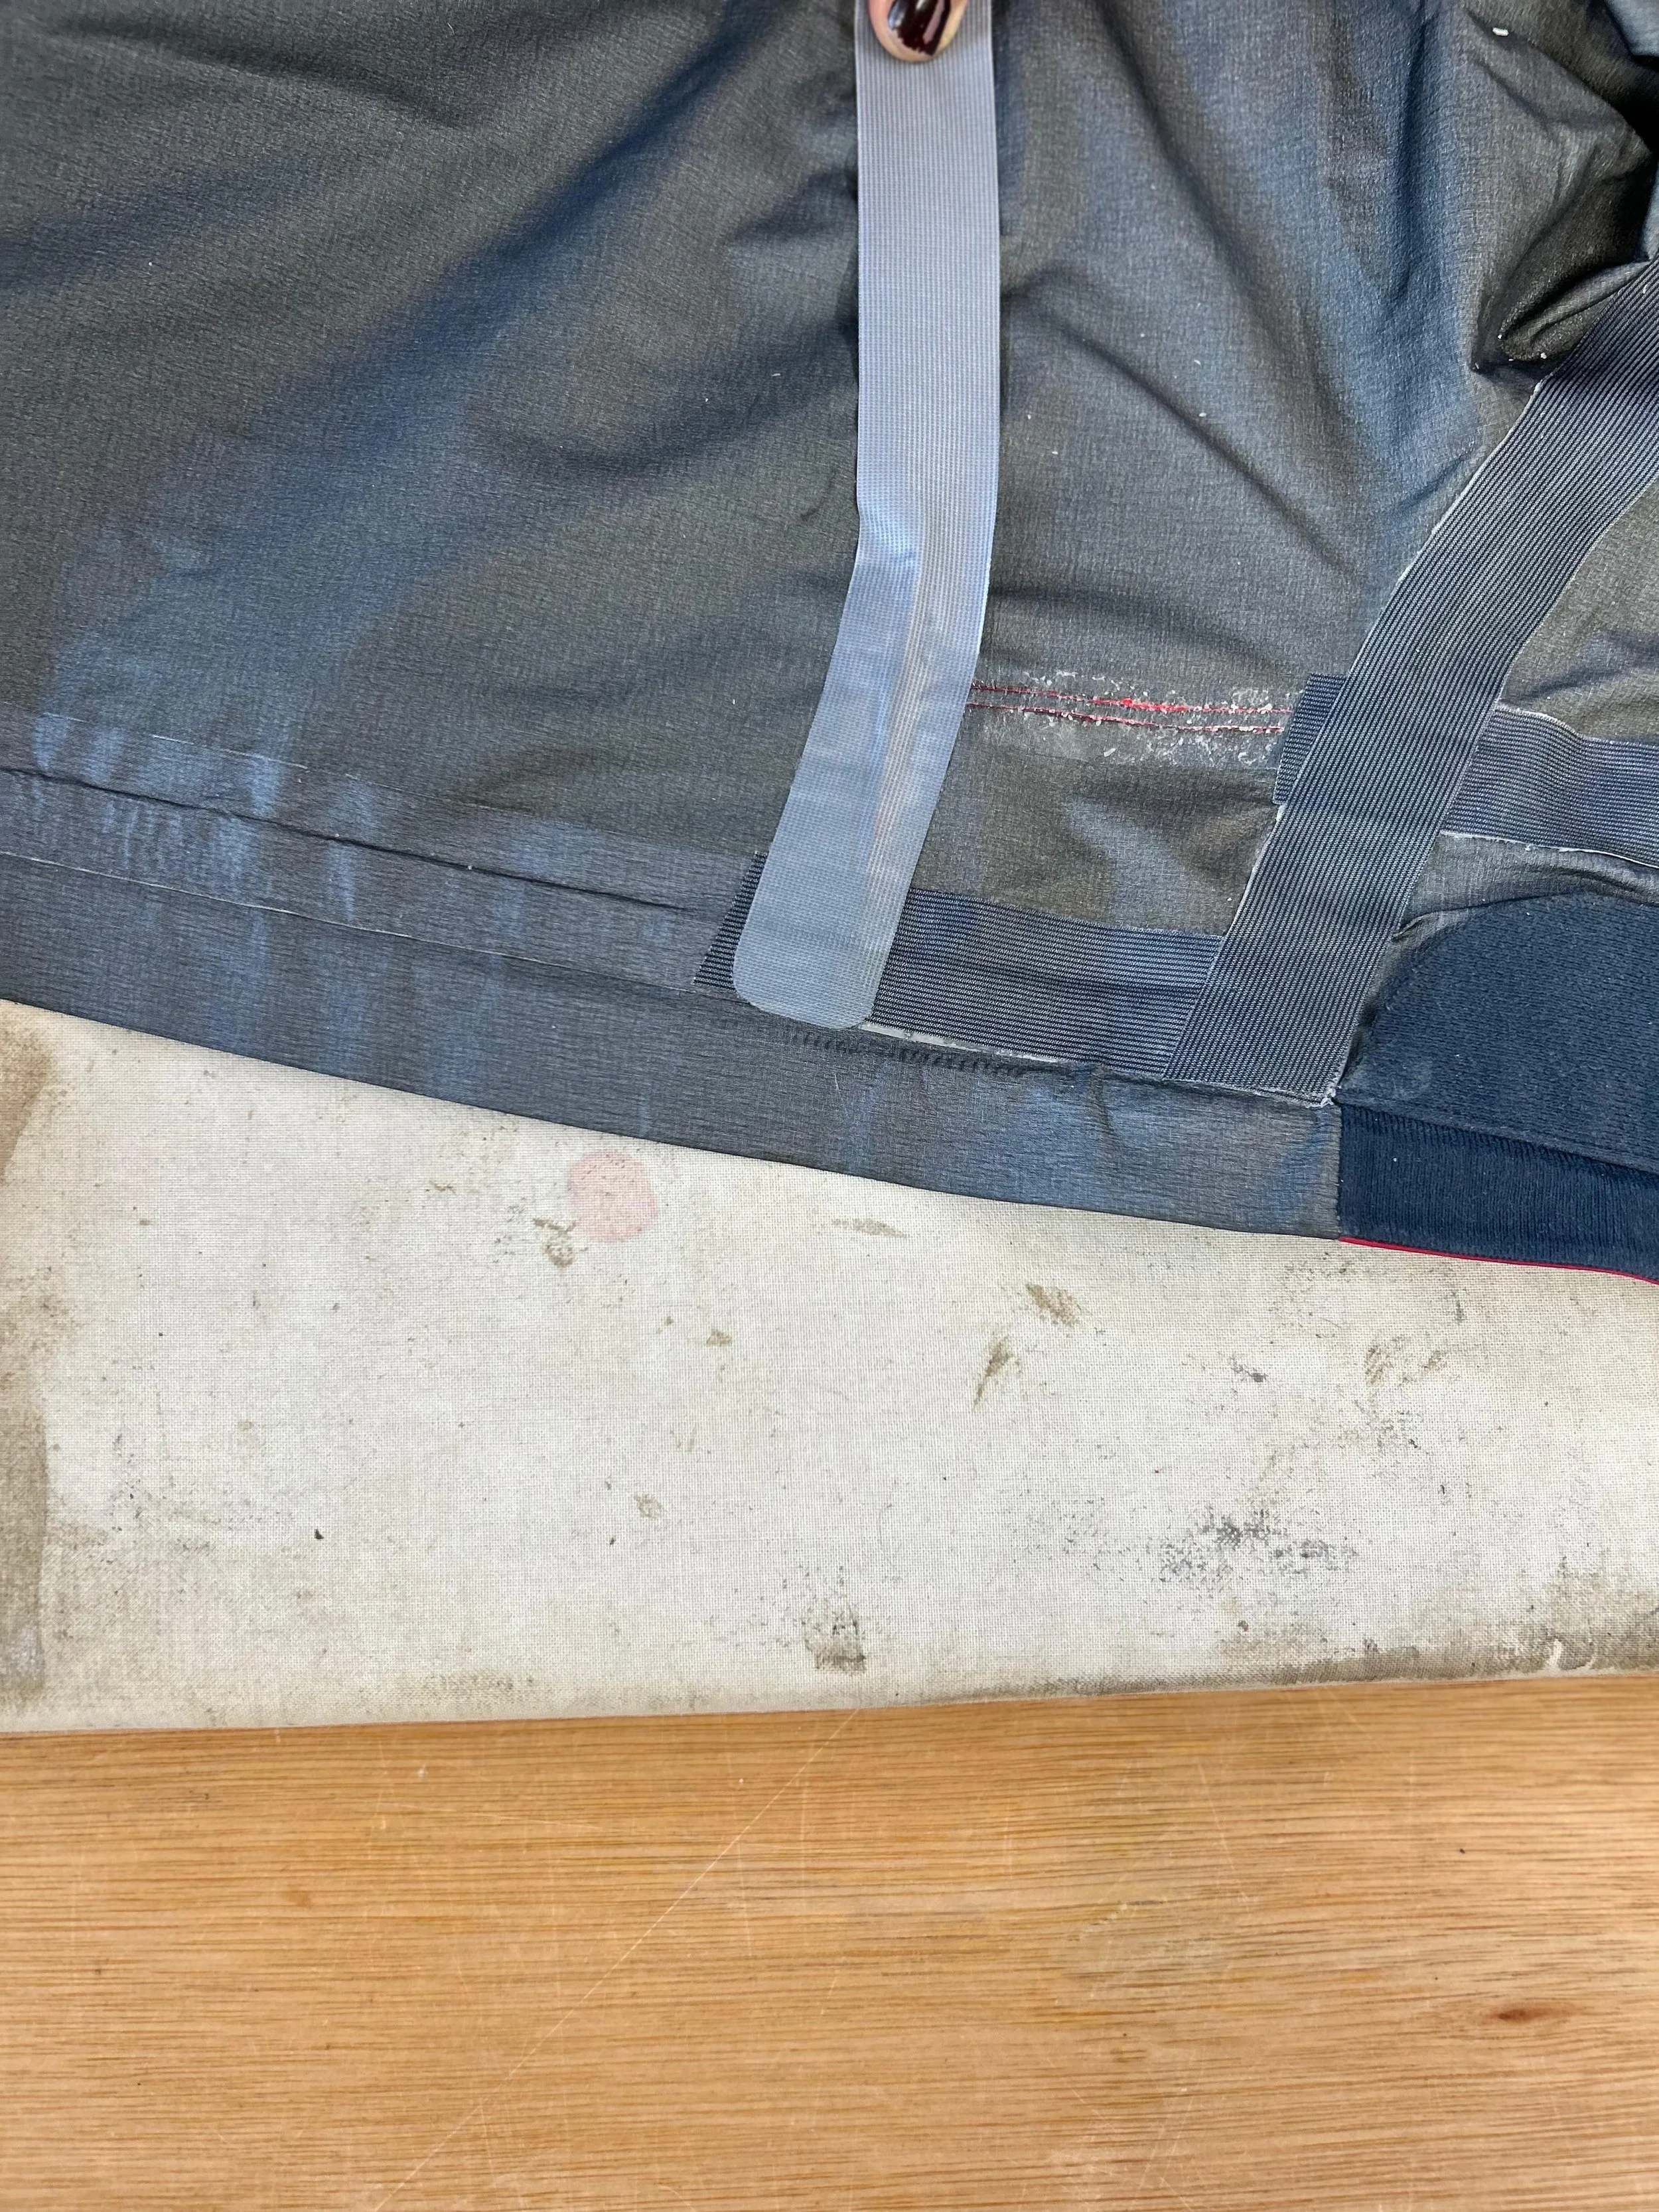
Cut the tape to the length you need and round the corners.
Place the tape along the stitching with the lighter slightly shinier side down.
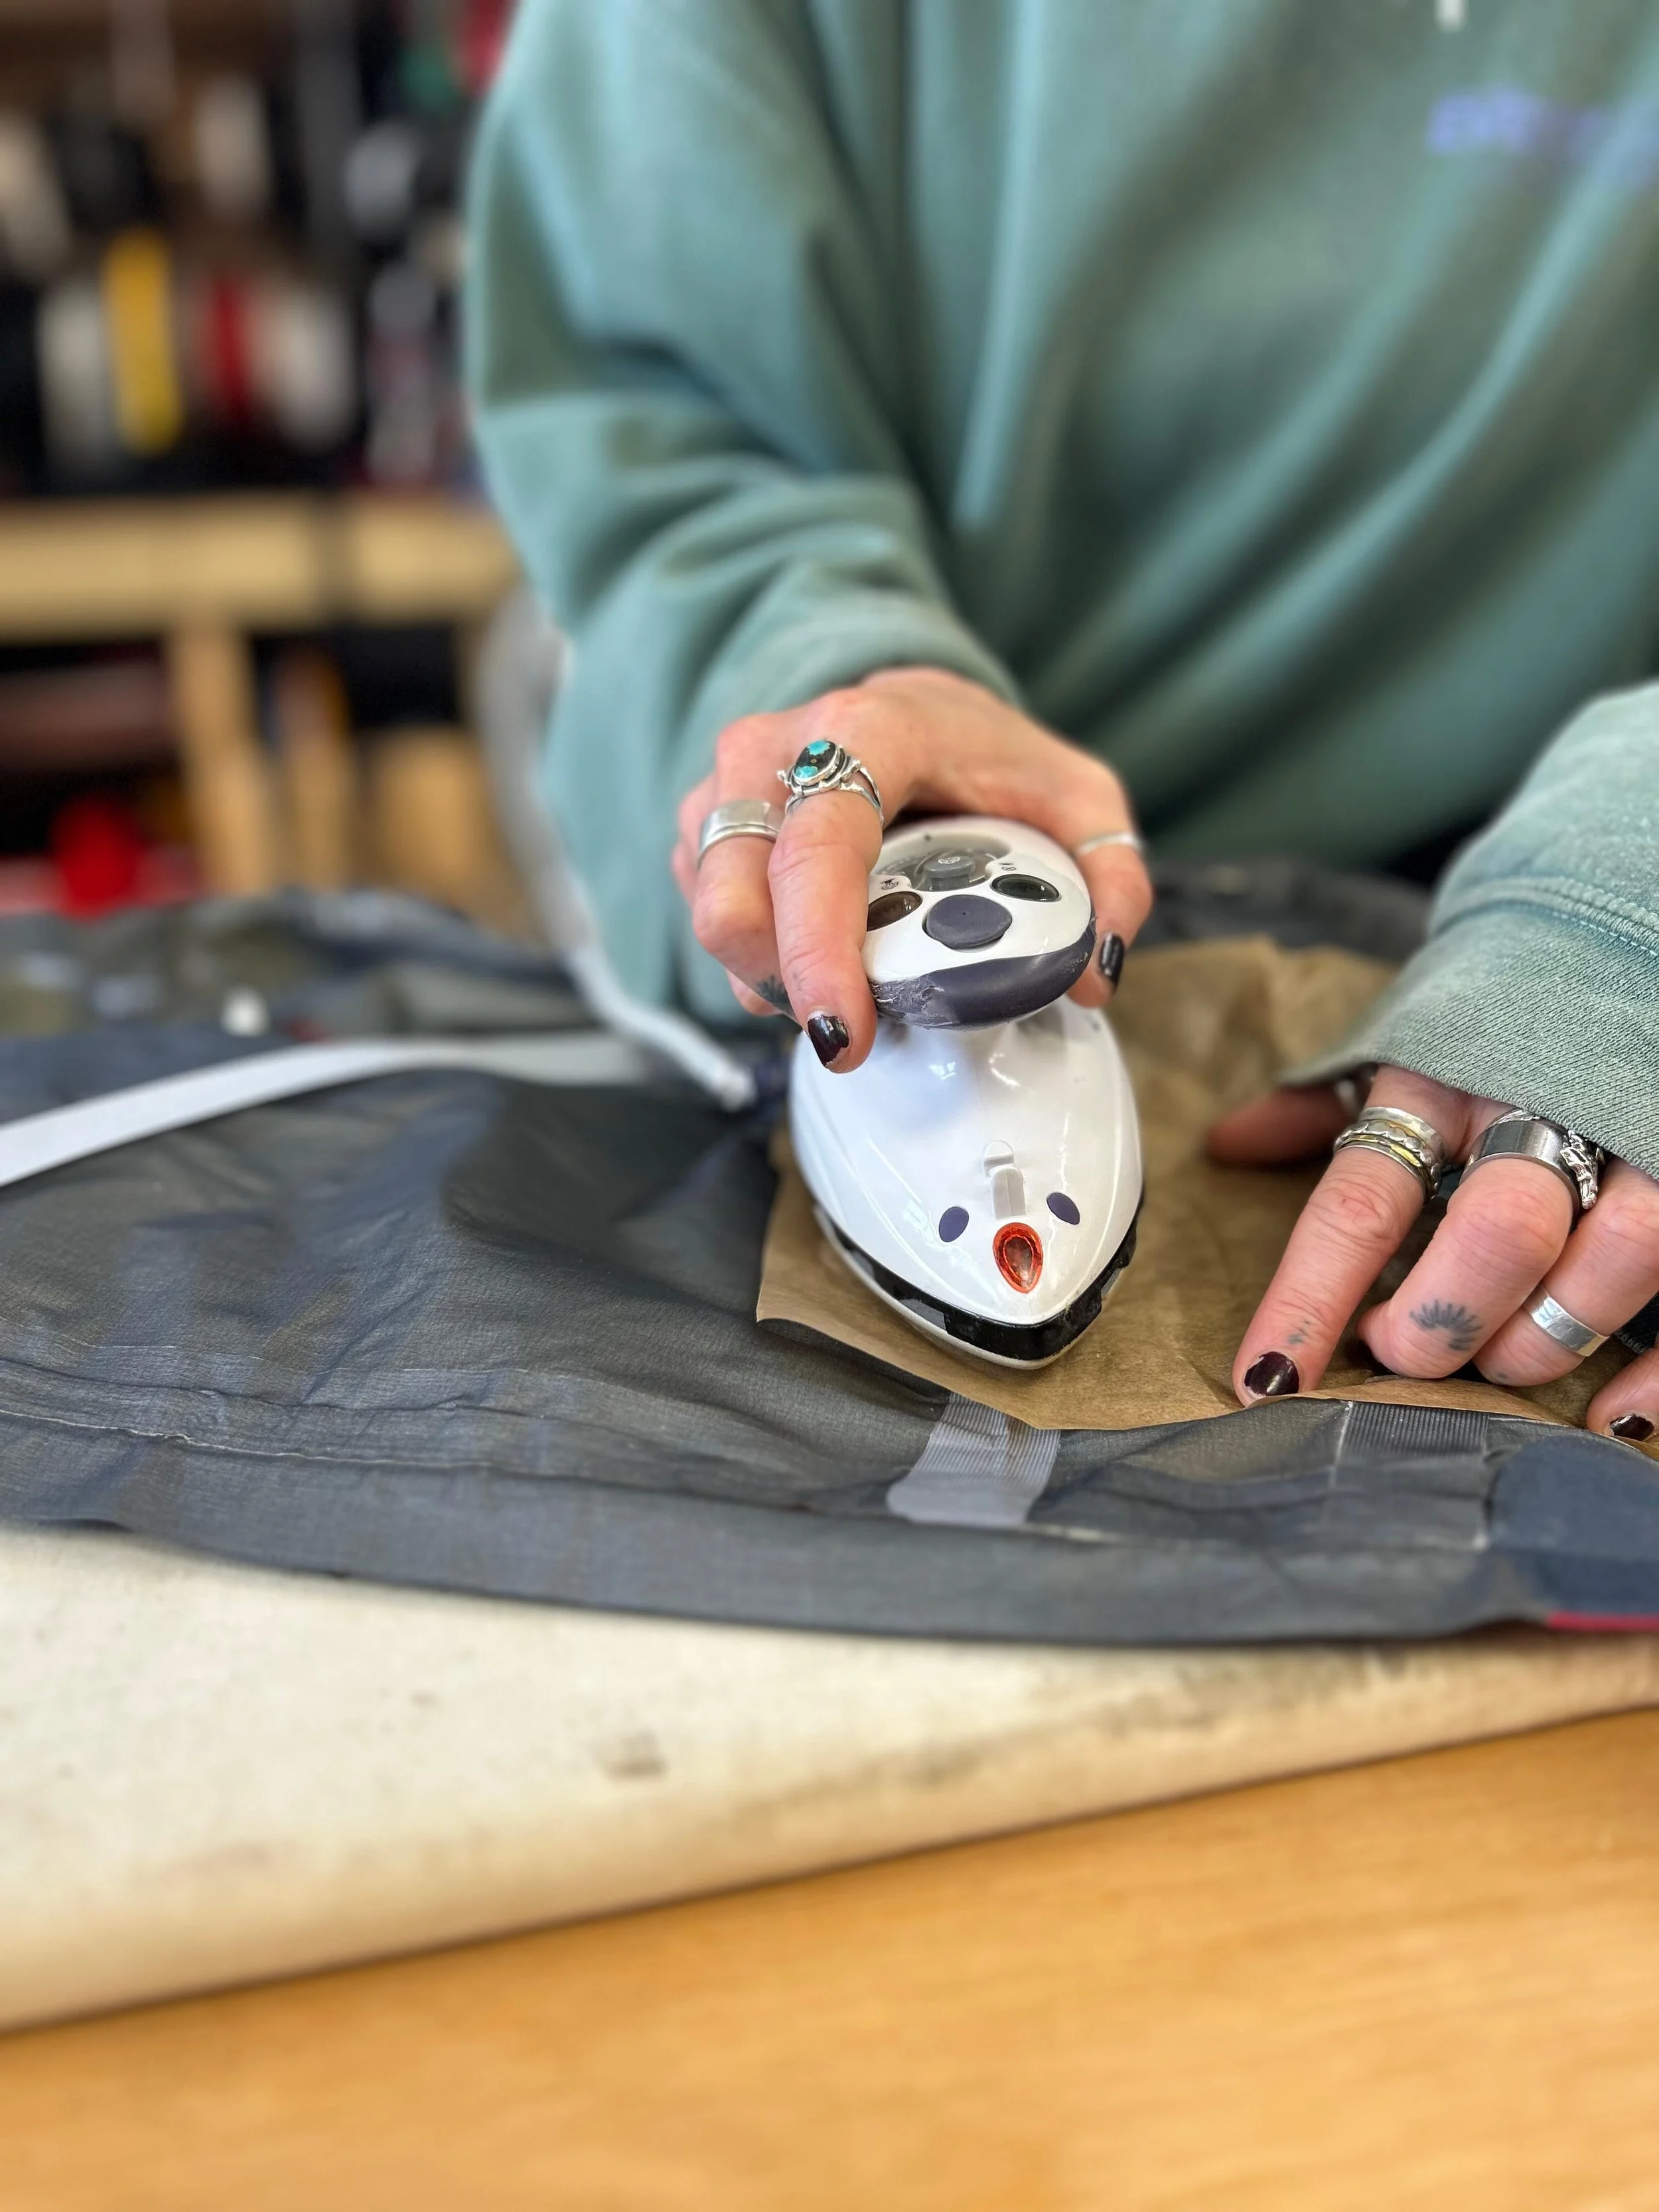
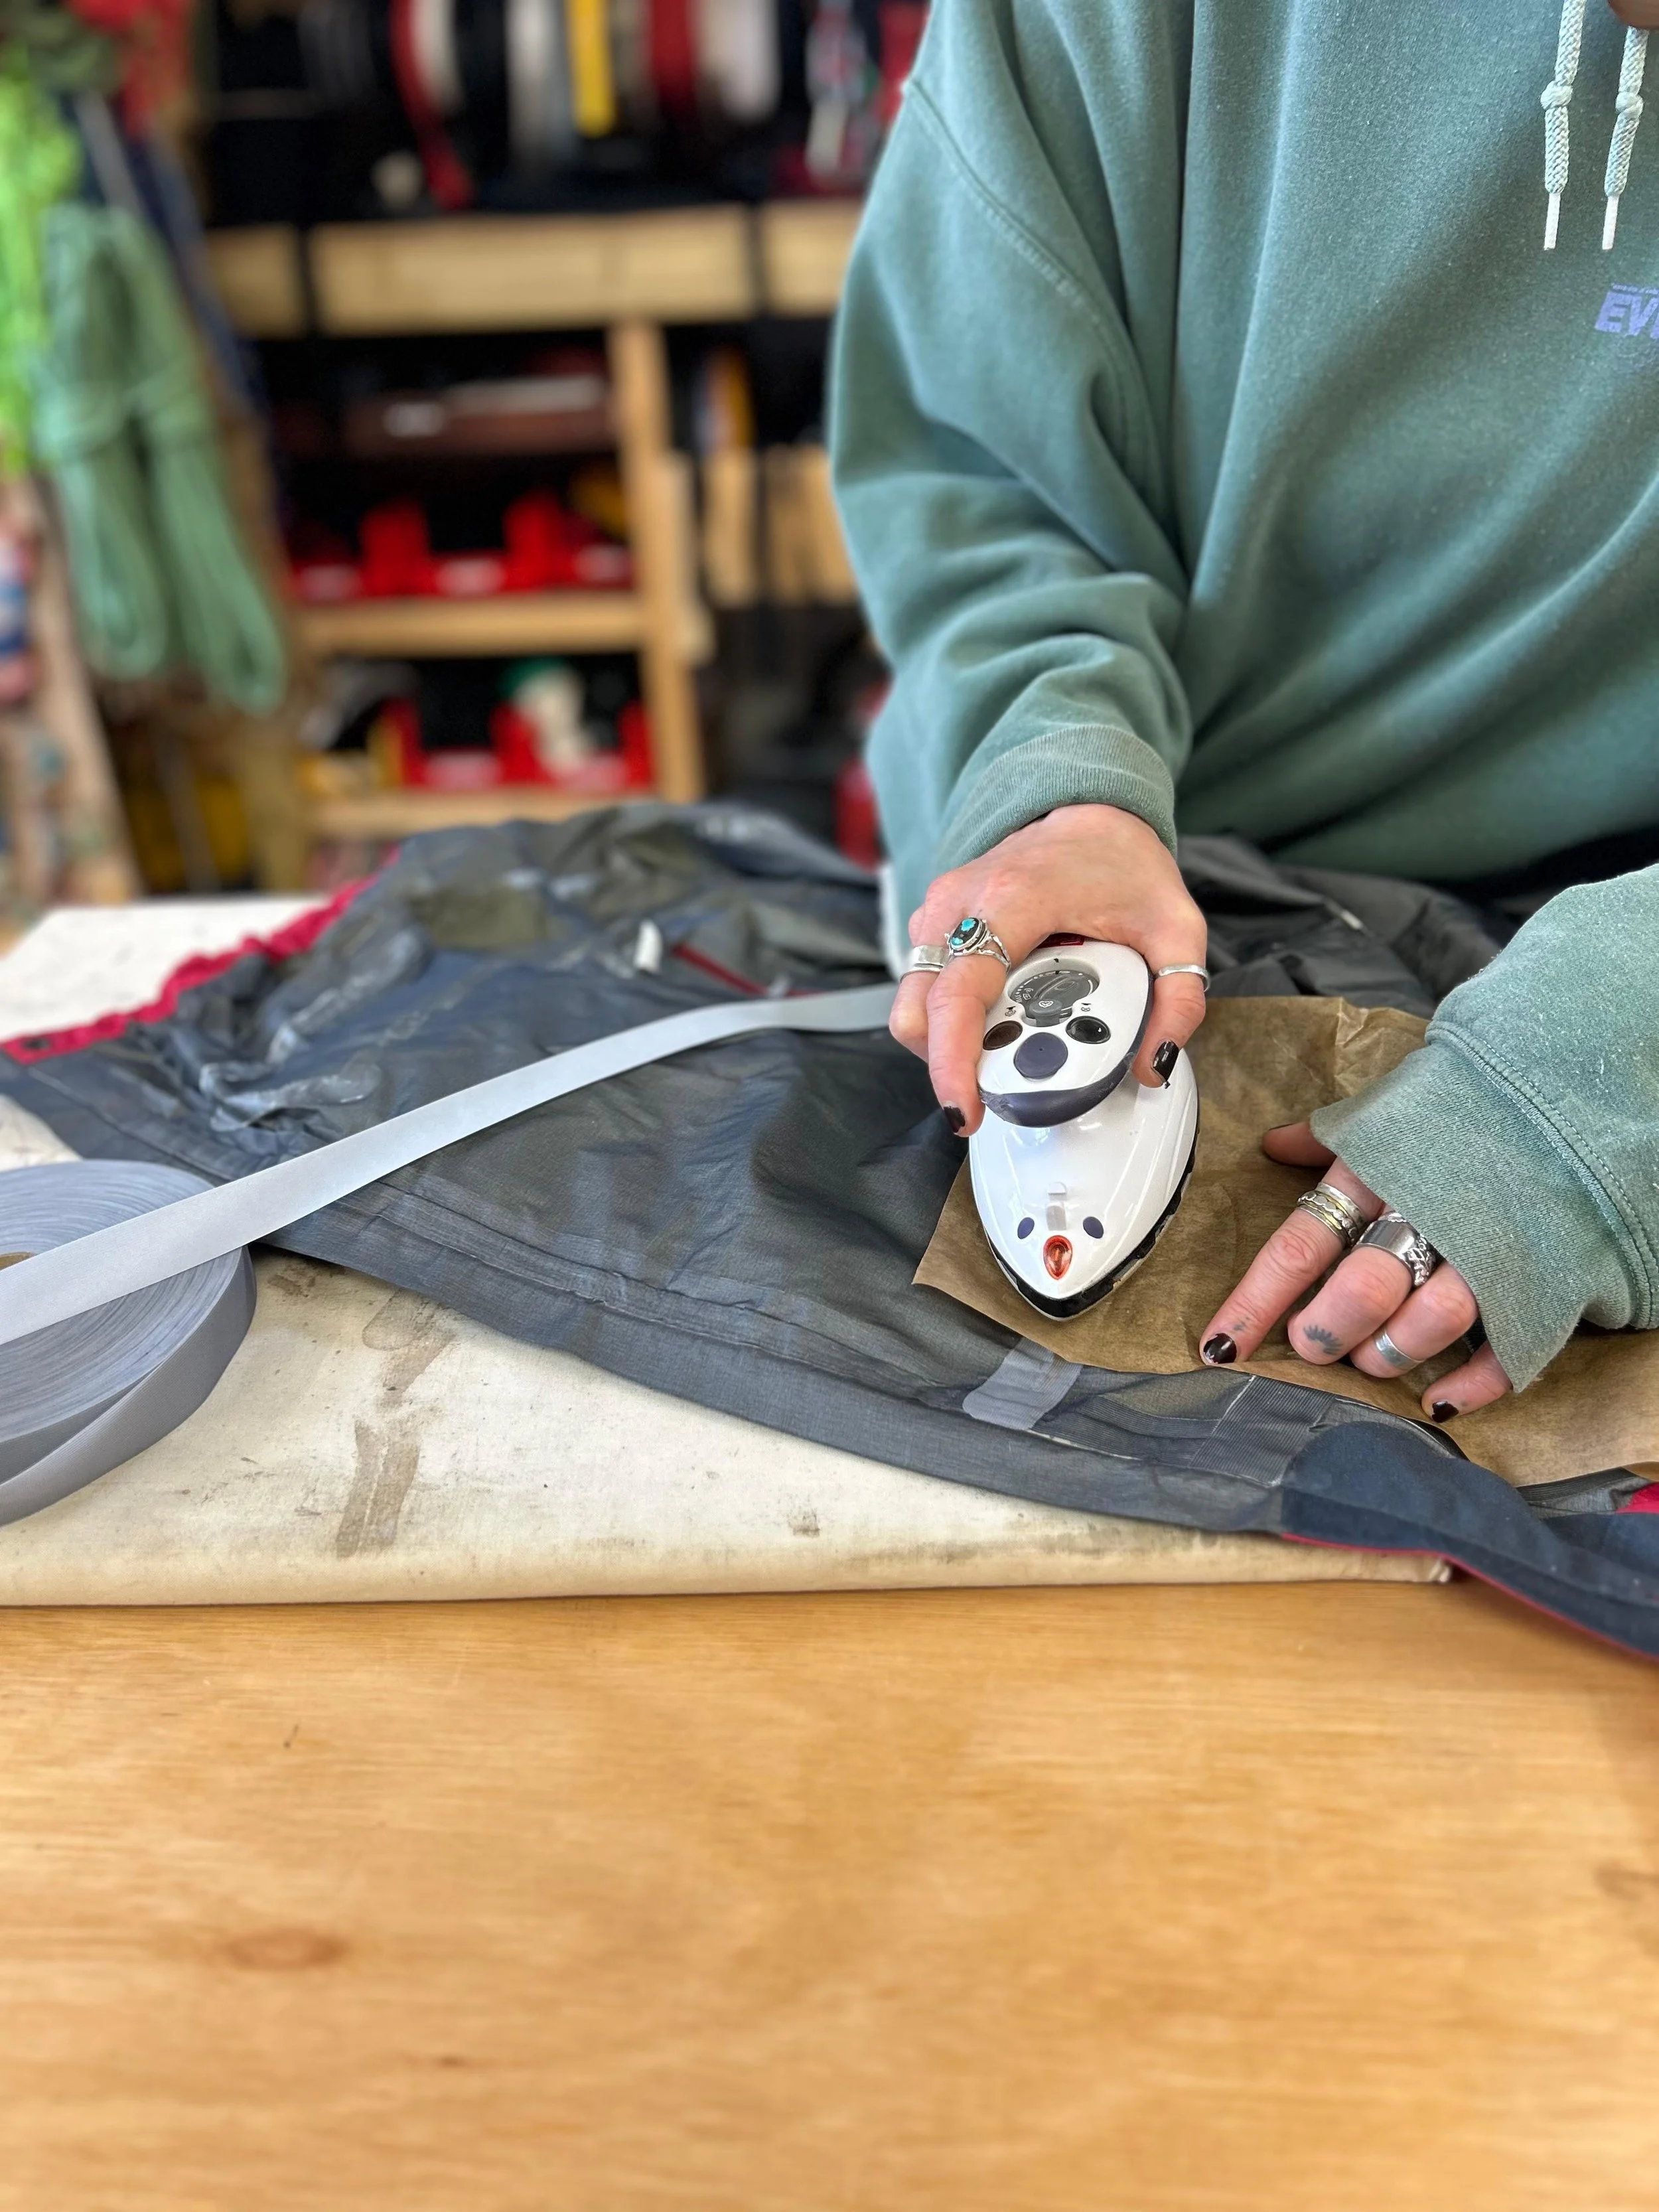
Put a non-textured tea towel or baking paper over the tape.
Set your iron to the lowest heat setting.
Press the iron over the tape for 2–3 seconds, then lift it and check the area. Be sure to avoid ironing on top of plastic or metal hardware, which can melt your jacket.
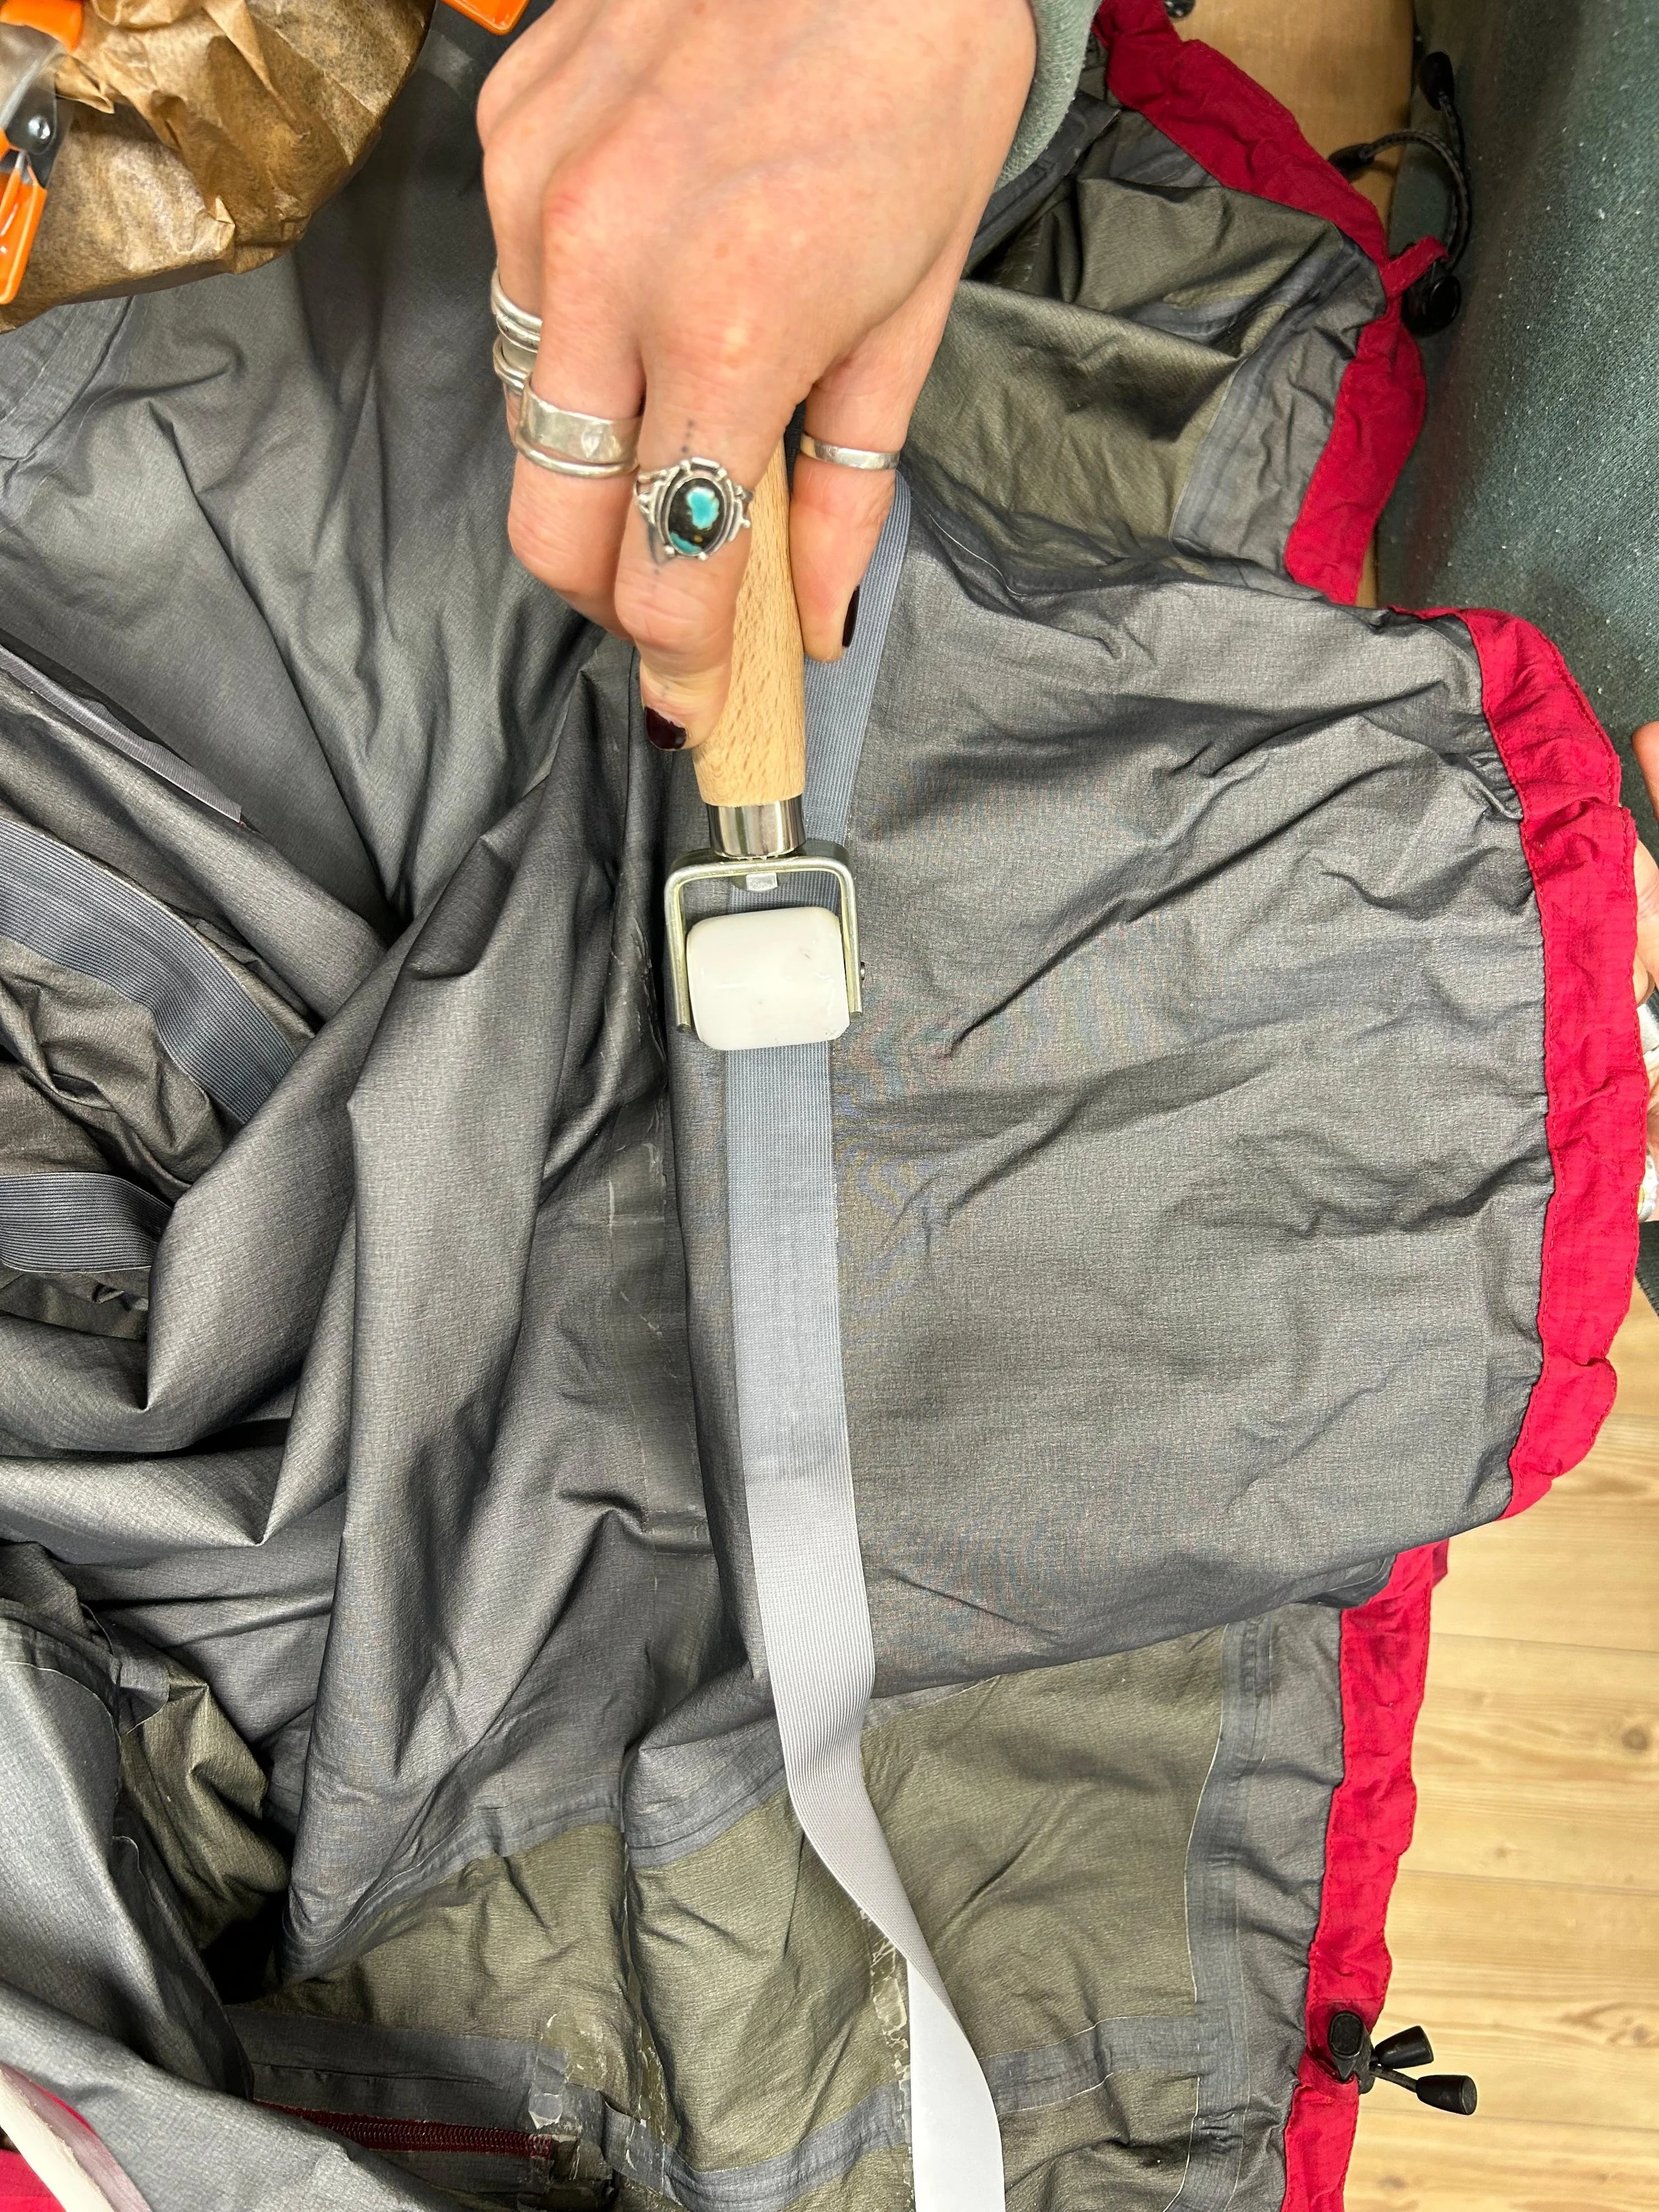
Continue heating the tape for 3 seconds at a time, checking each time for a slightly darkened colour and shiny edge around the tape. This means the glue has melted and the tape is stuck down properly.
If the glue isn’t melting, gradually increase the temperature of the iron until it does.
Continue along the tape in short sections with the same methods.
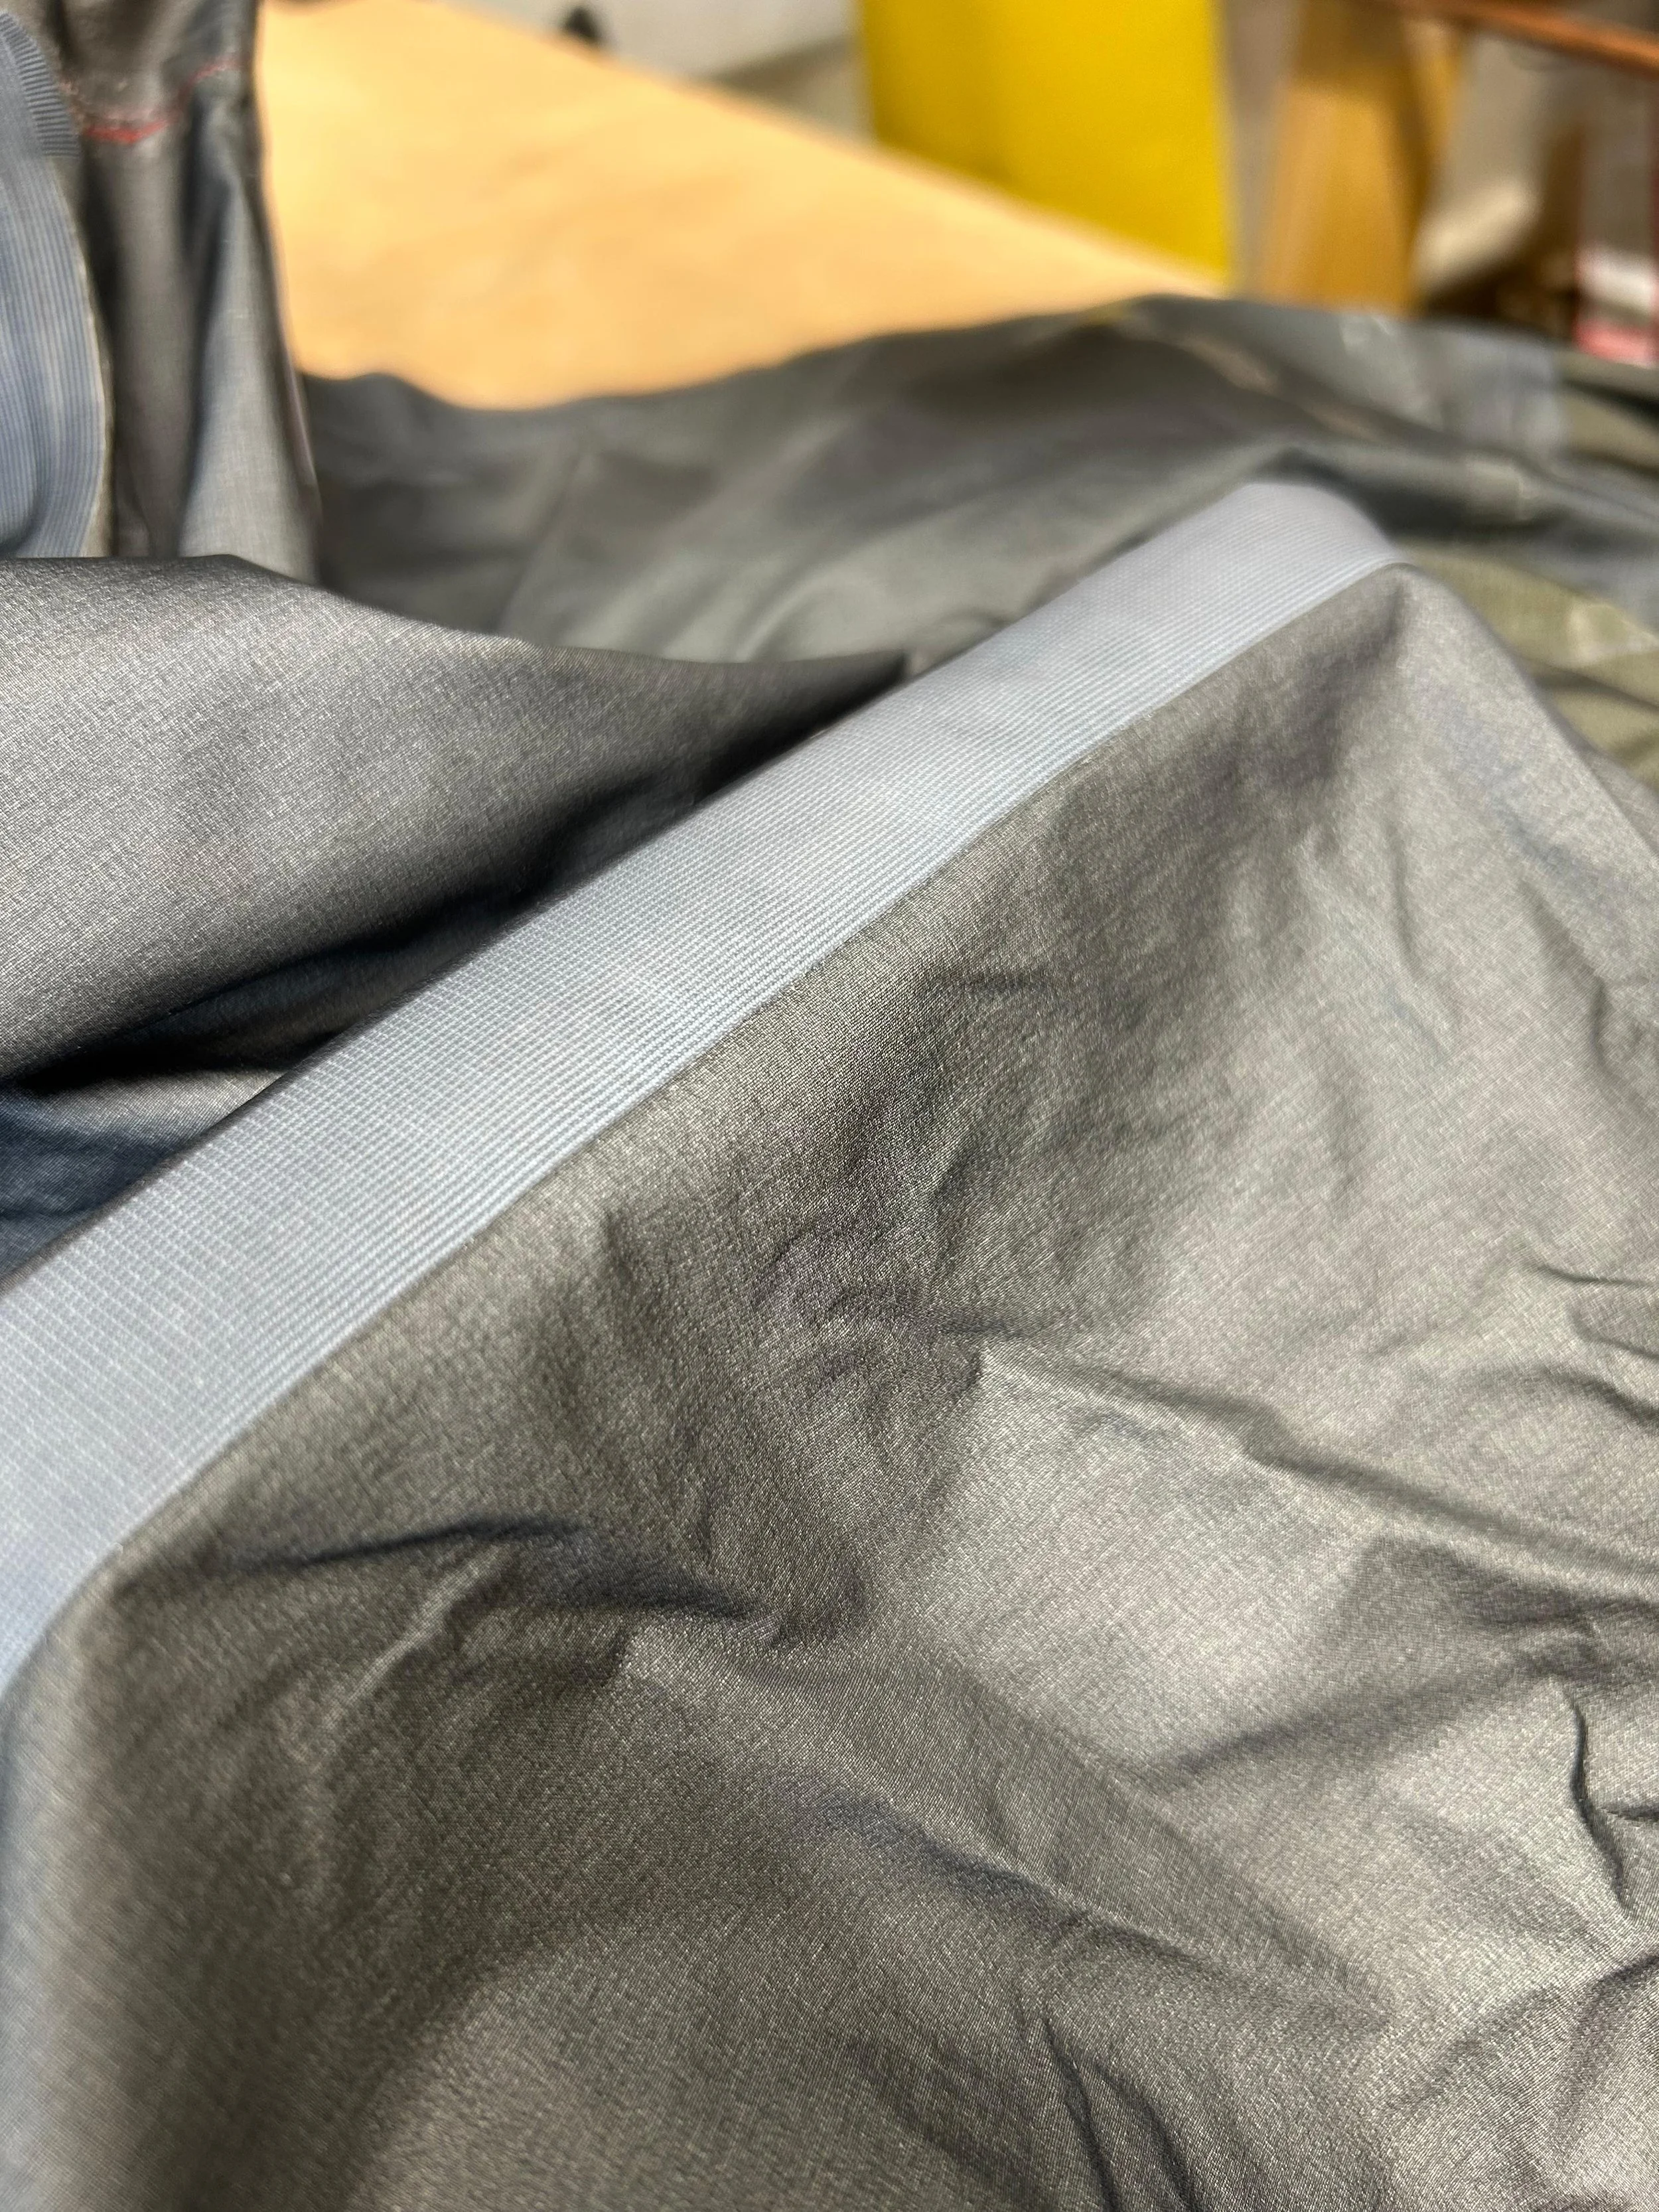
Curves, awkward areas & hardware
For areas such as hoods, cuffs and sleeves, a rolled-up towel underneath the garment can make it easier to work on the curve.
Gently stretch the tape around the curve as you work following the same application instructions above.
If the tape wrinkles, use the iron to gently smooth it out. (Tip - you can also use a face roller to smooth out the tape if you have one!)
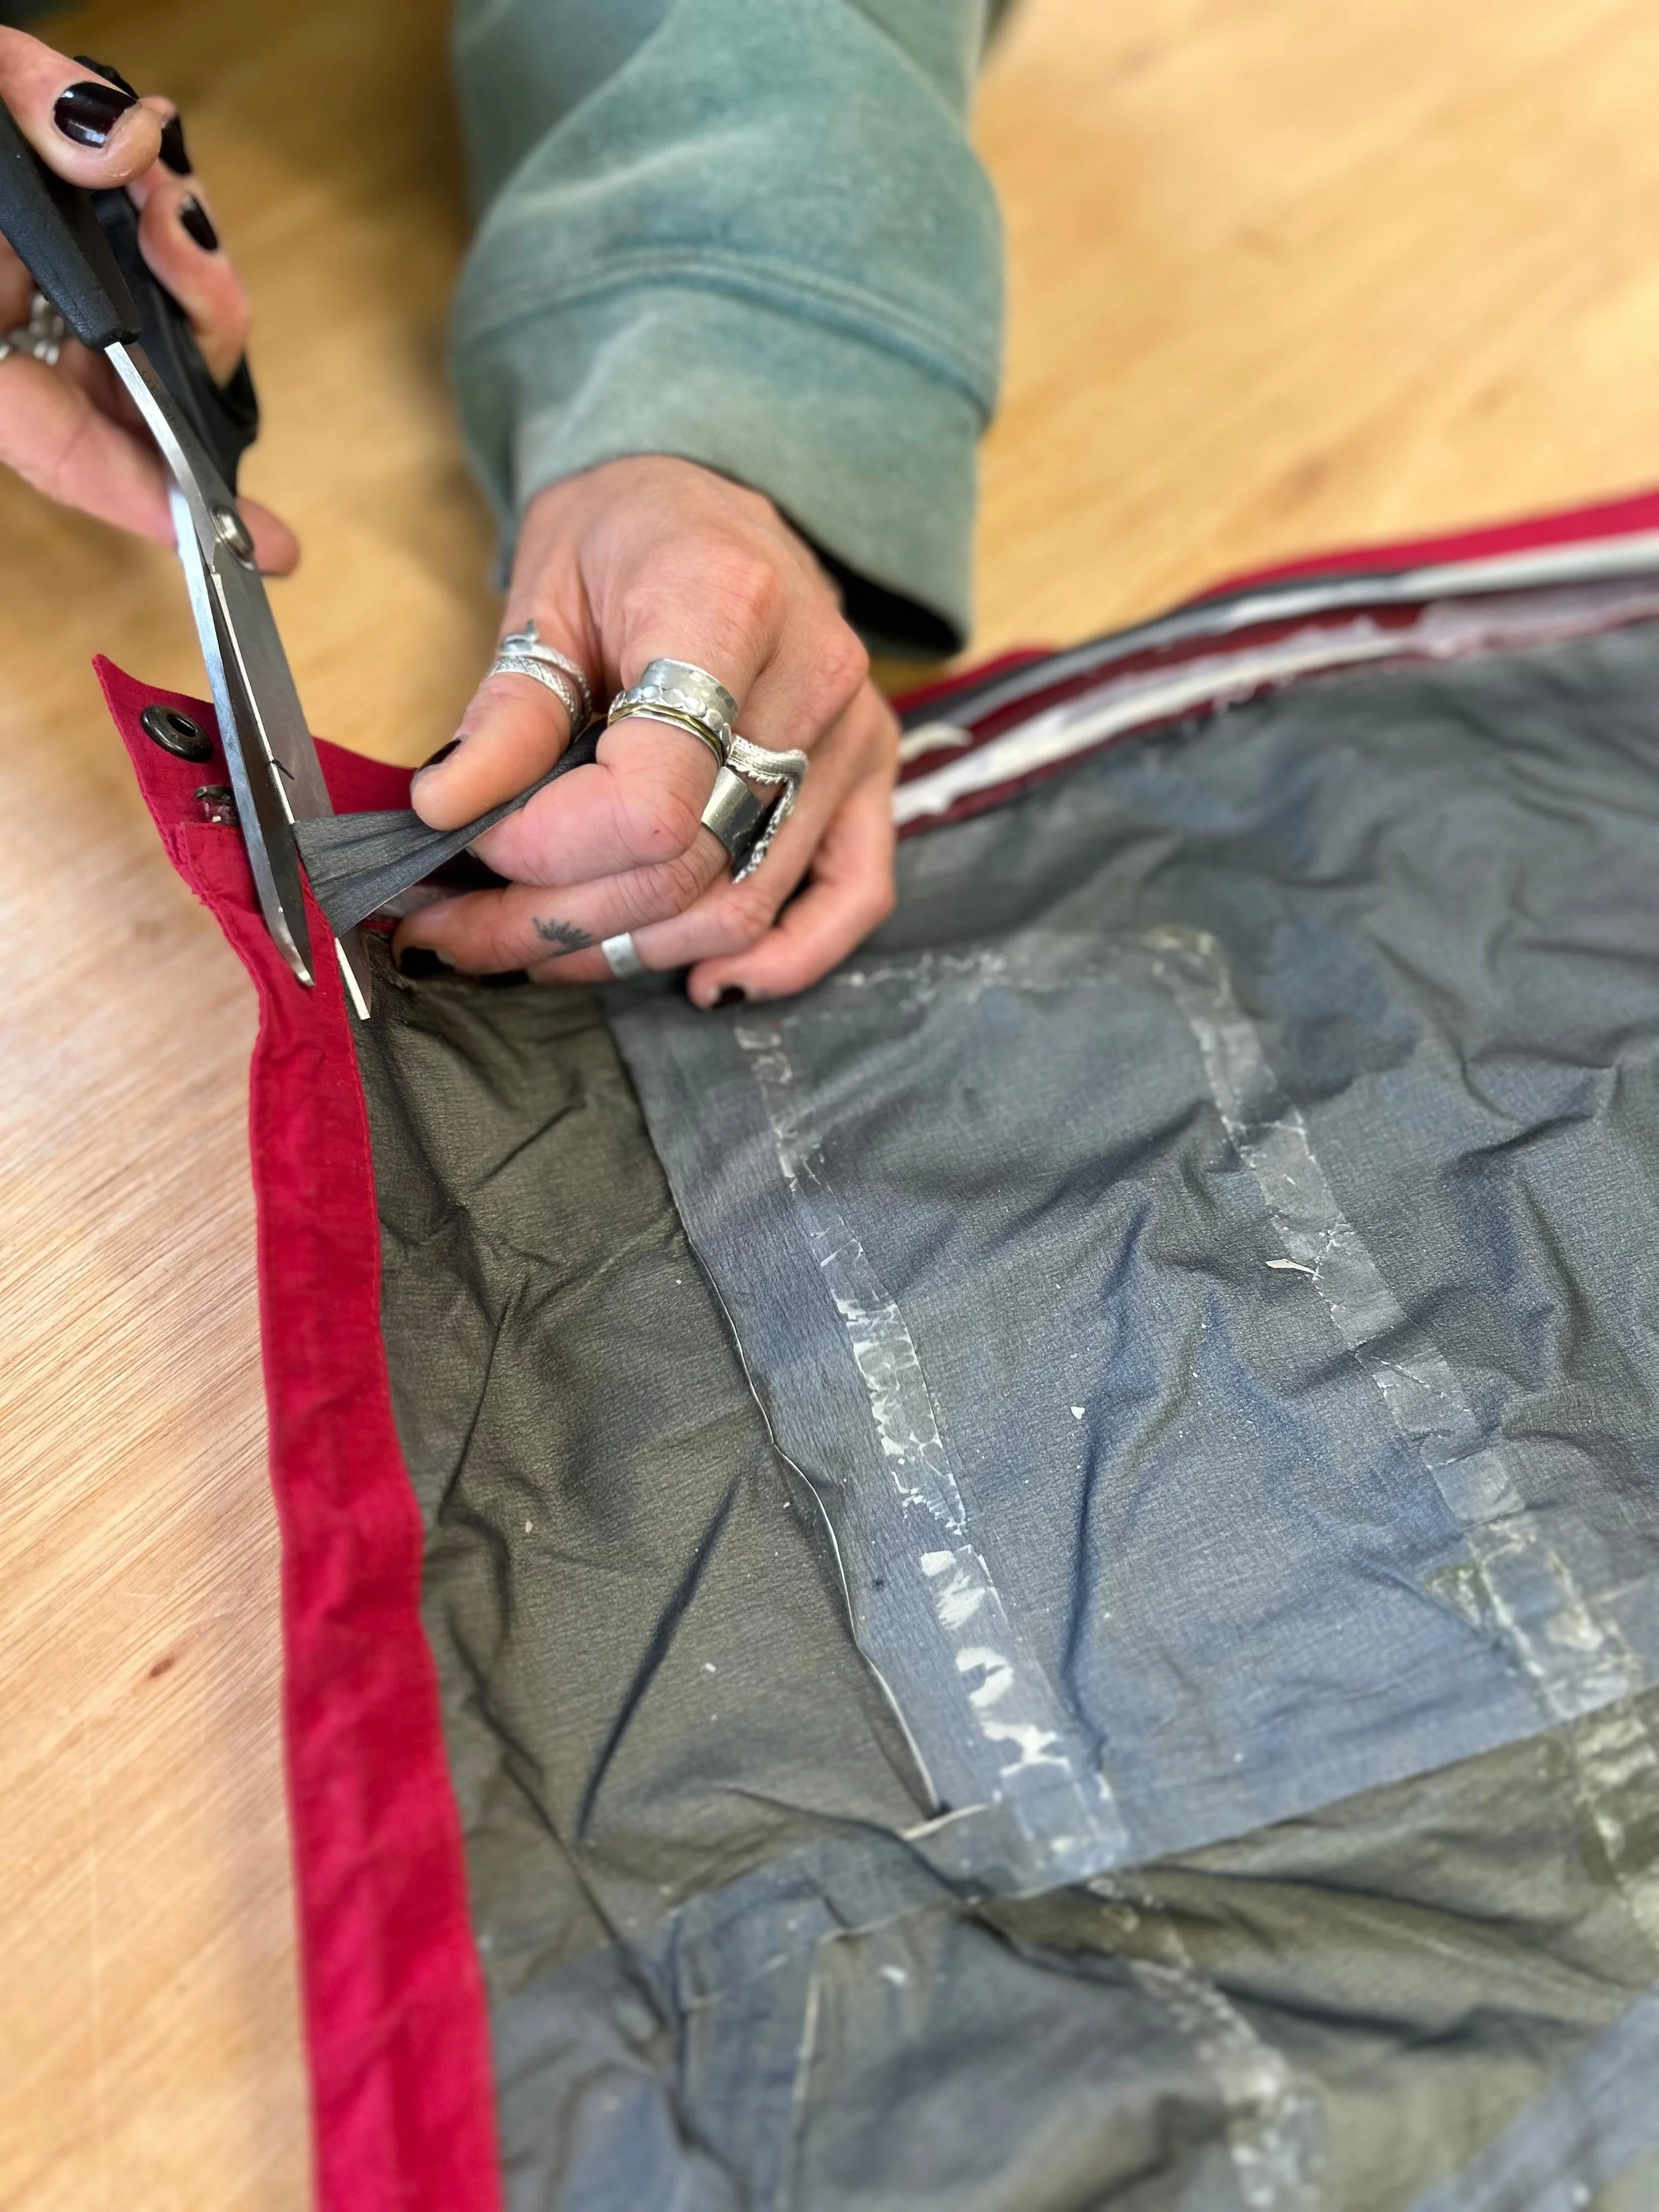
Avoid ironing over zips, eyelets, poppers and other hardware. We recommend cutting the tape around the hardware and leaving a small clearance so that the iron does not contact it.
Be careful around Velcro, rubber and elastic as it may melt.
Seam Seal is applied to the inside of a stitched seam in waterproof items including waterproof jackets & tents. Seam tape is heat activated with adhesive on one side and a waterproof membrane on the other creating a sealed seam.
*This tape does not come with packaging or written instructions.
Ideal for repairing:
The inside of waterproofs
How to use:
Lay your item inside out and flat so you can see the line of stitching you want to seal.
Cut the tape to the length you need and round the corners.
Place the tape along the stitching you want to seam seal with the lighter slightly shiner side down.
Put a non-textured tea towel or baking paper over the tape.
Set your iron to the lowest heat setting.
Press the iron onto the tape for 2–3 seconds, then lift it and check the area.
Continue heating the tape for 3 seconds checking each time for a slightly shiny edge around the tape. This means the glue has melted and the tape is stuck down properly.
If the glue isn’t melting, gradually increase the temperature of the iron until it does.
Continue along the tape in short sections with the same methods.
When you've finished
Check along your tape to make sure it is all stuck down, look out for lighter patches (which indicated its not quite stuck down)
If needed, go over any places that need a little extra help with the iron, make sure it is still on low.
We recommend leaving the garment flat until it has cooled to avoid creasing.
While you wait for your item to cool, give yourself a big pat on the back!
Ps. we’re happy to help if you need any extra advise!