
How To Apply Liquid Seam Seal
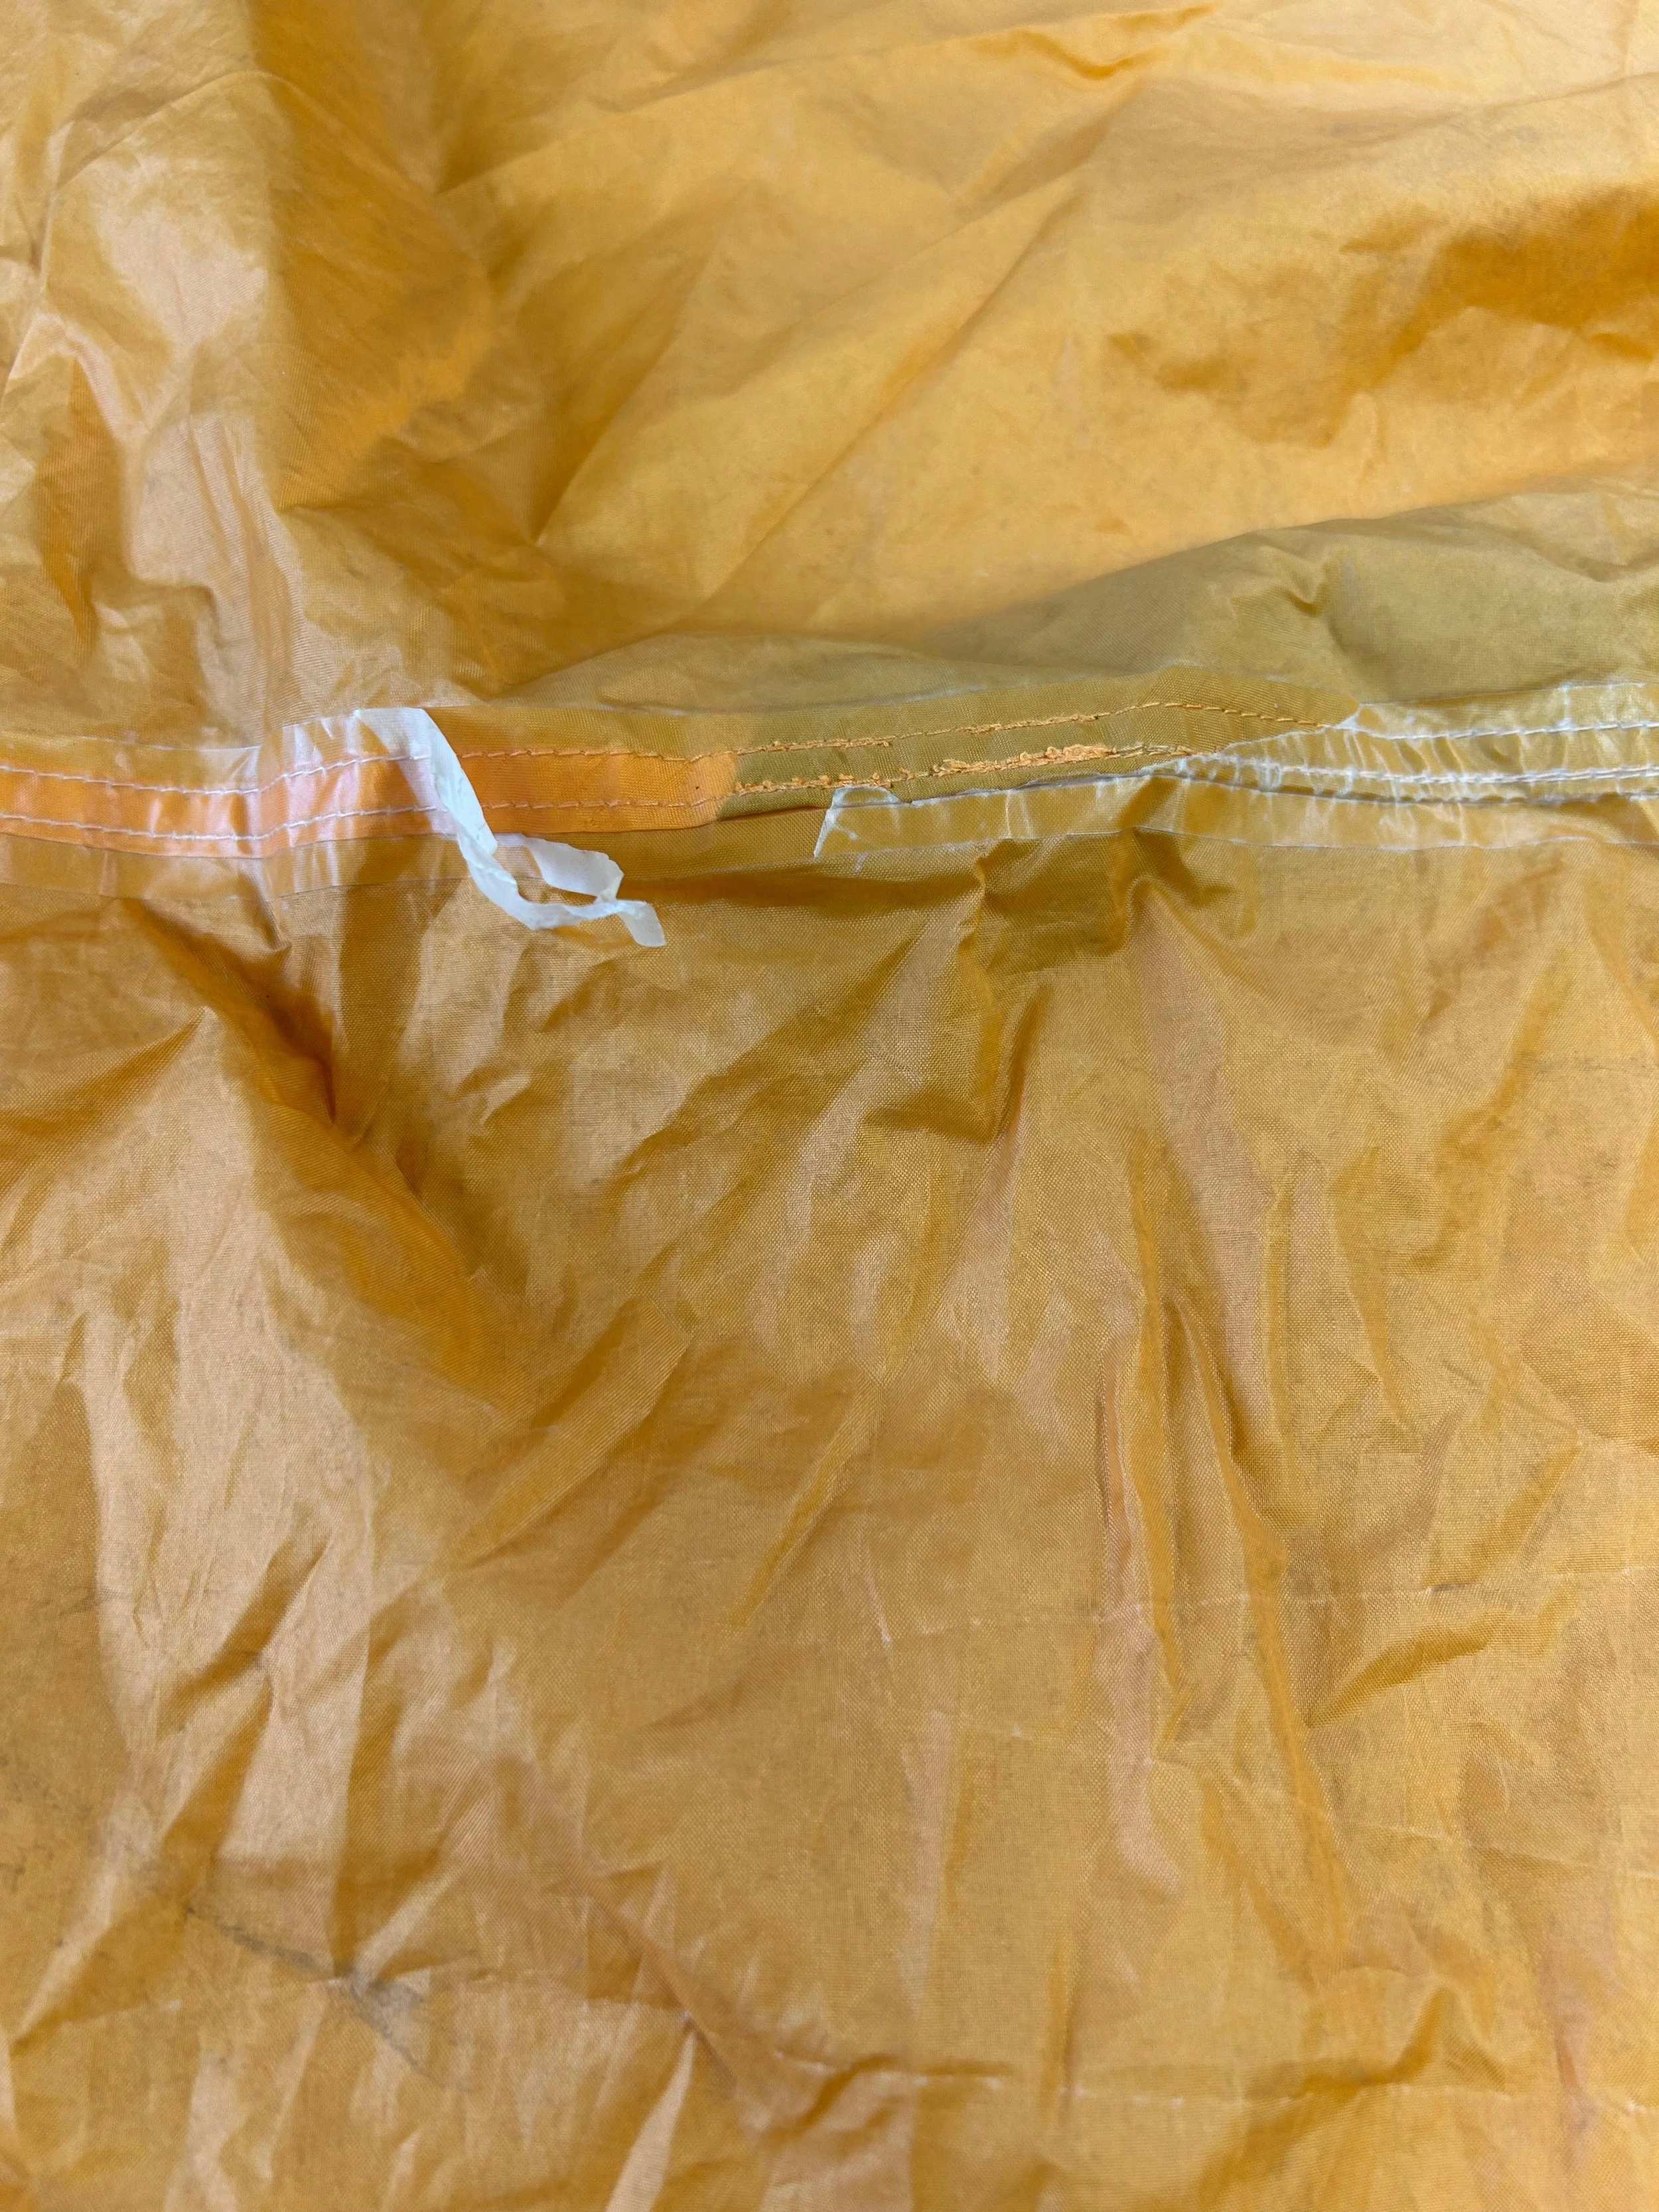
Keep your favourite waterproof items in use by giving the seams some love! If you’re out camping, exploring the mountains, trail running, playing in the waves, or any other outdoor adventuring, it’s important to be able to rely on your gear.
Seam seals are used to waterproof the small holes created by stitching on outdoor clothing and equipment. They work by covering the stitching with a flexible waterproof layer. Over time this seal can start to crack or peel off. But fear not, this can be repaired! Here’s our guide to helping your gear live longer:
Before you start
Check the stitching you want to seal and make sure it is in good condition.
If you can see any loose threads, carefully trim them close to the fabric.
If you’re seam sealing over old seam tape, make sure to remove as much of the old tape as you can before applying the liquid seam seal. It often comes up easily. If it’s a bit stubborn, use a hair dryer to warm up the tape (make sure the heat setting is low to avoid damaging the fabric) and use a plastic card (i.e. credit card) to scrape it away.
Make sure the area is clean and dry before you start, we suggest wiping it down with isopropanol.
Check that you have the right seam seal for your item. Check out our ‘Choosing the Right Glue’ guide for help with this step. If you're still not sure, you can do a small test patch somewhere on the item to see if it sticks once dried (we’re also always here to help if you need advice!)
Applying the liquid seam seal
Lay the garment out so that the stitching you want to seal is completely flat and easy to reach (always seal on the inside of the item, so lay it inside facing up).
Squeeze a small amount of seam seal onto a clean piece of plastic (we use the back of the product packaging).
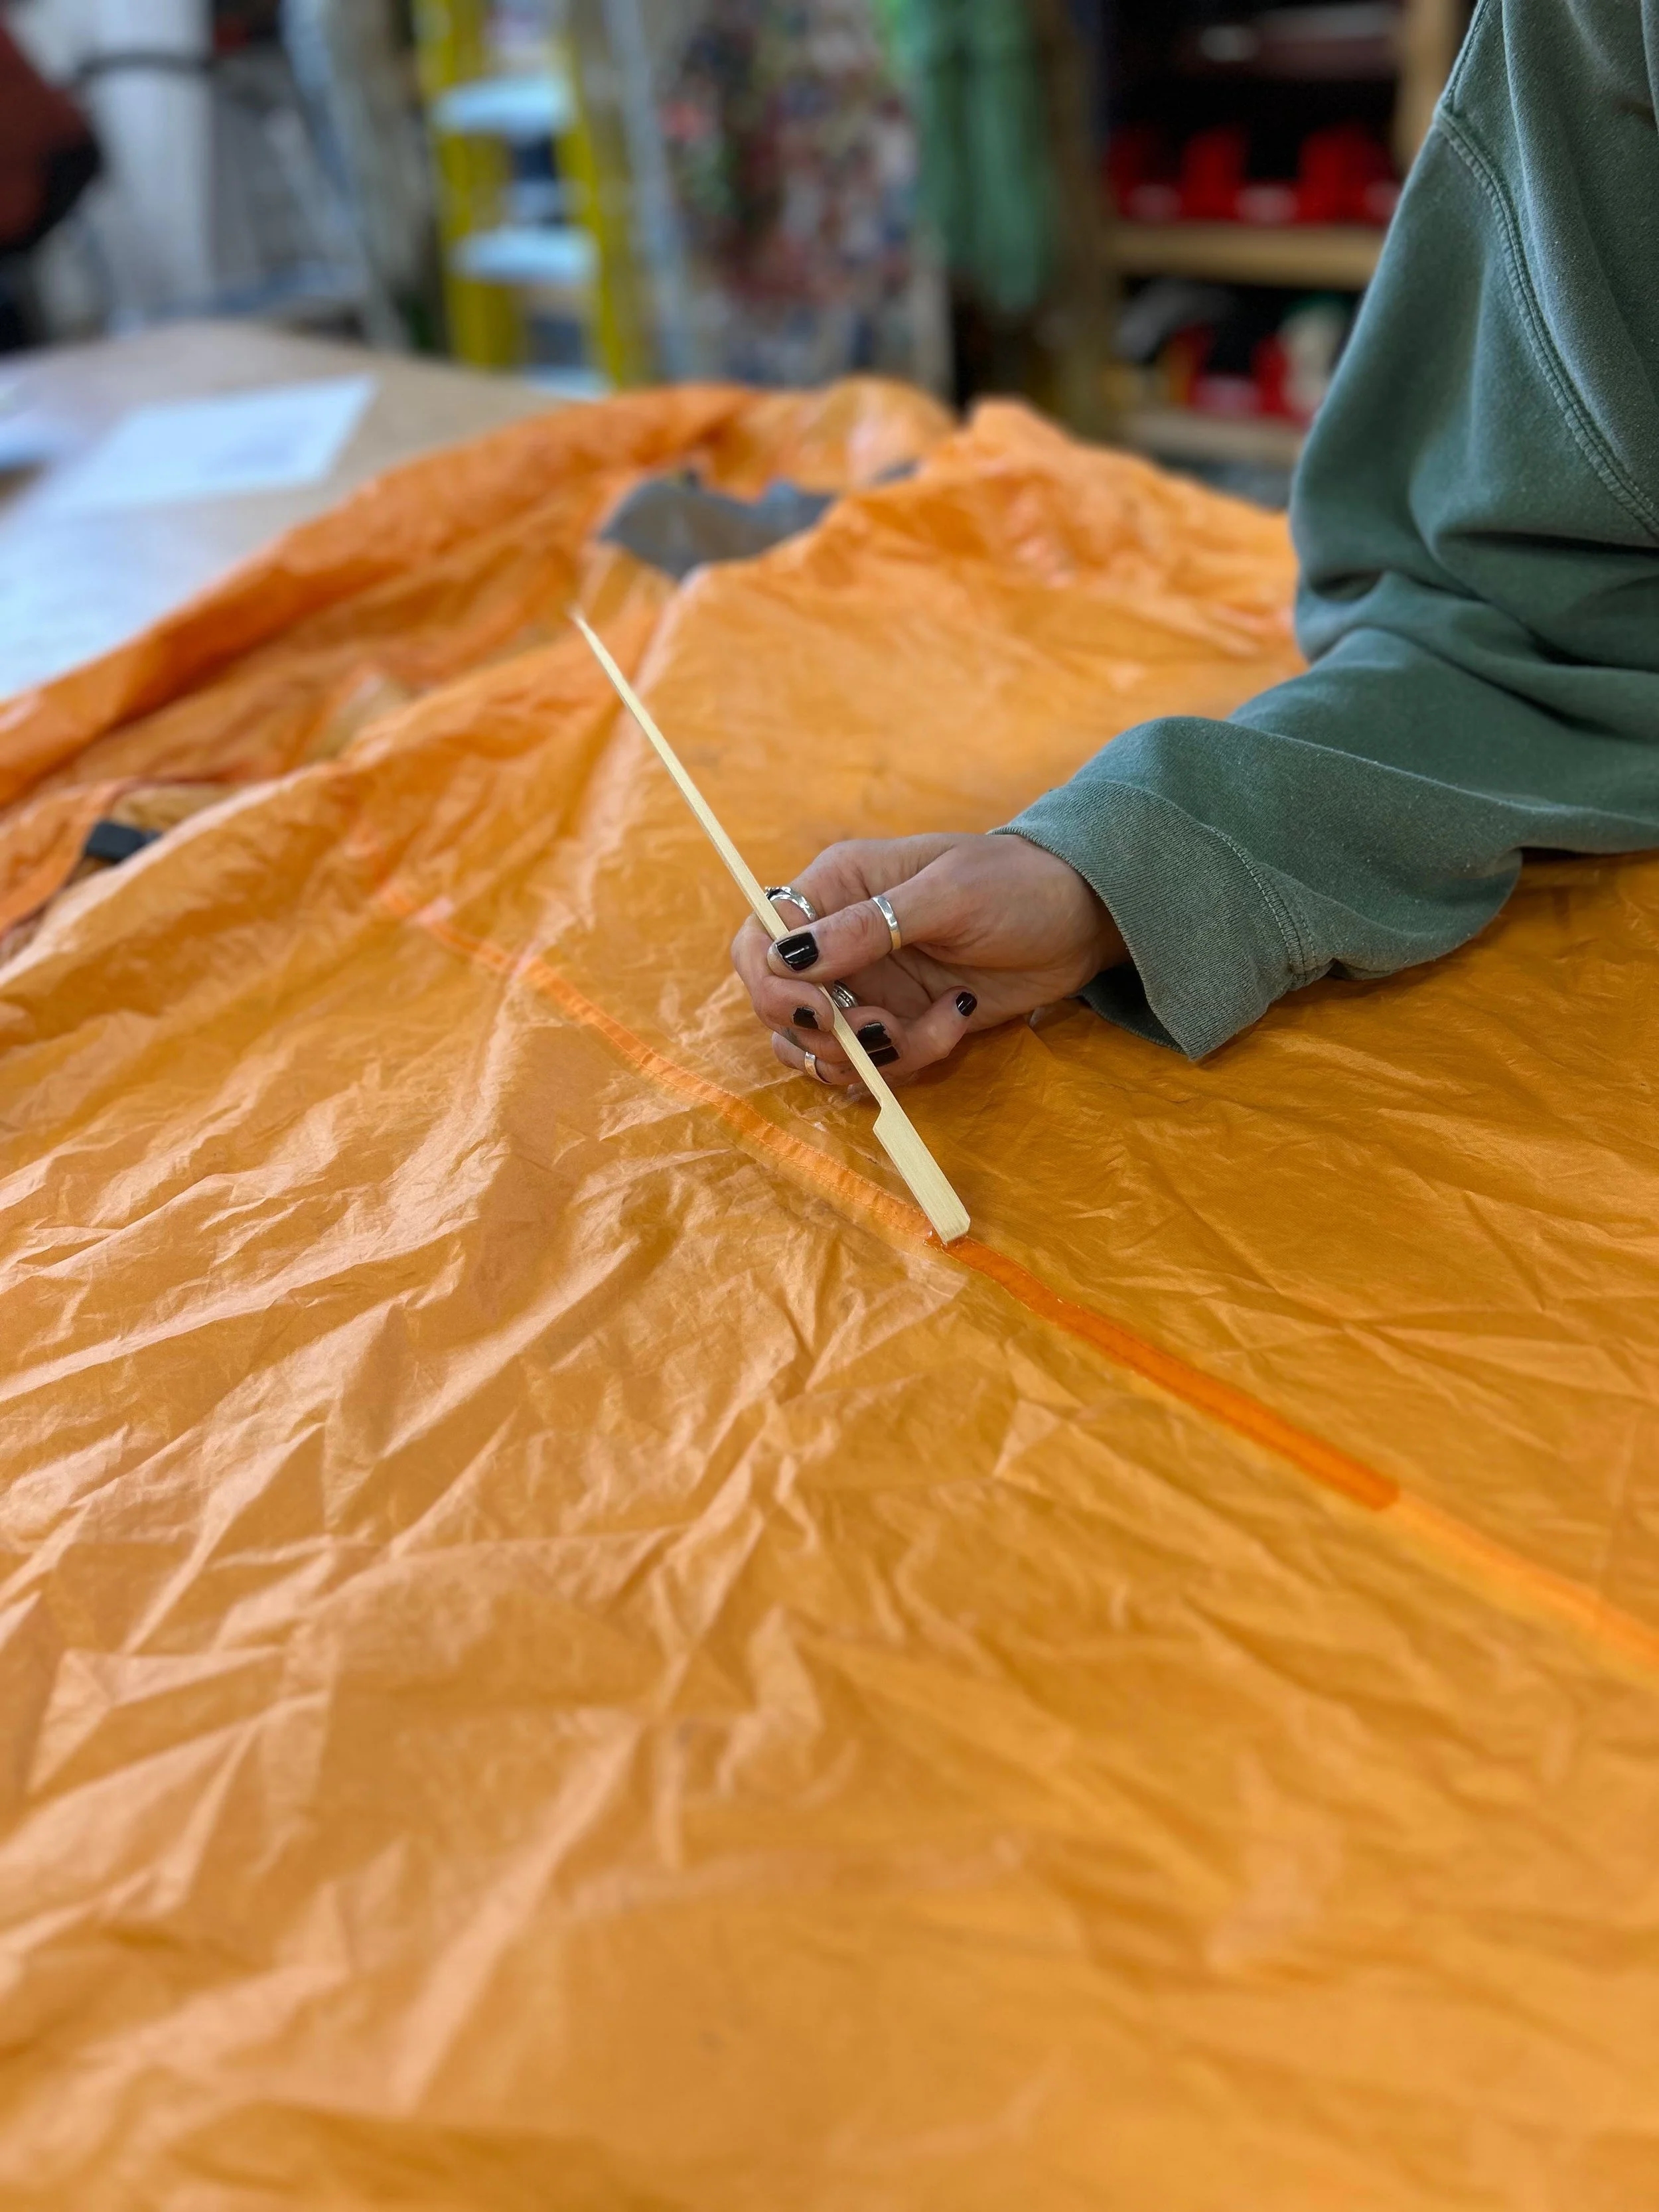
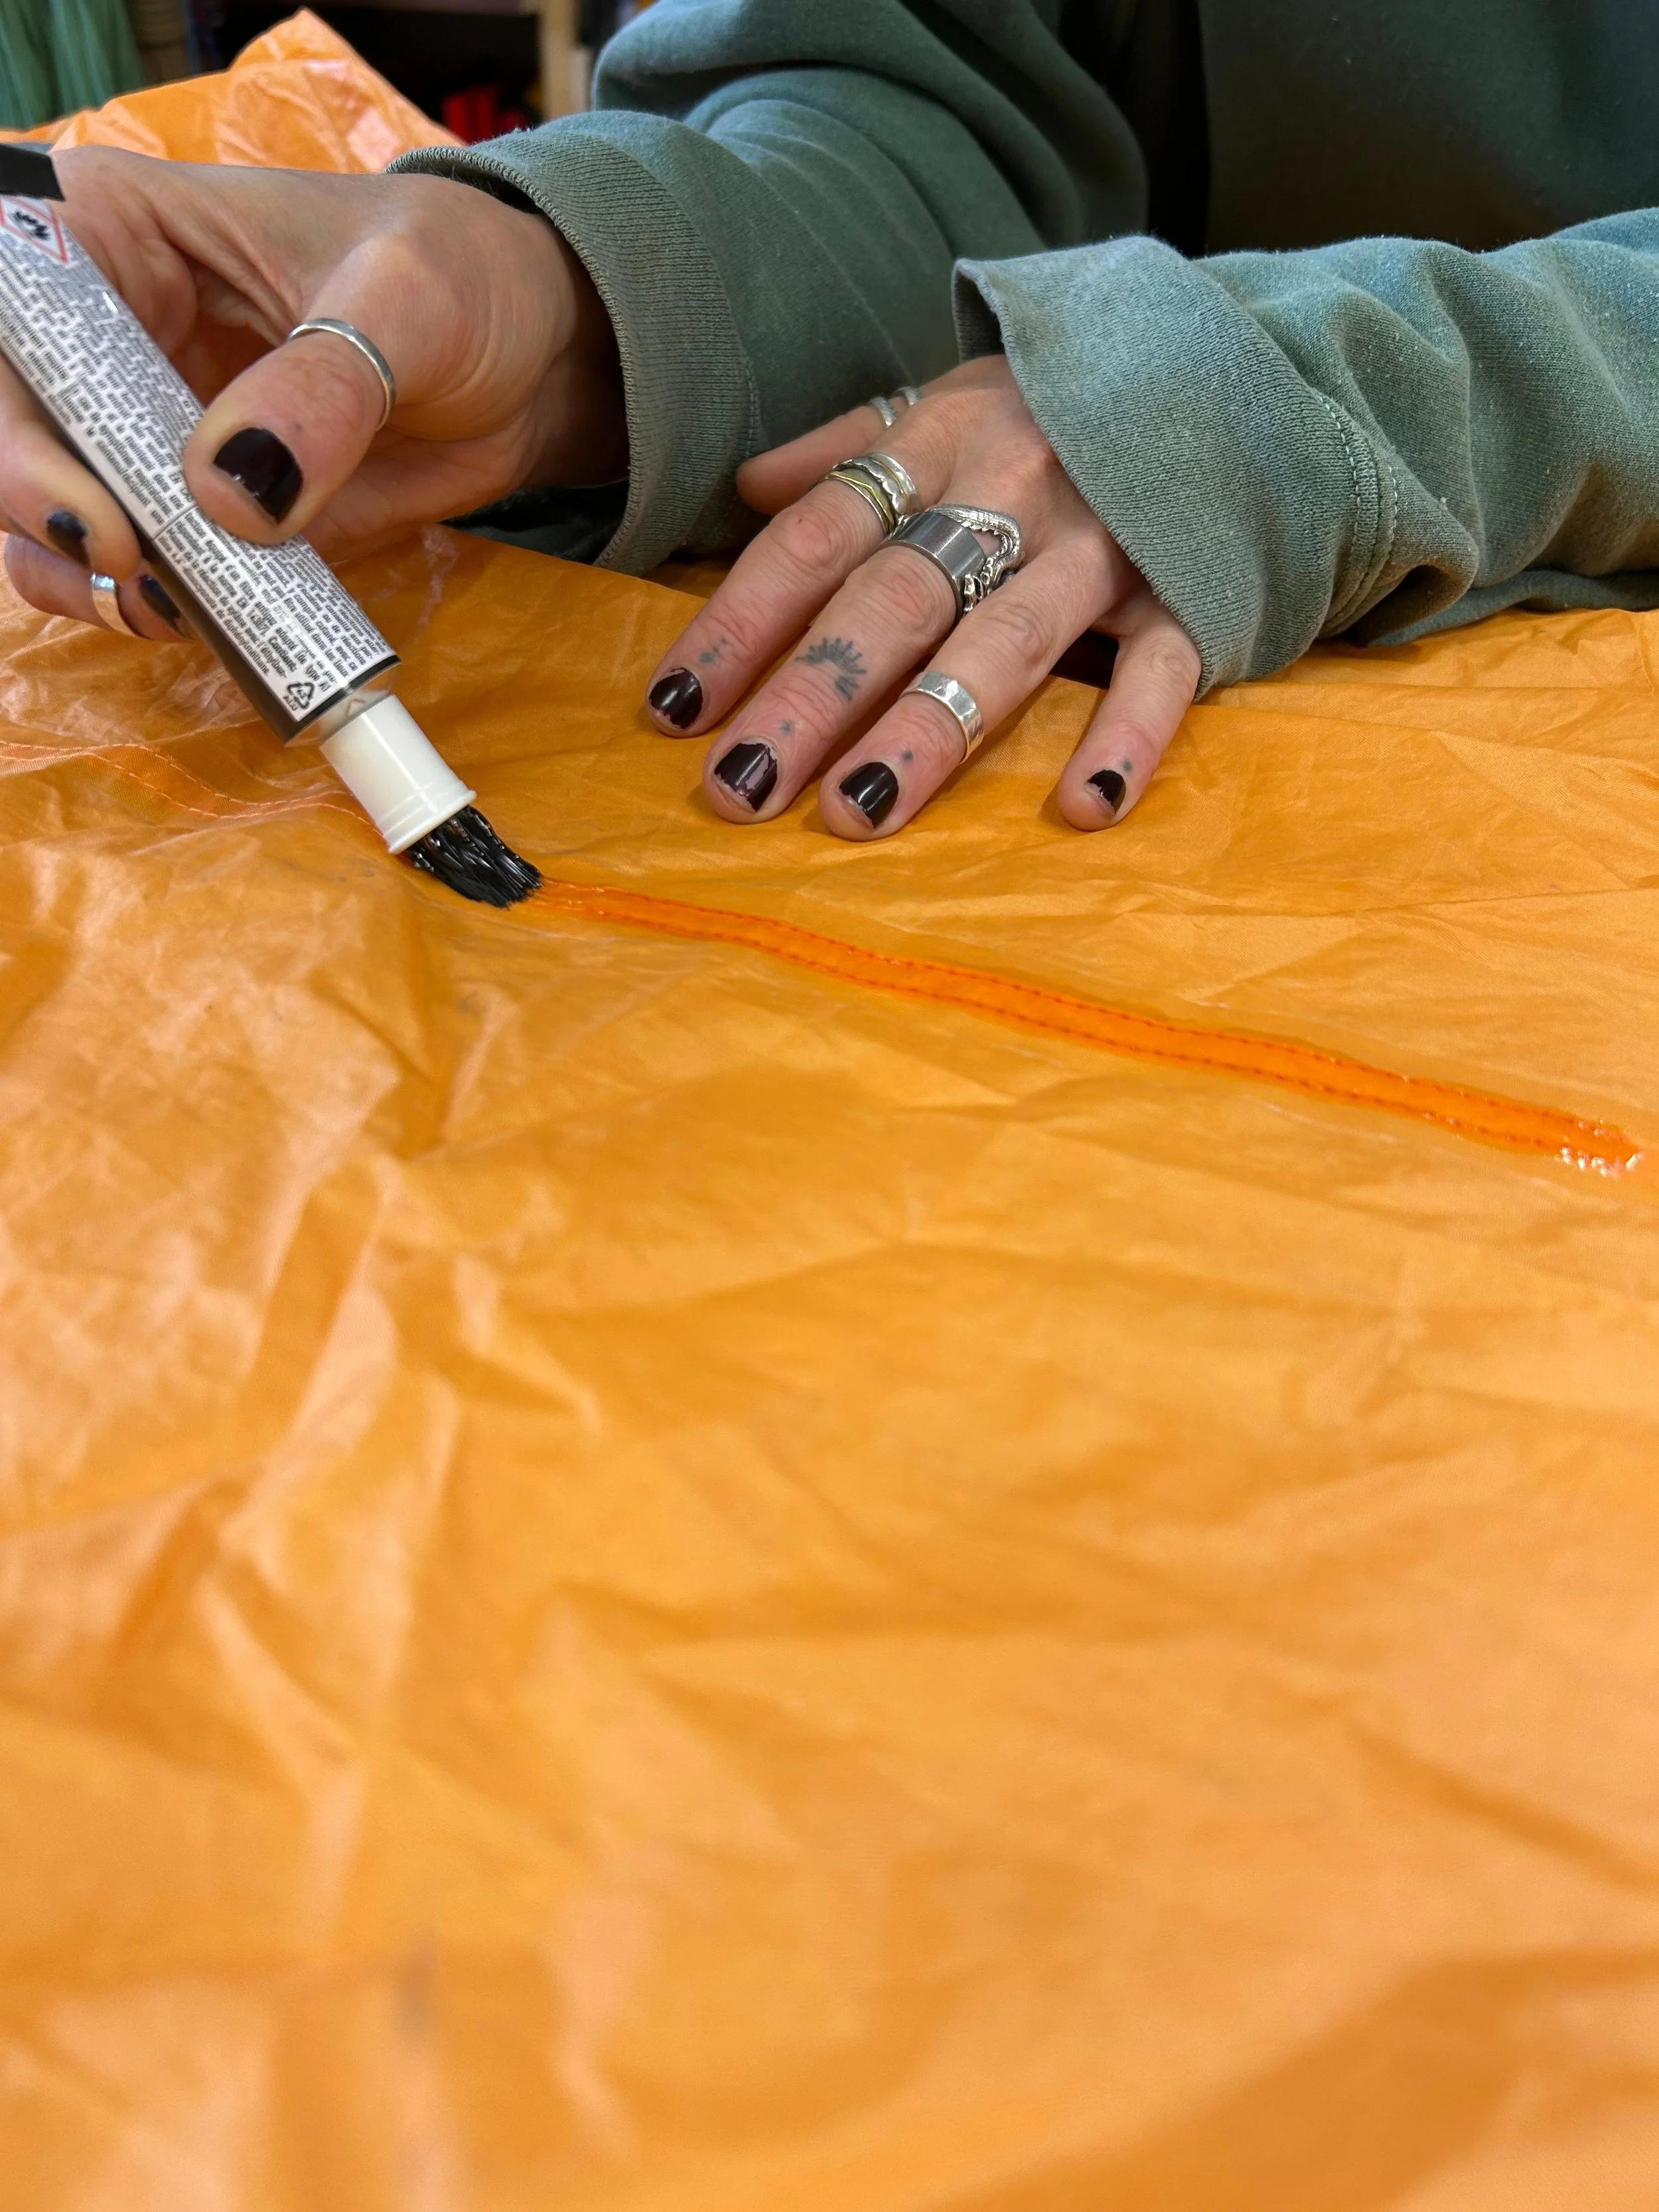
Some of the products come with their own brush for application, though we actually find it easier to use a wooden barbeque skewer. Either is great!
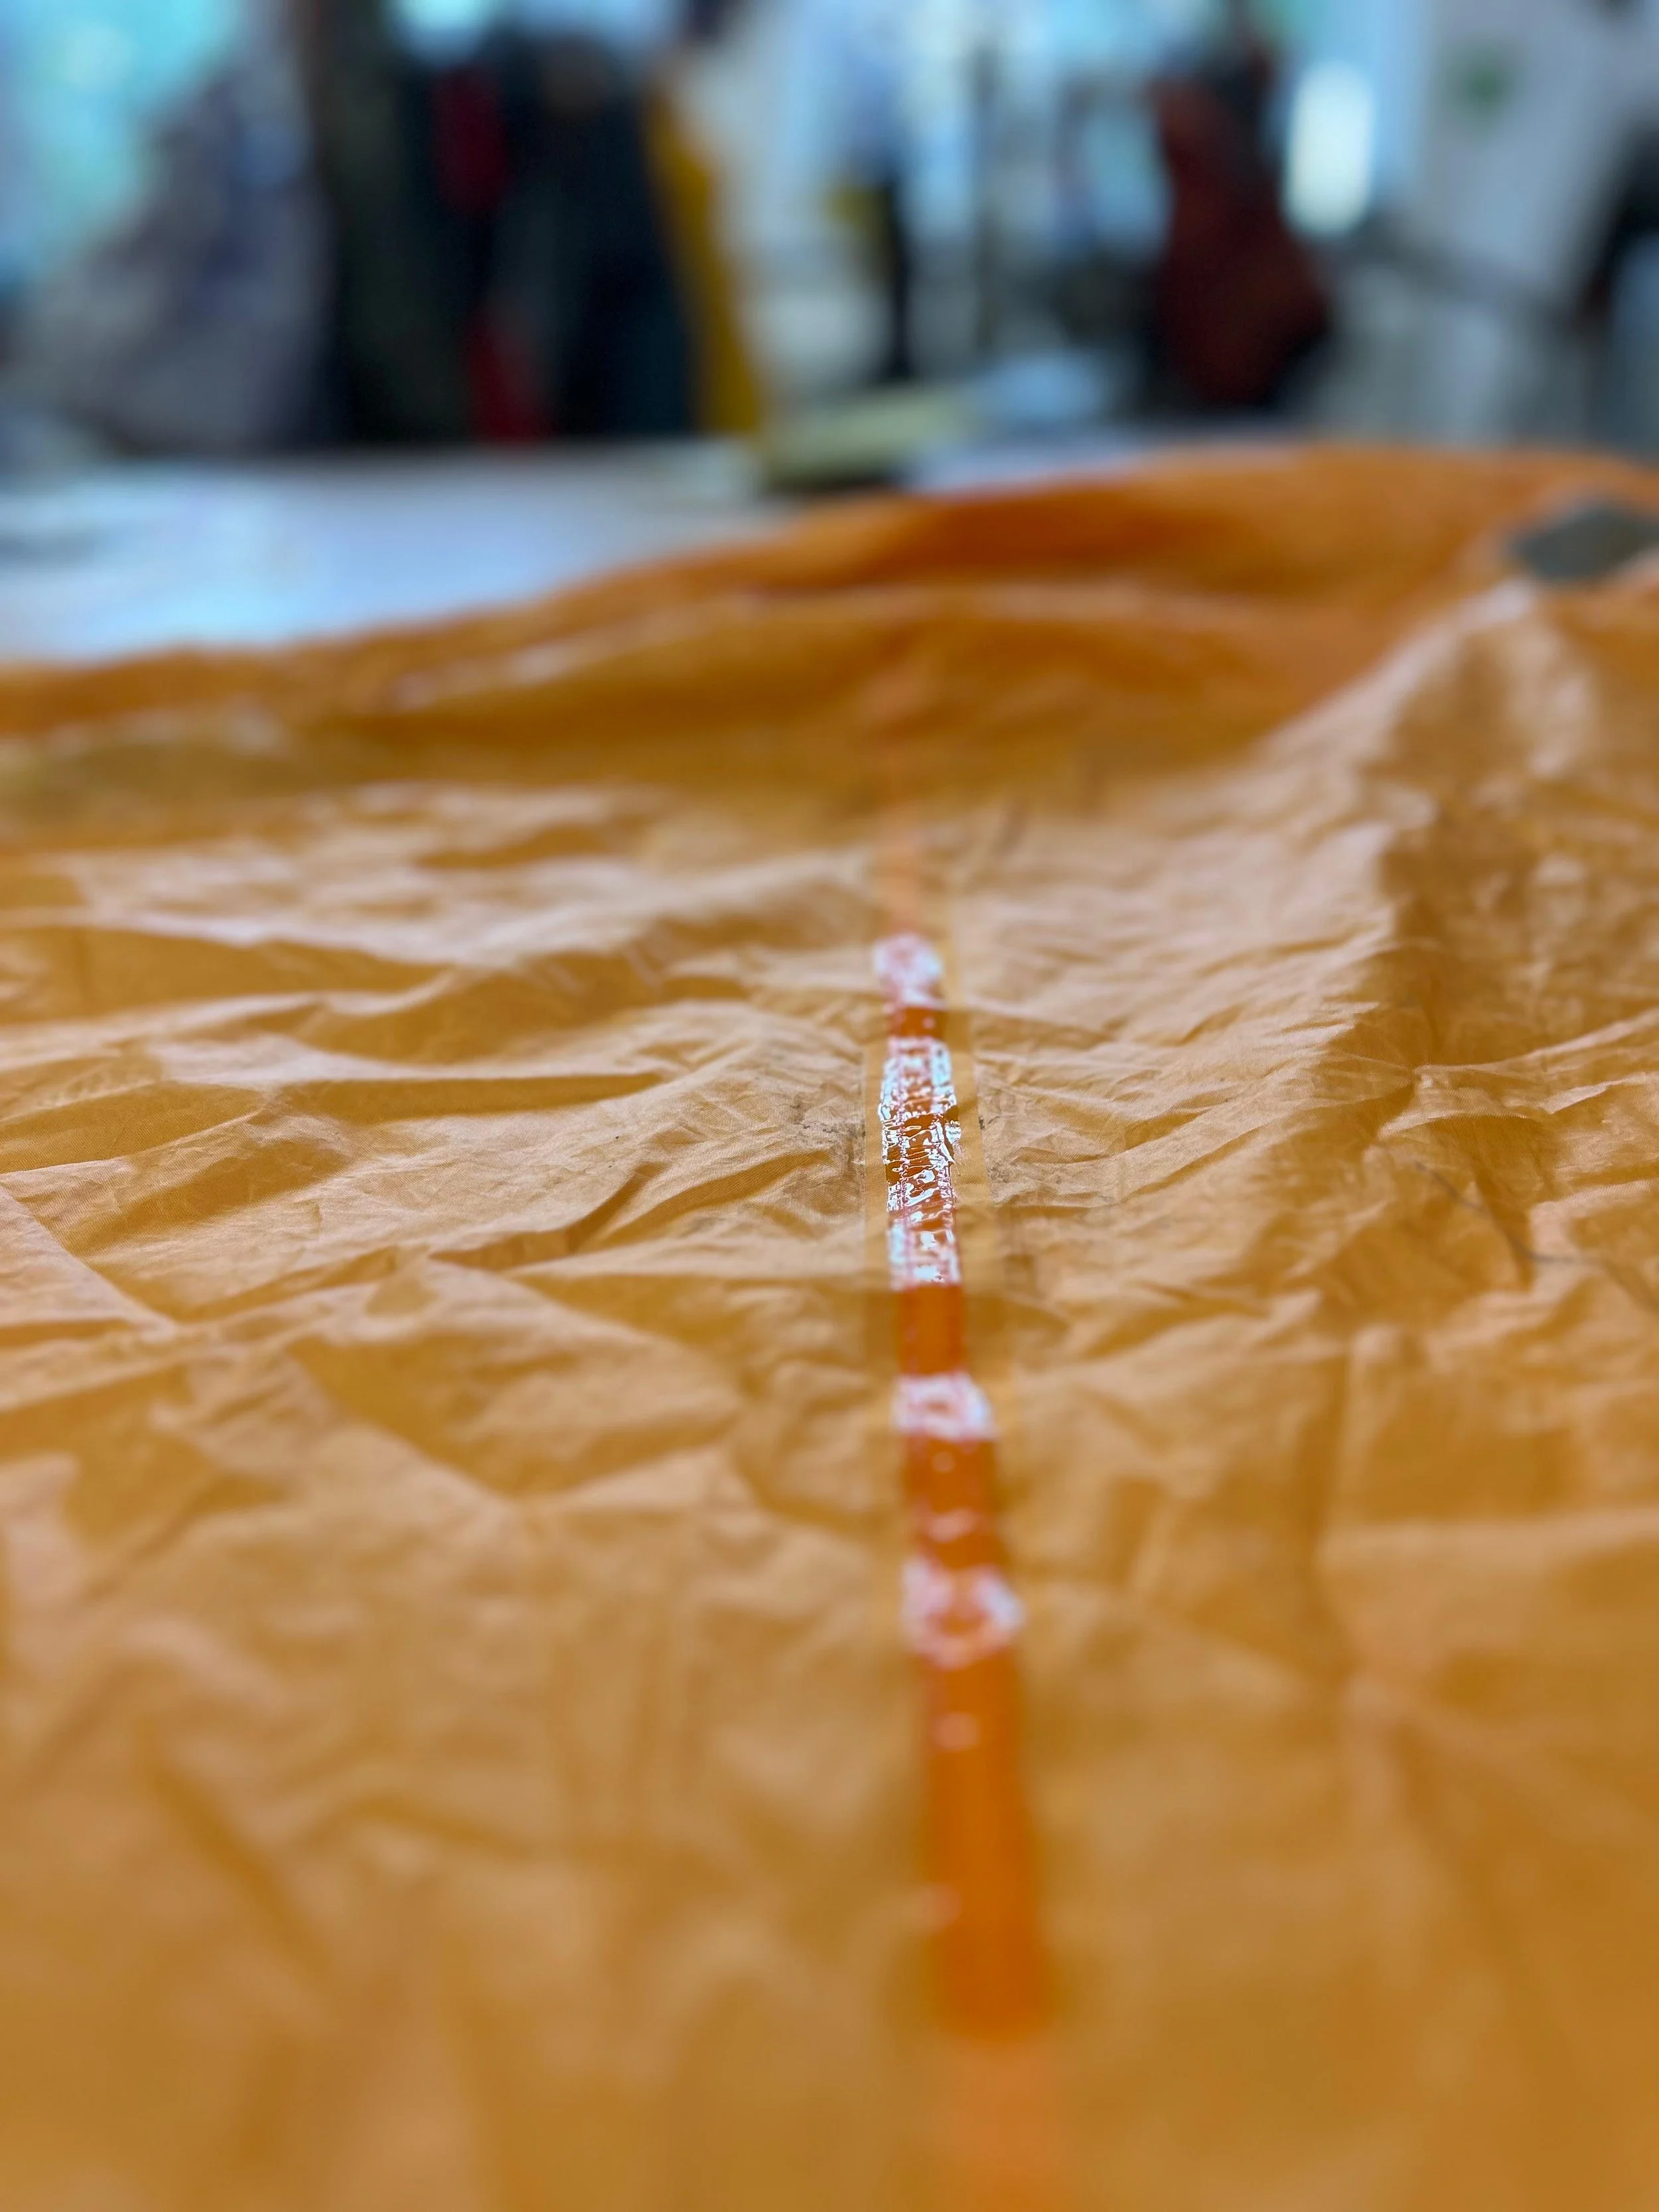
Use the brush/skewer to carefully spread the sealant along the stitching trying to make it as flat and even as possible. You don’t need a thick layer, just enough to cover the stitching and any thread fluff (the fibres you can see if you look closely at the thread).
Work along the stitching a little at a time.
Drying
Leave the garment flat and undisturbed while it dries.
Allow around 8–12 hours to dry, we usually leave them to dry overnight.
Don't fold, pack or use the garment until the seam seal is fully dry.
Tips:
Seam sealants can be smelly! Work in ventilated space, or open a window.
If you’re doing a large item (for example a tent), if possible, we recommend covering your table with one section, applying the seam seal, letting it dry overnight before moving to the next section, and repeat until it is complete. This way it dries completely before being moved, increasing the quality of the finish and avoiding a sticky mess whilst working on it.
Once the seam seal has completely dried, lightly dust over with chalk to prevent tackiness and sticking when stored.


