How to Fix Your Jacket With Repair Tape
Welcome to our guide for repair tape patches.
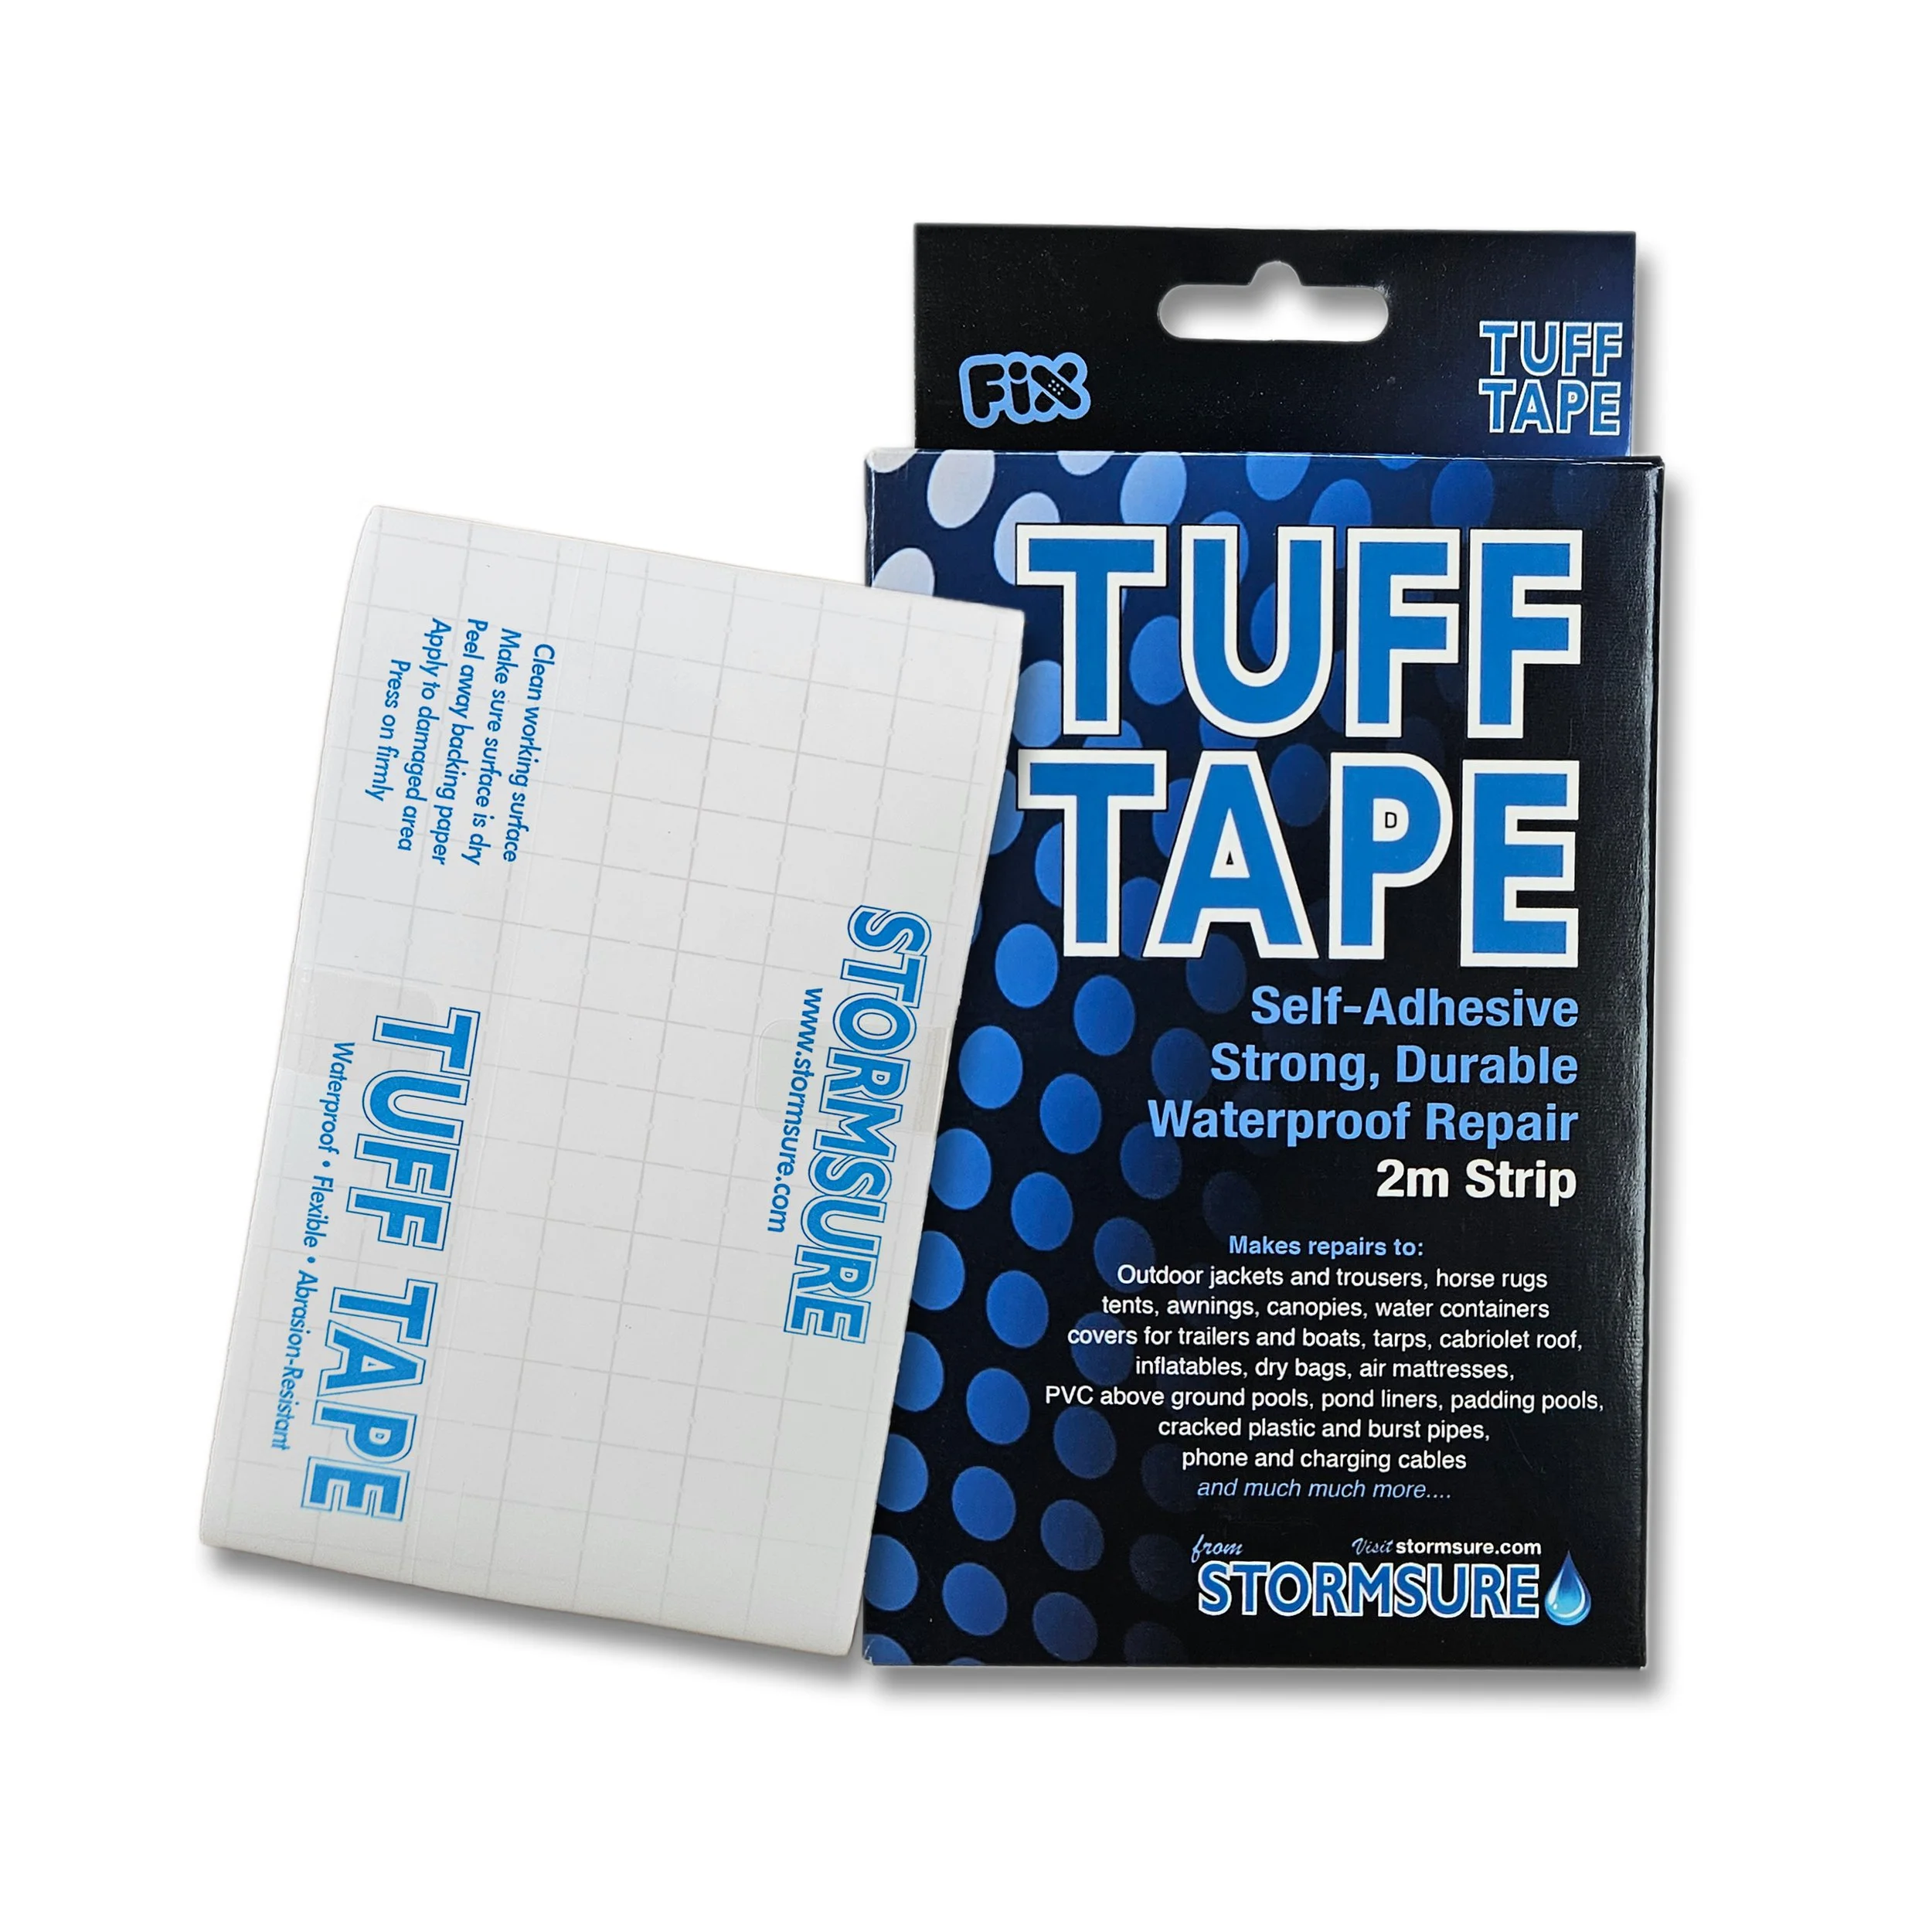
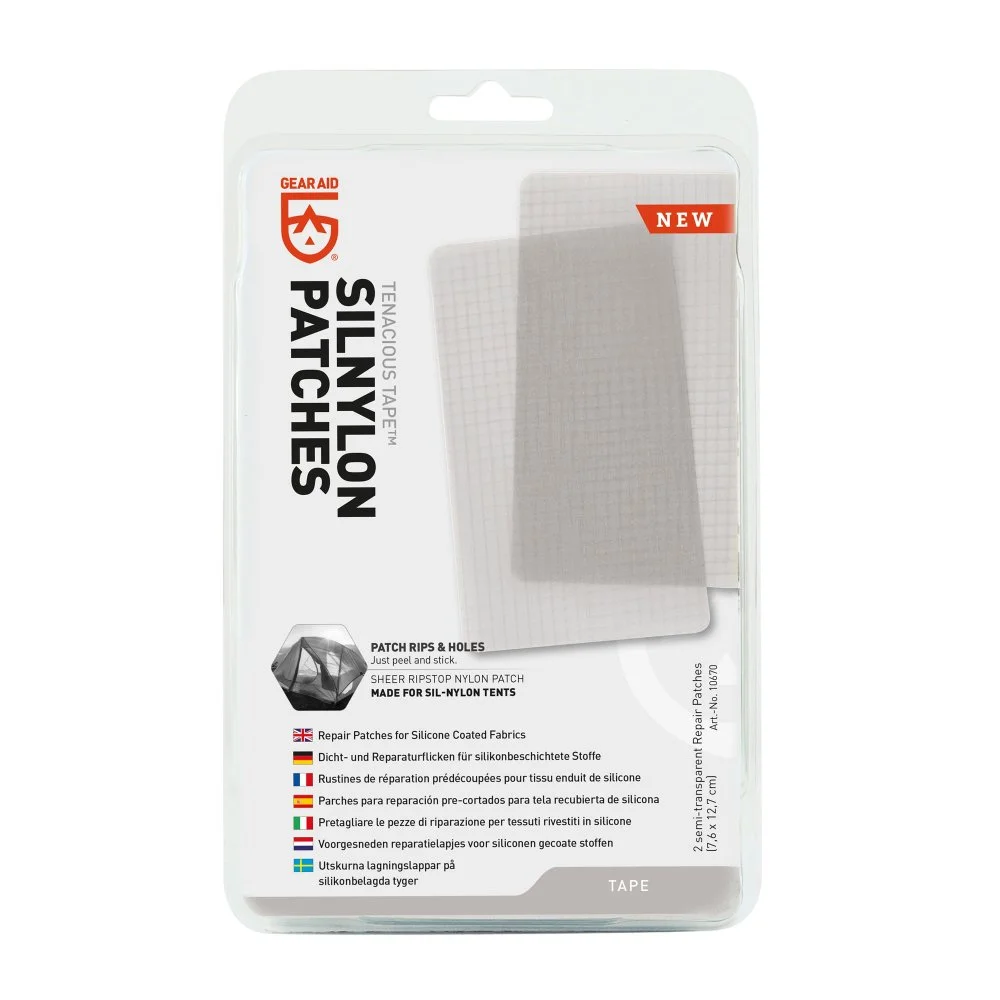
We are huge fans of the humble repair tape patch. They make DIY outdoor gear repair accessible in wild places, outperforming duct, medical, and electrical tape any day.
Whether you’re out hiking, trail running, mountain biking, skiing, or on another adventure, they fit nice and snug in a bag or pocket - ready for quick and easy application.
Read on for our easy guide on how to use repair tape:
Before you start
Make sure the garment is clean and dry.
Choose a patch suitable for the fabric and garment (use our ‘Patch Guide’).
If you are unsure whether the fabric or patch is suitable for heat application, pop us an email or give us a call!
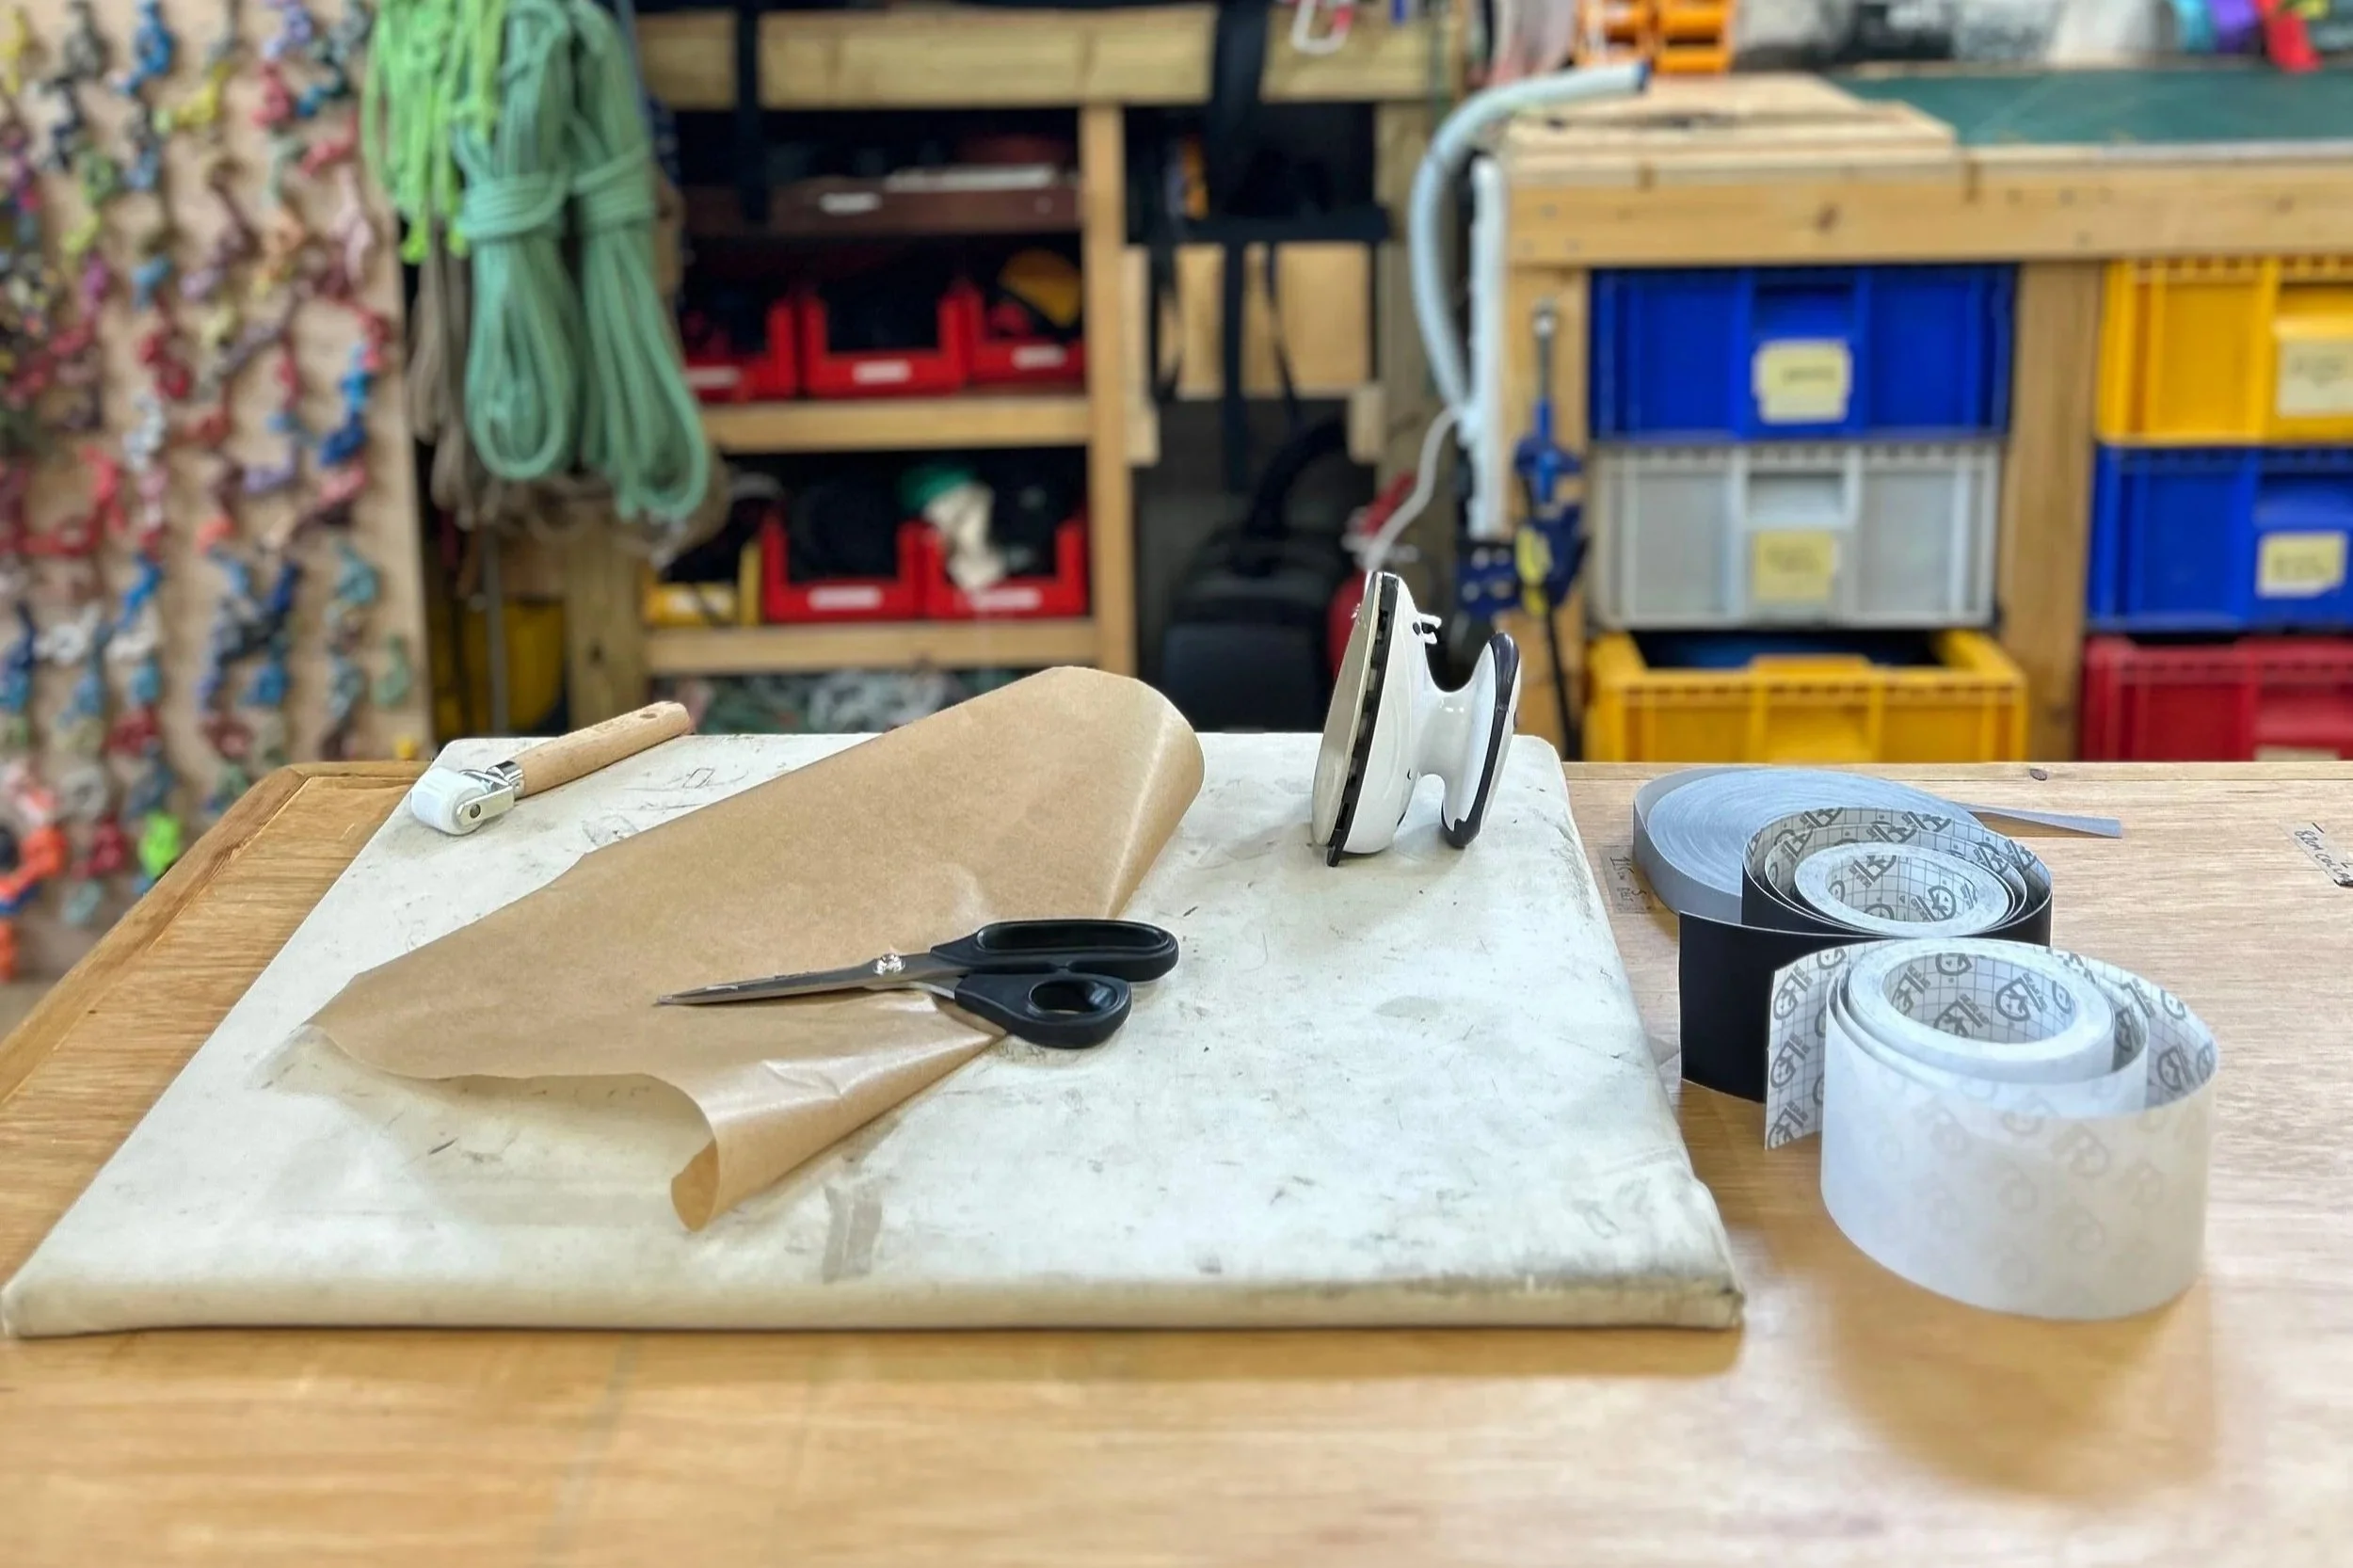
What you’ll need
Suitable repair tape
Scissors
For optional added heat:
Domestic iron or travel/mini iron
Non-textured tea towel or baking paper
Flat, heat-resistant surface
Top tip
Store a small section of rolled up repair tape in an old plastic pill bottle for a water and dirt proof field repair kit.
Prepare the patch
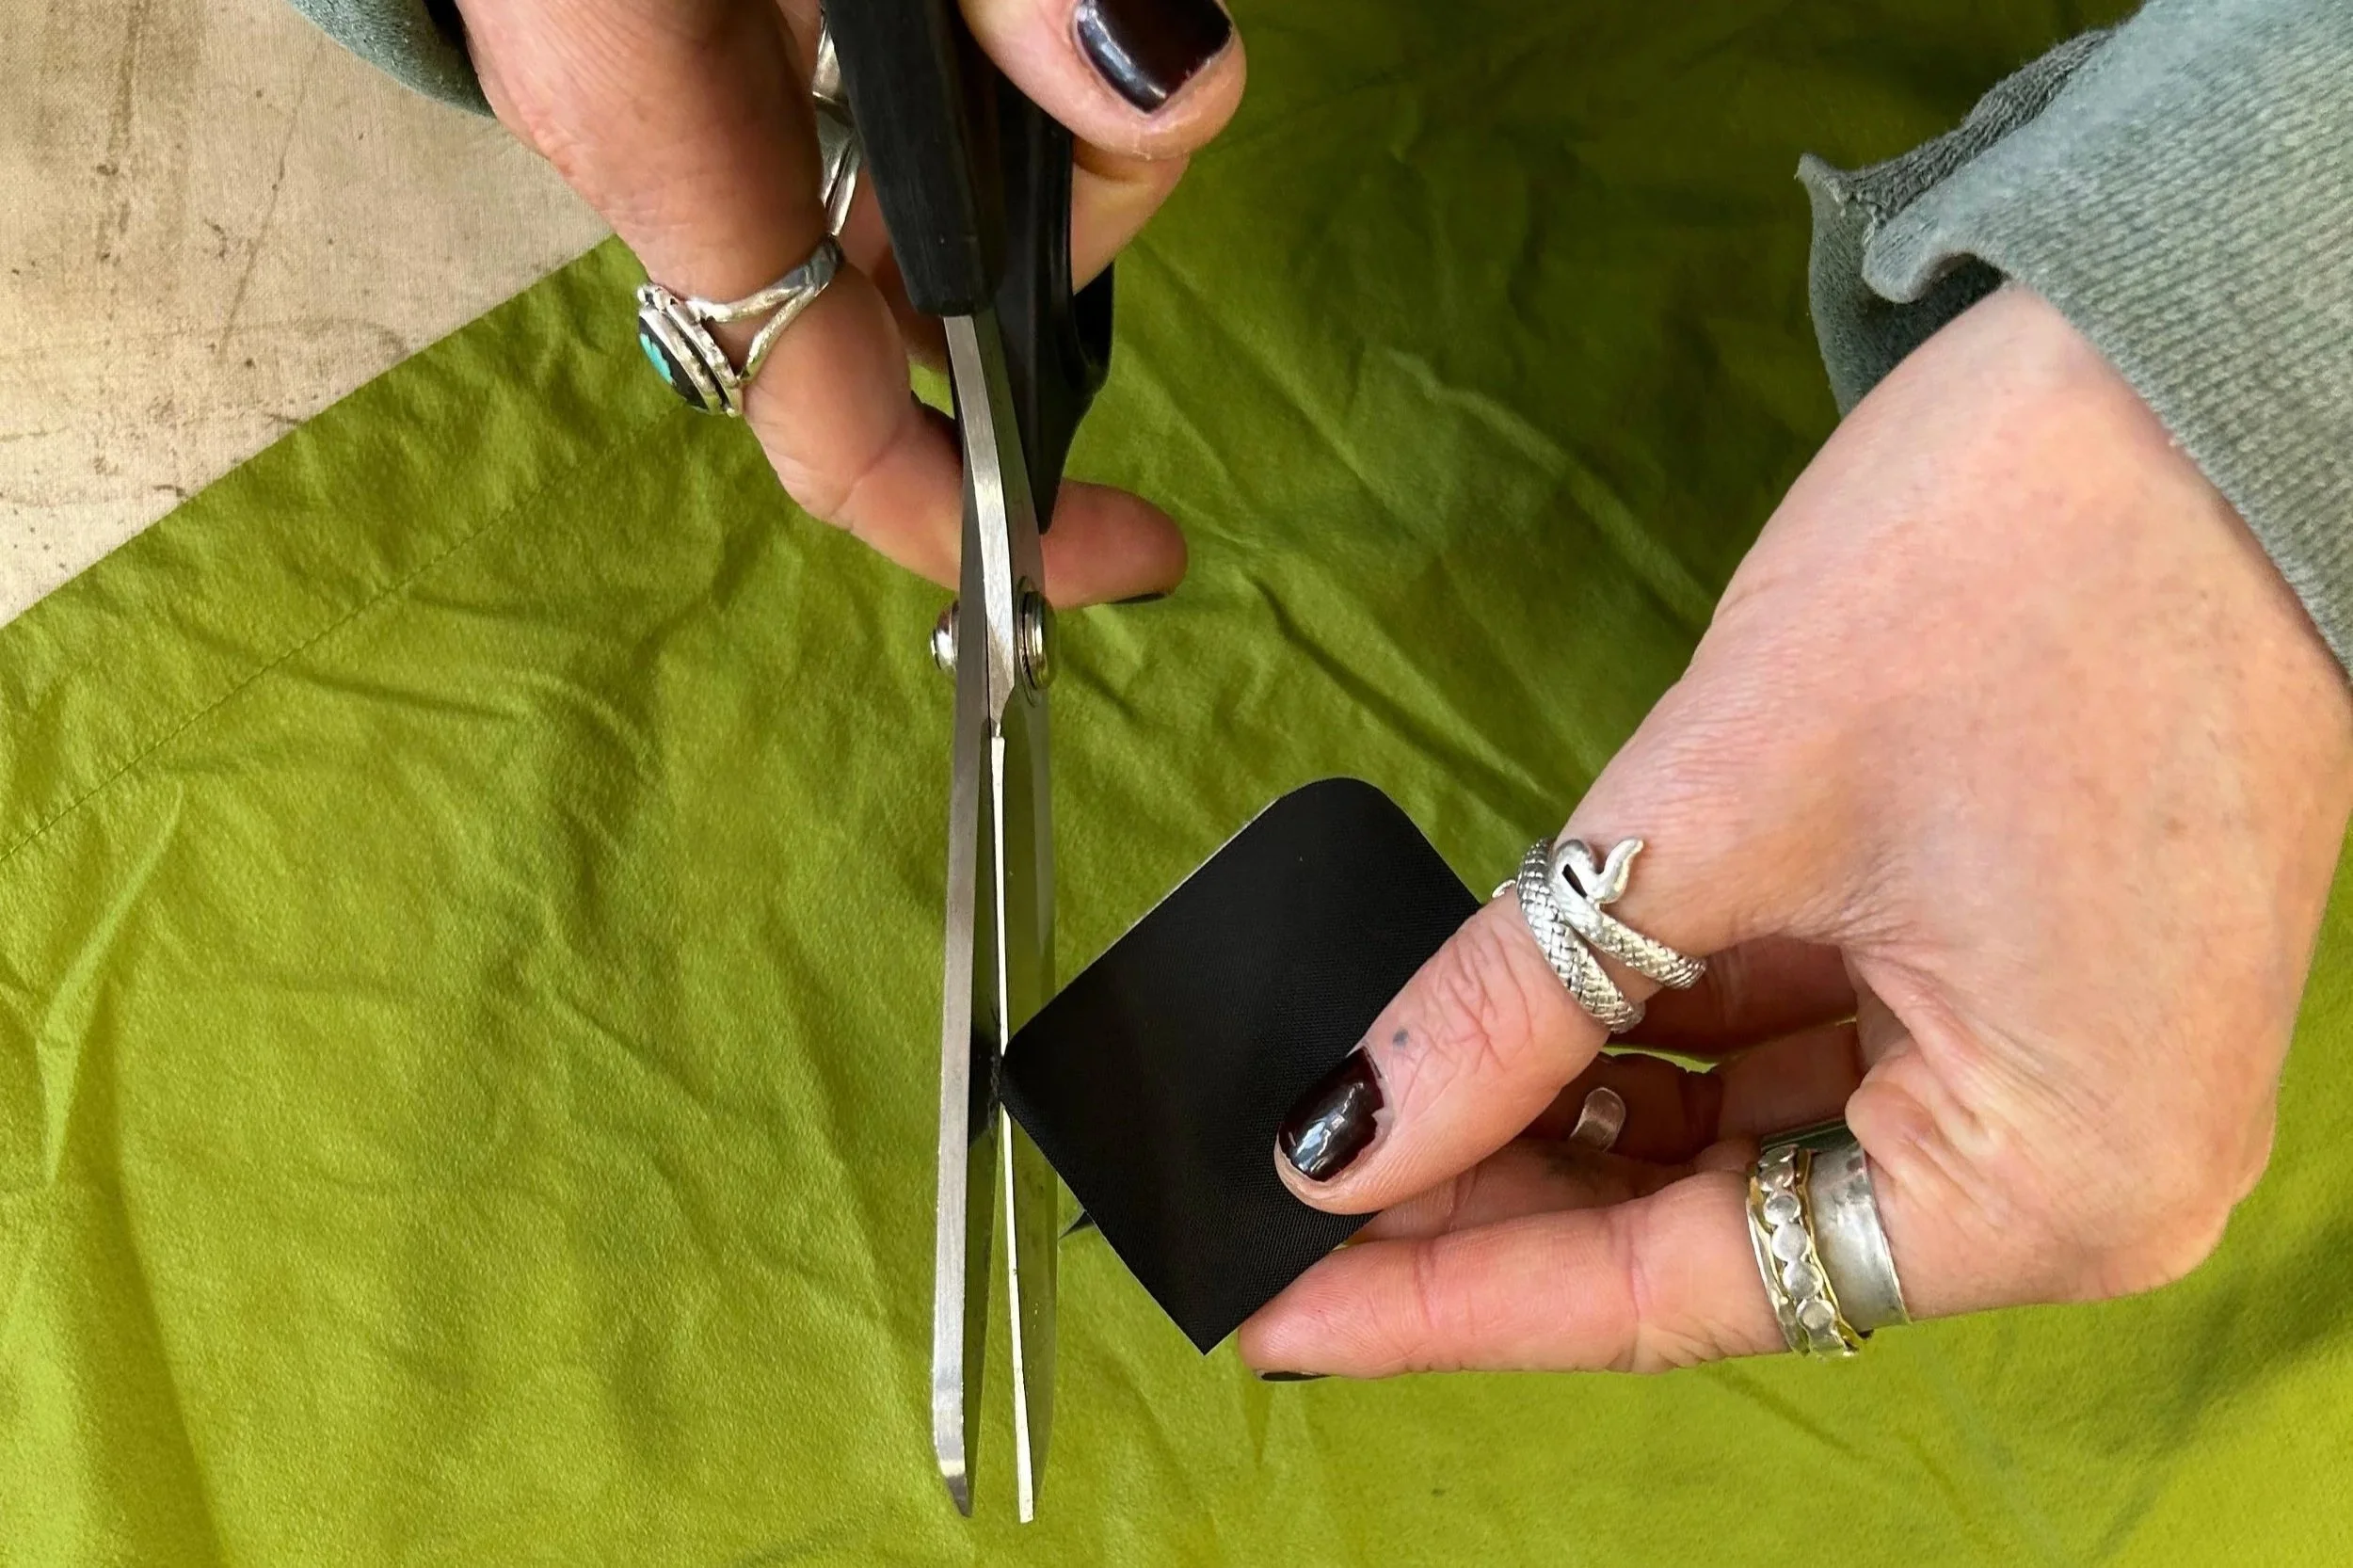
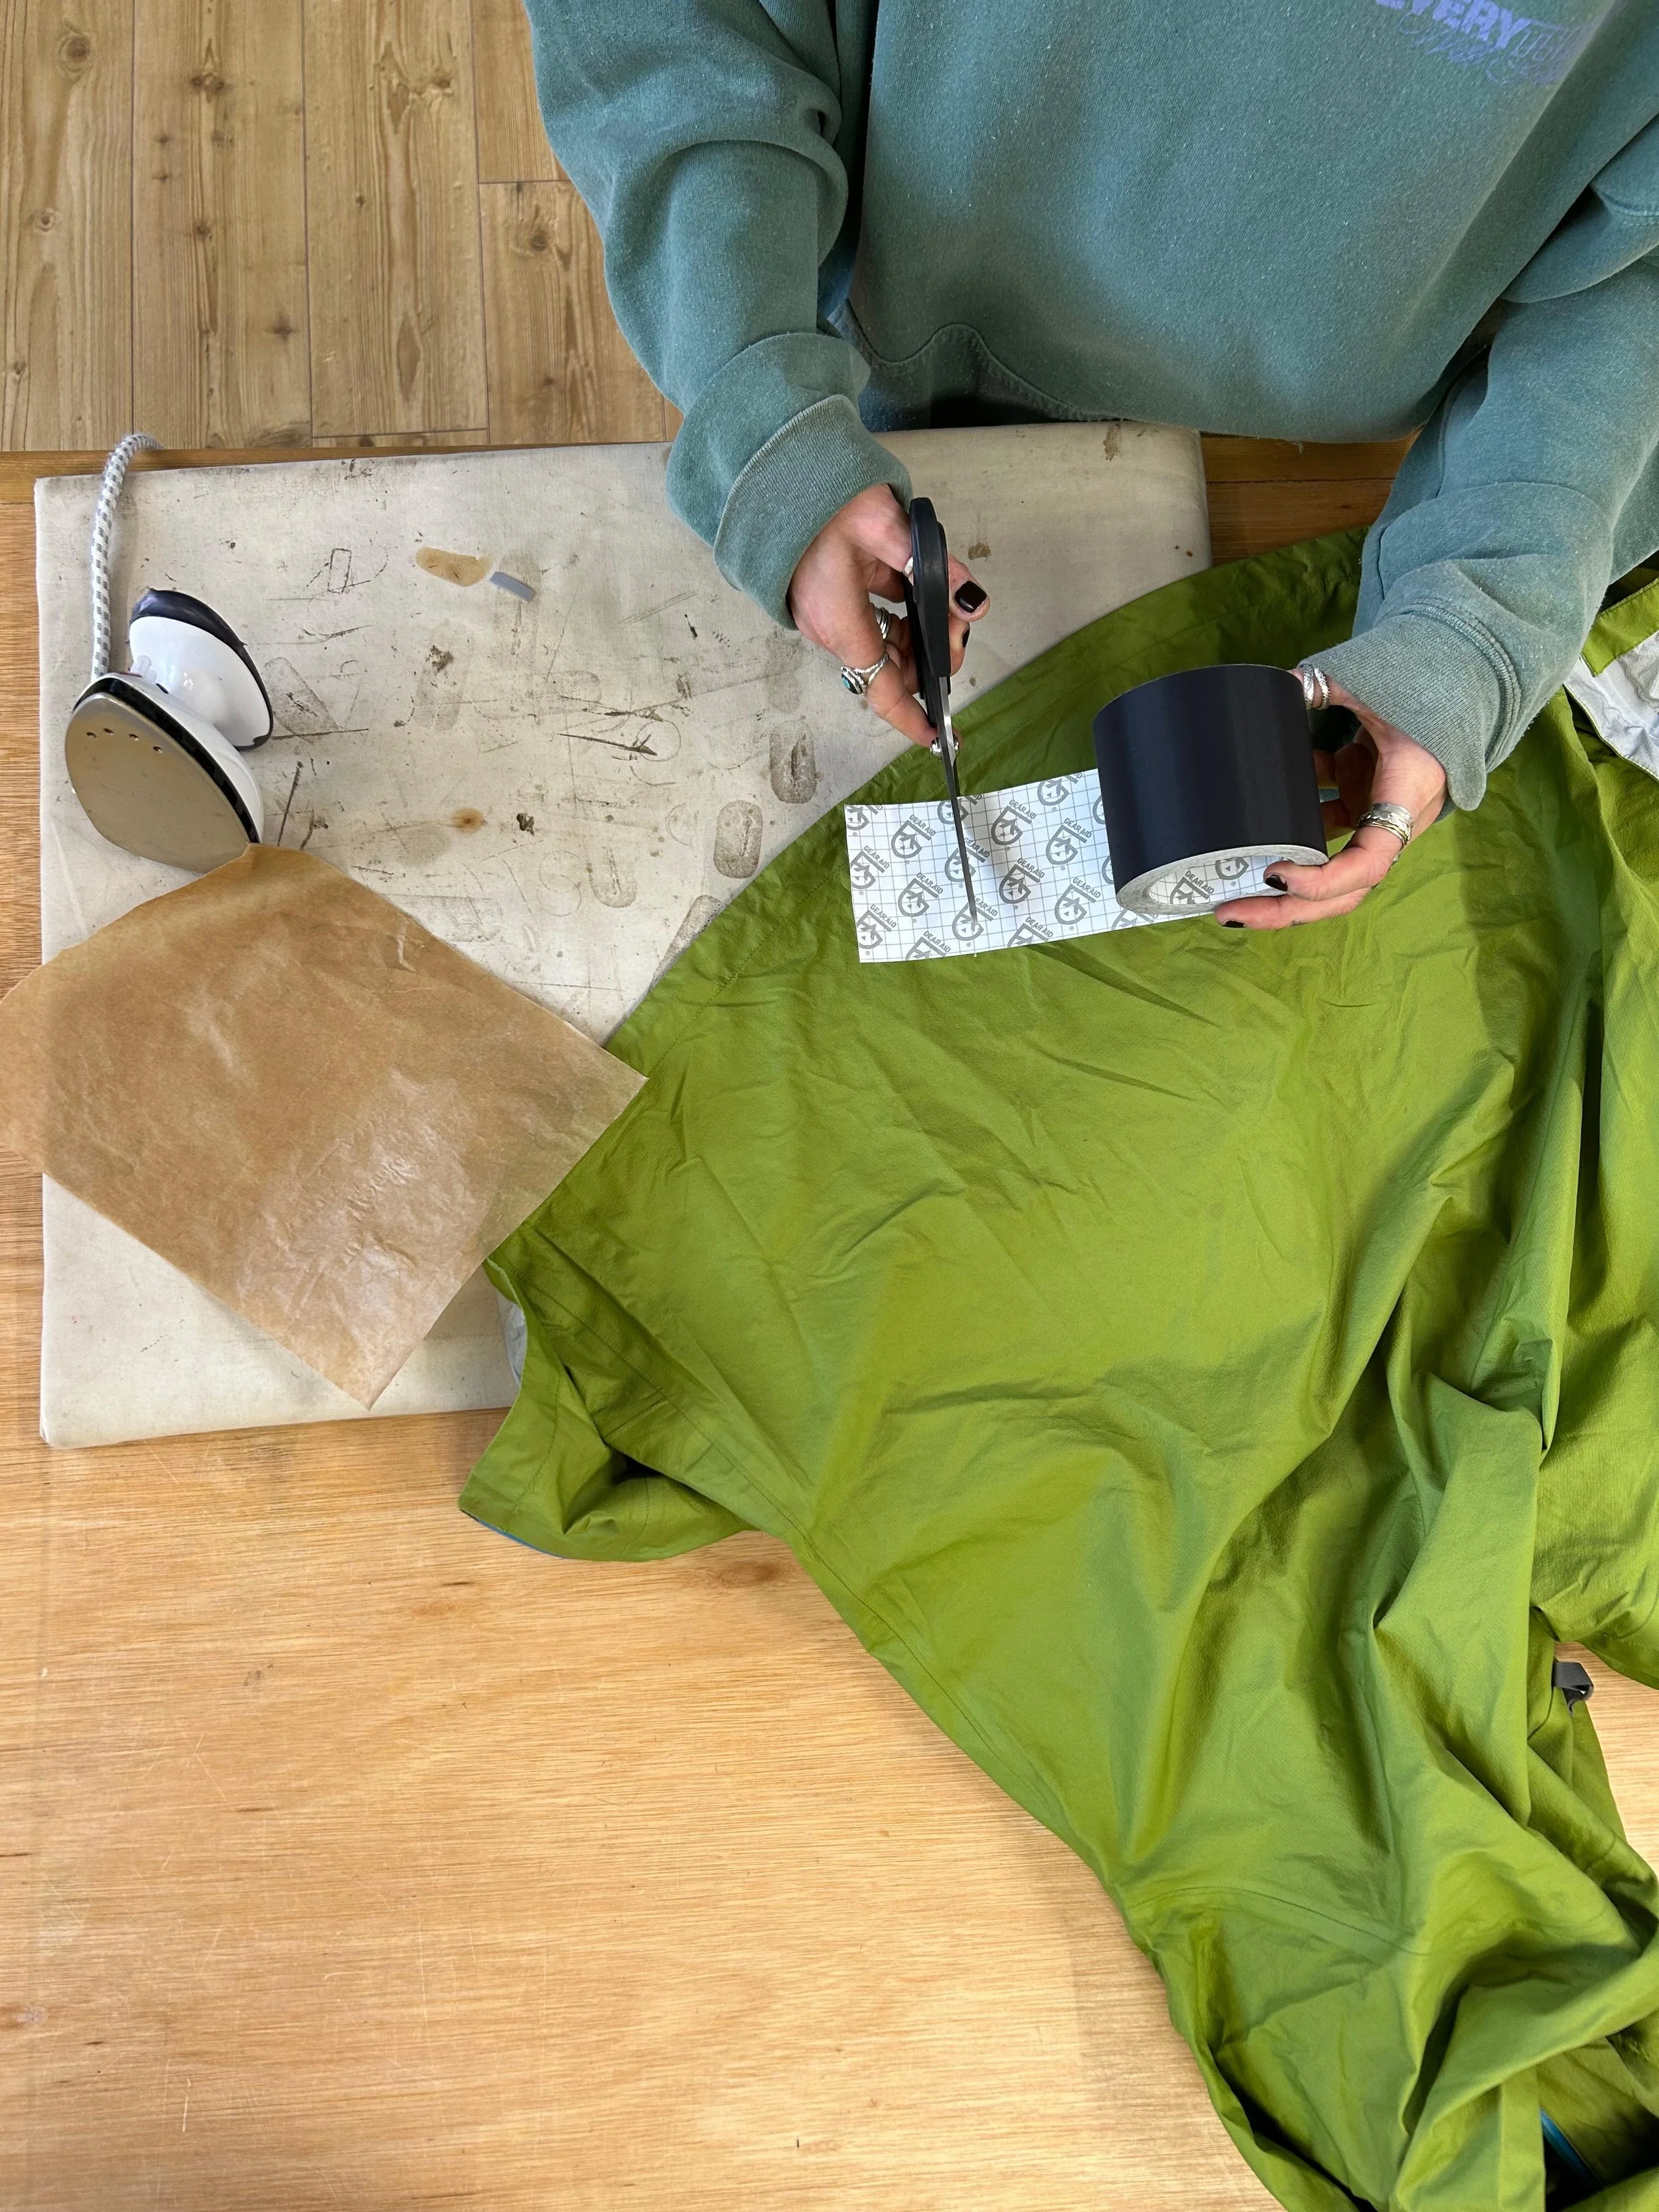
Round the corners with scissors
Cut the patch so it extends approximately 1.5 cm beyond the damaged area on all sides.
Round all the corners of your patch, this makes it less likely to catch and peel up.
If possible, avoid patching over seams or other raised areas as this can create a lump in the patch which may in time peel up.
Align the fabric underneath to smooth any wrinkles or warping from tears.
Peel & Stick!
It’s as simple as that. The tape has a backing which is easy to peel off revealing a sticky back. Place it over the rip or tear and you’re good to go!
Continue for optional added heat - these steps are not necessary, but they help the patch stick firmer:
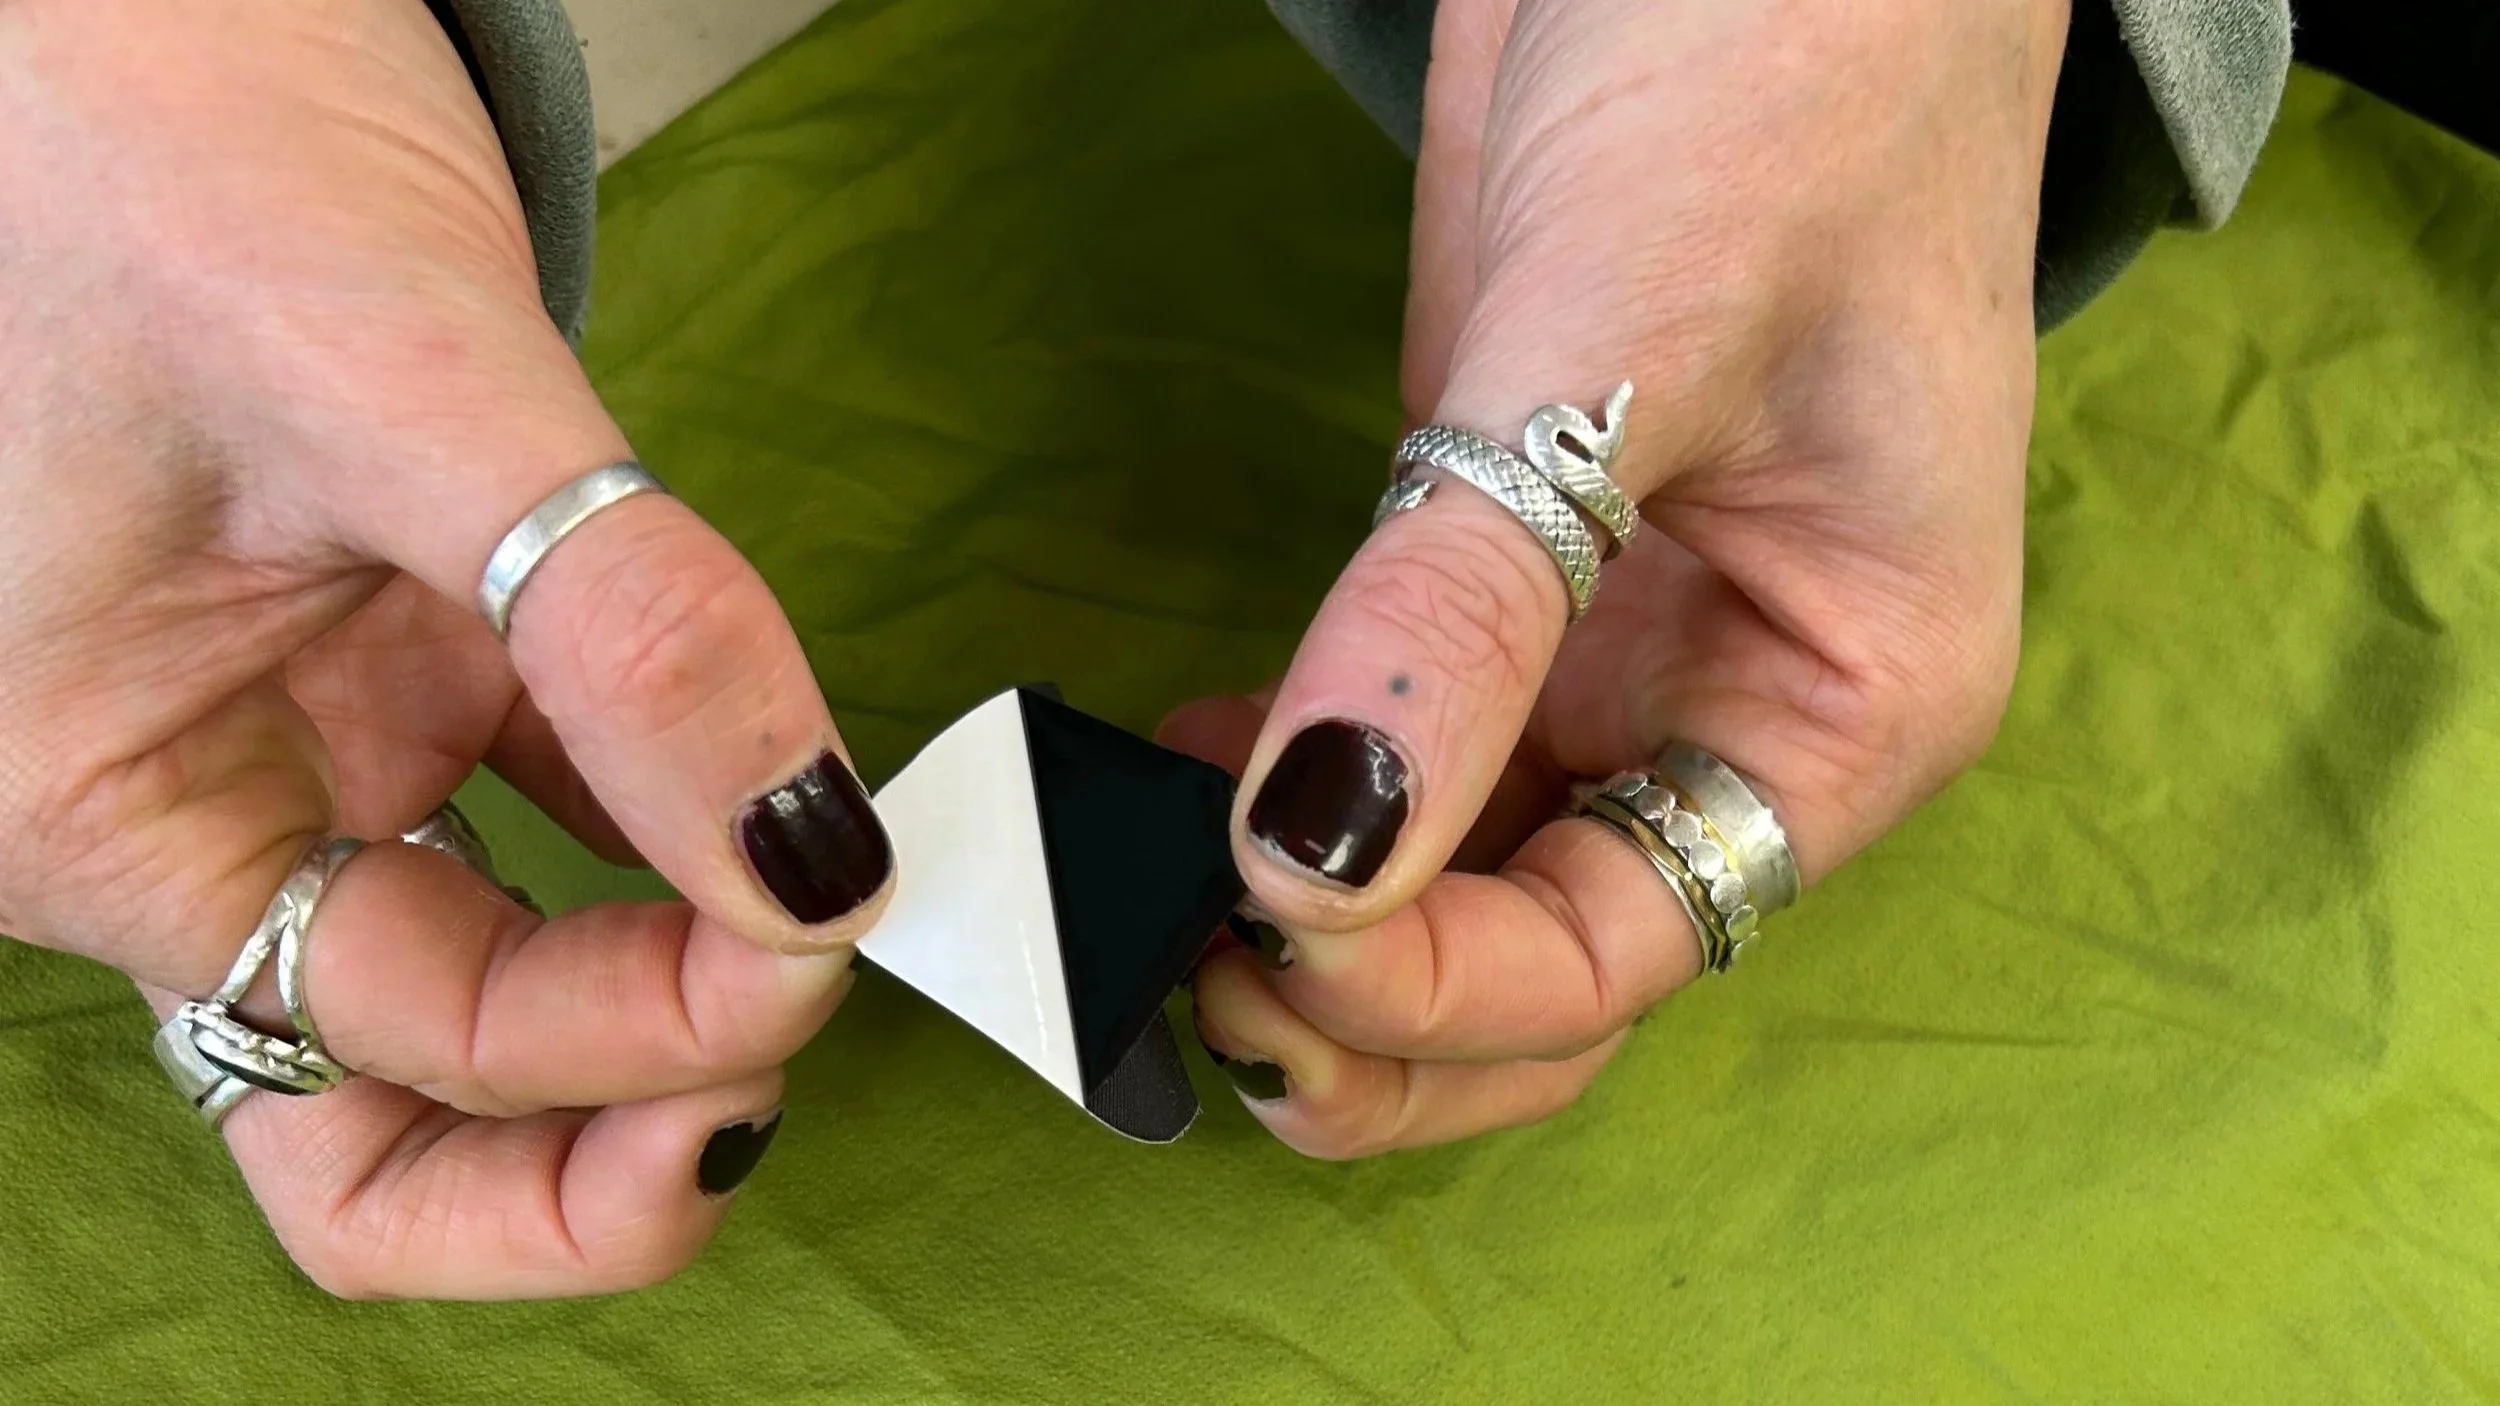
Peel paper backing to reveal sticky back
Apply the patch with an iron
Place the garment flat on a suitable ironing surface.
Peel the backing from the patch.
Position the patch carefully over the damaged area.
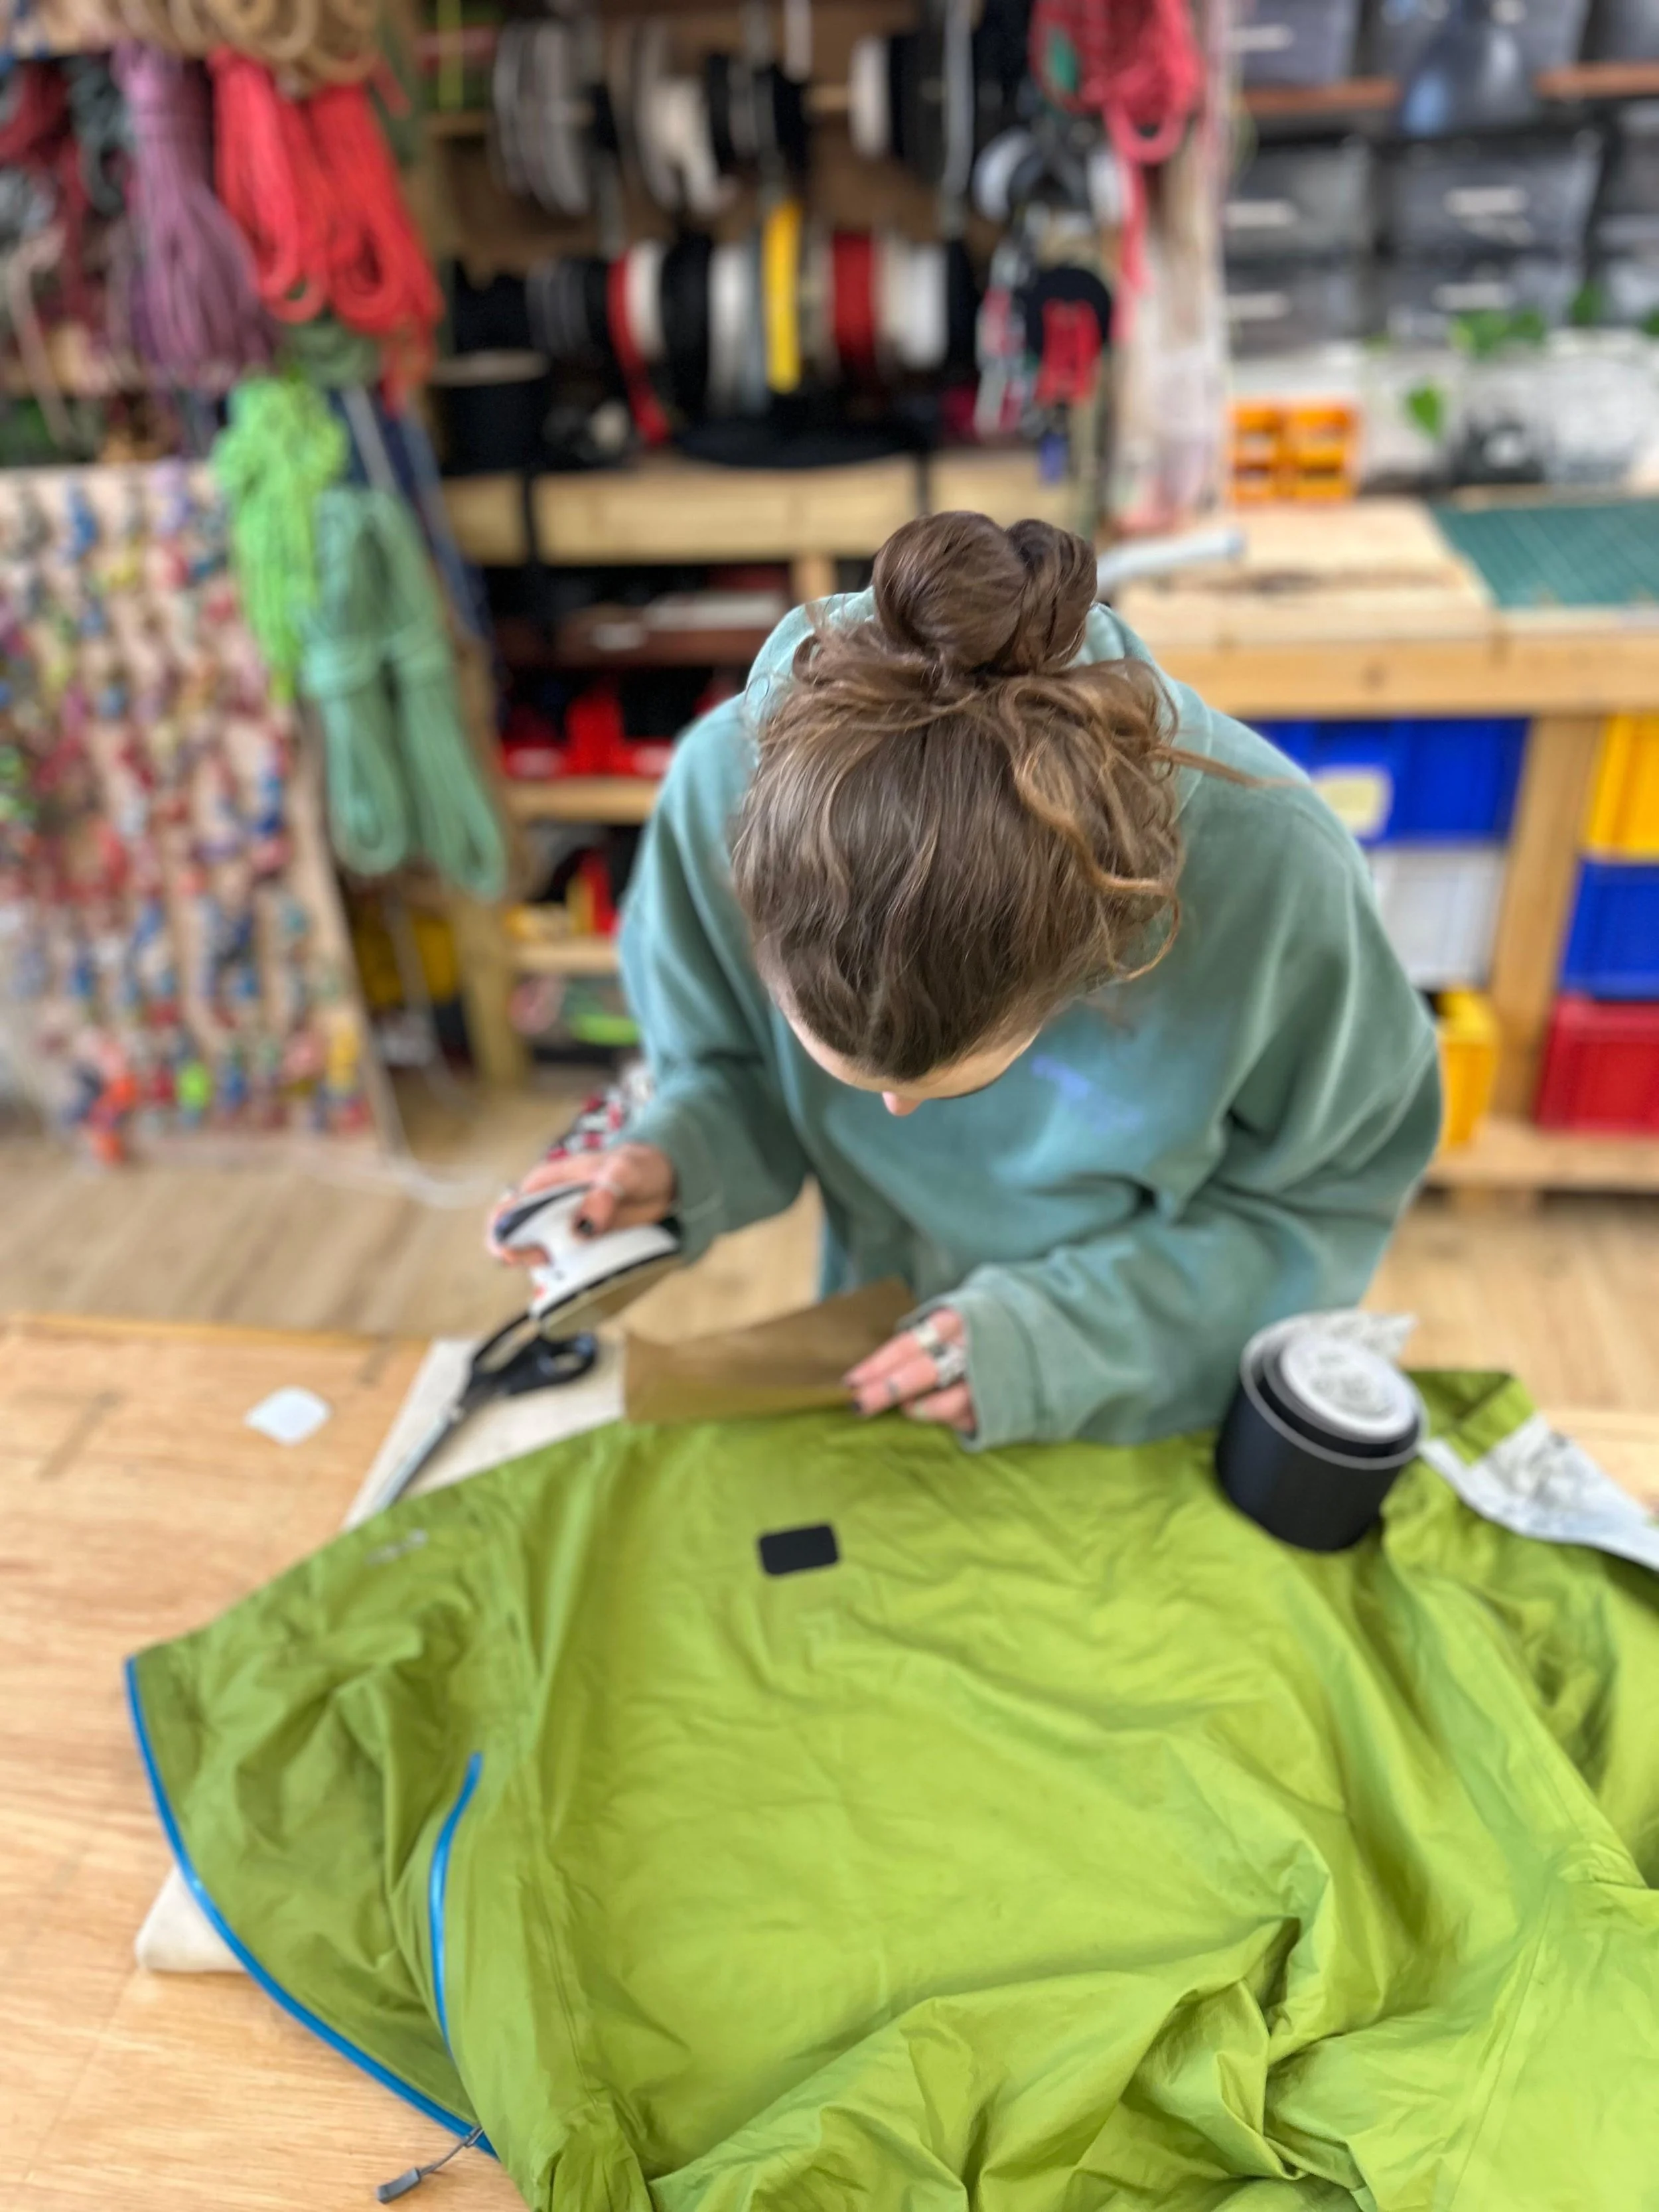
Place a non-textured tea towel or baking paper between the iron and the patch.
Set your iron to the lowest temperature setting.
Start with a short application of heat — approximately 2–3 seconds — and check that the fabric is not being damaged.
Continue applying heat in short intervals of no more than 3 seconds at a time, checking the patch between applications.
The adhesive should become shiny around the edges when it has activated properly.
If you can’t yet see the shiny border of glue, continue with short applications of heat, make sure not to leave the iron in one place for a long period.
Once stuck down, allow the patch to cool before moving or folding the garment.
*Tip - Be particularly careful around hardware
Make sure to avoid any metal hardware including zips, eyelets and poppers with heat treatment as they can heat up and burn through fabric.
Finishing
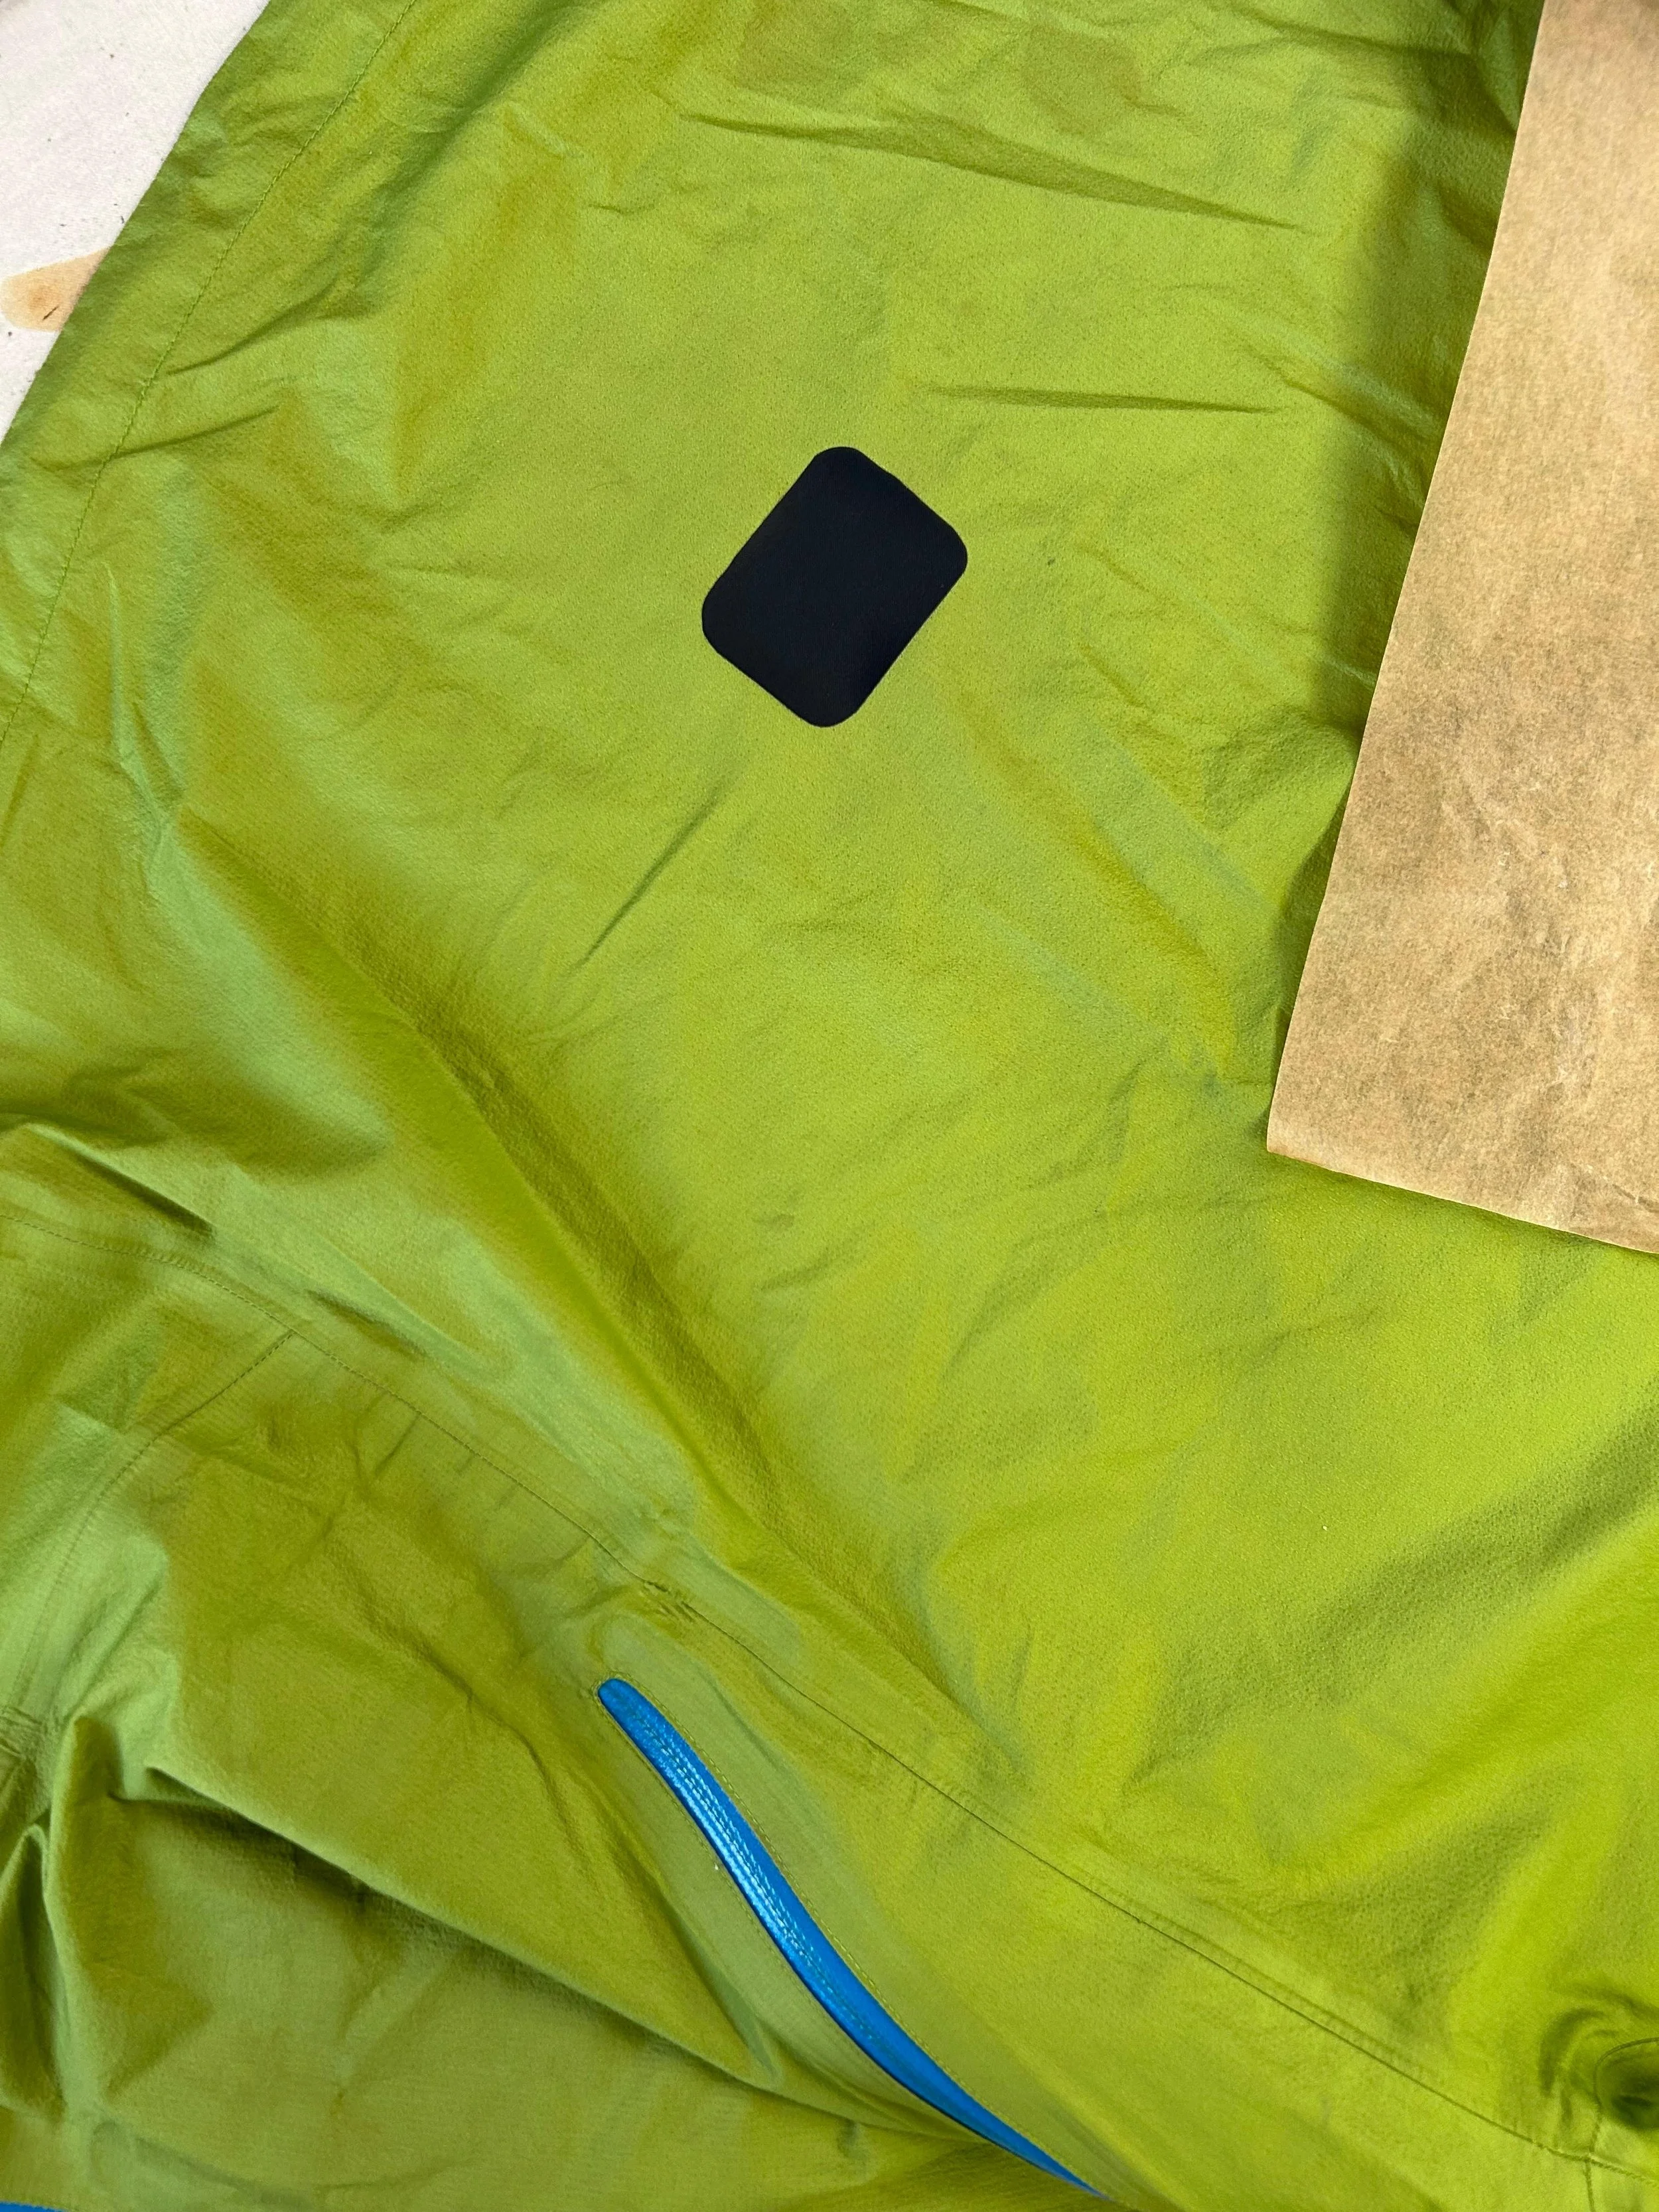
Check that the patch is firmly bonded by running your fingernail nail along the edges to make sure you can’t peel it up easily.
If necessary, carefully smooth wrinkles in the patch while the area is still warm. We use a face roller.
Leave the garment flat and allow it to cool completely before folding or packing it away.
Note
Domestic irons are much less accurately calibrated than professional heat presses. If you are unsure about the correct temperature or the suitability of the tape please don’t hesitate to get in touch for advice. We are also able to do heat patches in our workshop using a heat press.
Learn more
Explore our heat patch & glue master class, held at our workshop in Y Felinheli.