How to shorten a zip
If you have bought a zip to replace an old well loved one, it may not be the exact length you need it to be. That is where is guide comes in handy, shorten your new zip to to exact length you need by following the steps below.
Trying to work out what kind of zip you need? Vison and coil are the 2 main types of zips (read our zip slider explainer here to find out more about the different types). For main zips on jackets, vislon size 5 and up is best. For bags, tents, pockets or anything curved or flexible, we would recommend using a coil zip.
You will need:
Pliers
Zips (we recommend jaycotts, profabrics & williamgee )*
Sliders (we recommend williamgee, profabrics & makeyourowngear)*
*Click the underlined words above to take you to their websites
Firstly:
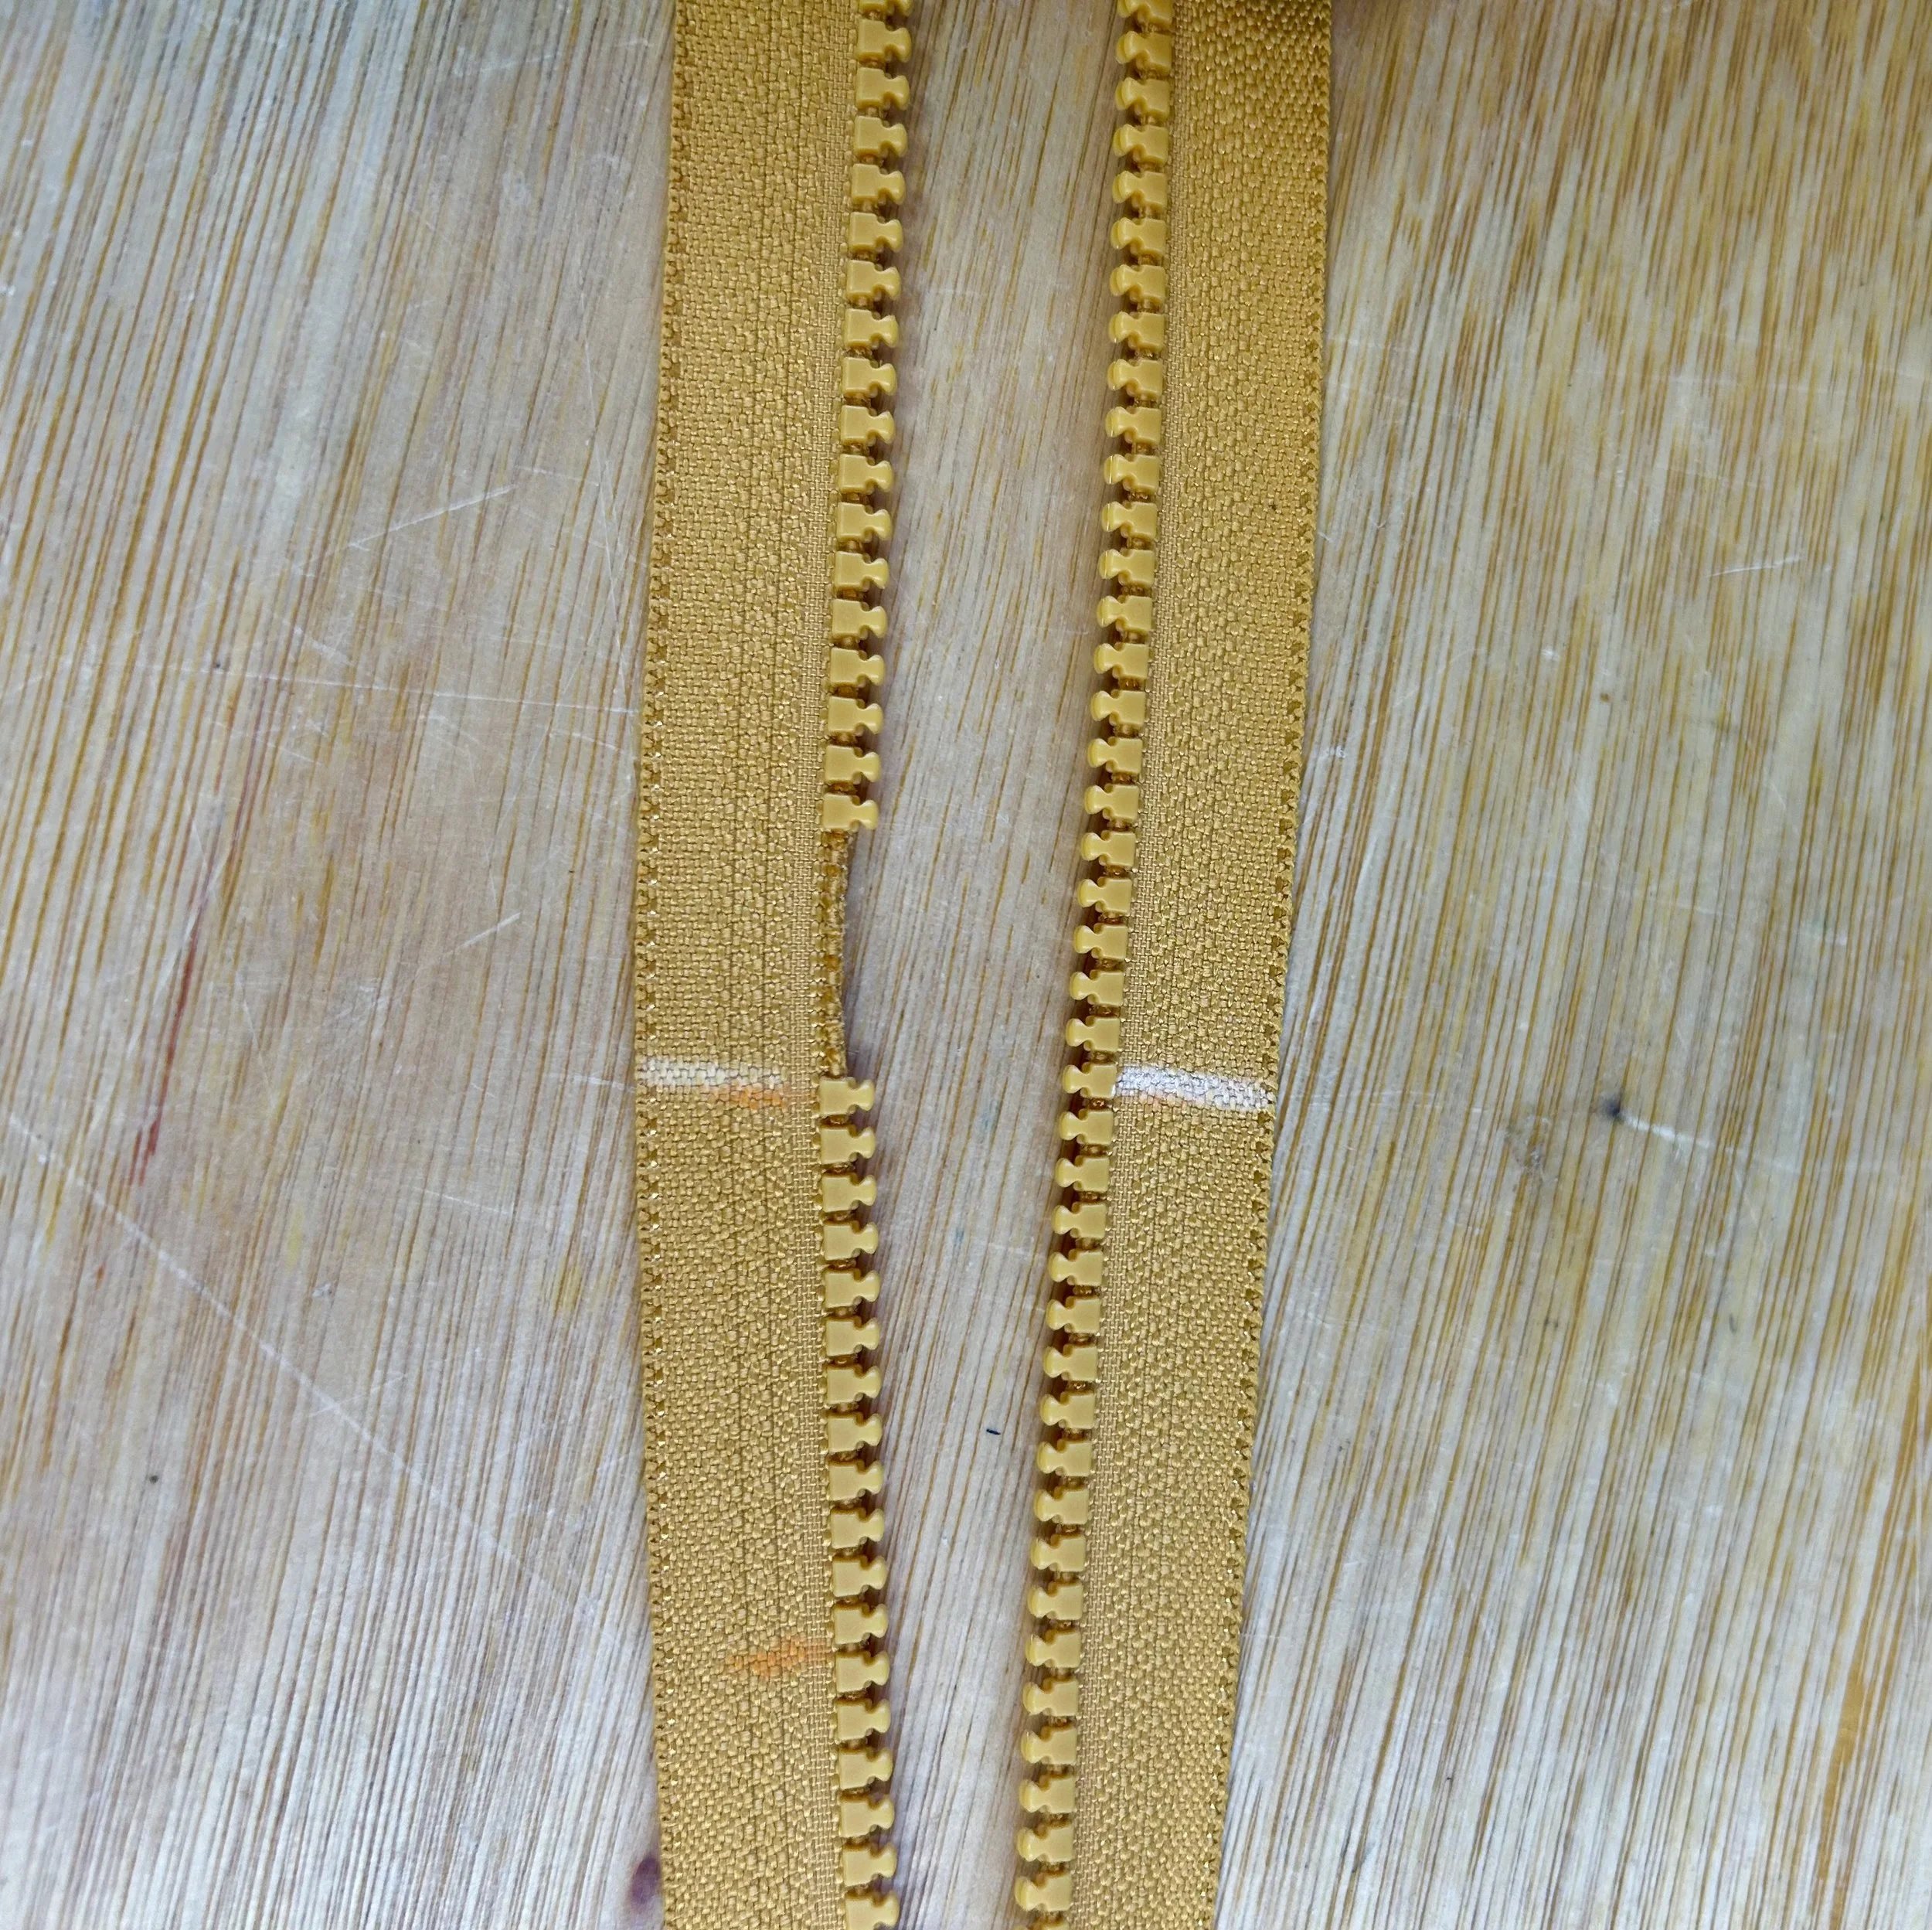
Measure the new zip, making a chalk mark straight across the zip.
How to shorten a Vislon style zip
Slide the slider down the zip to keep it out of the way
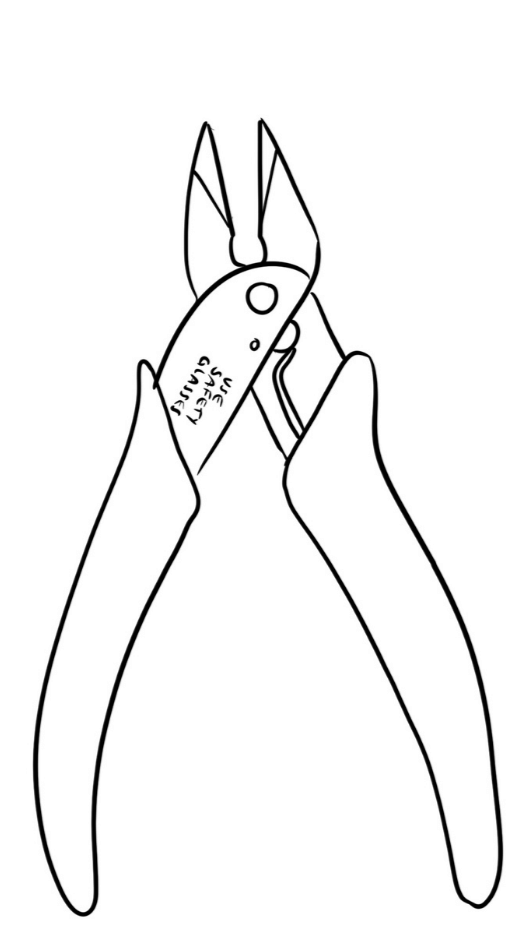
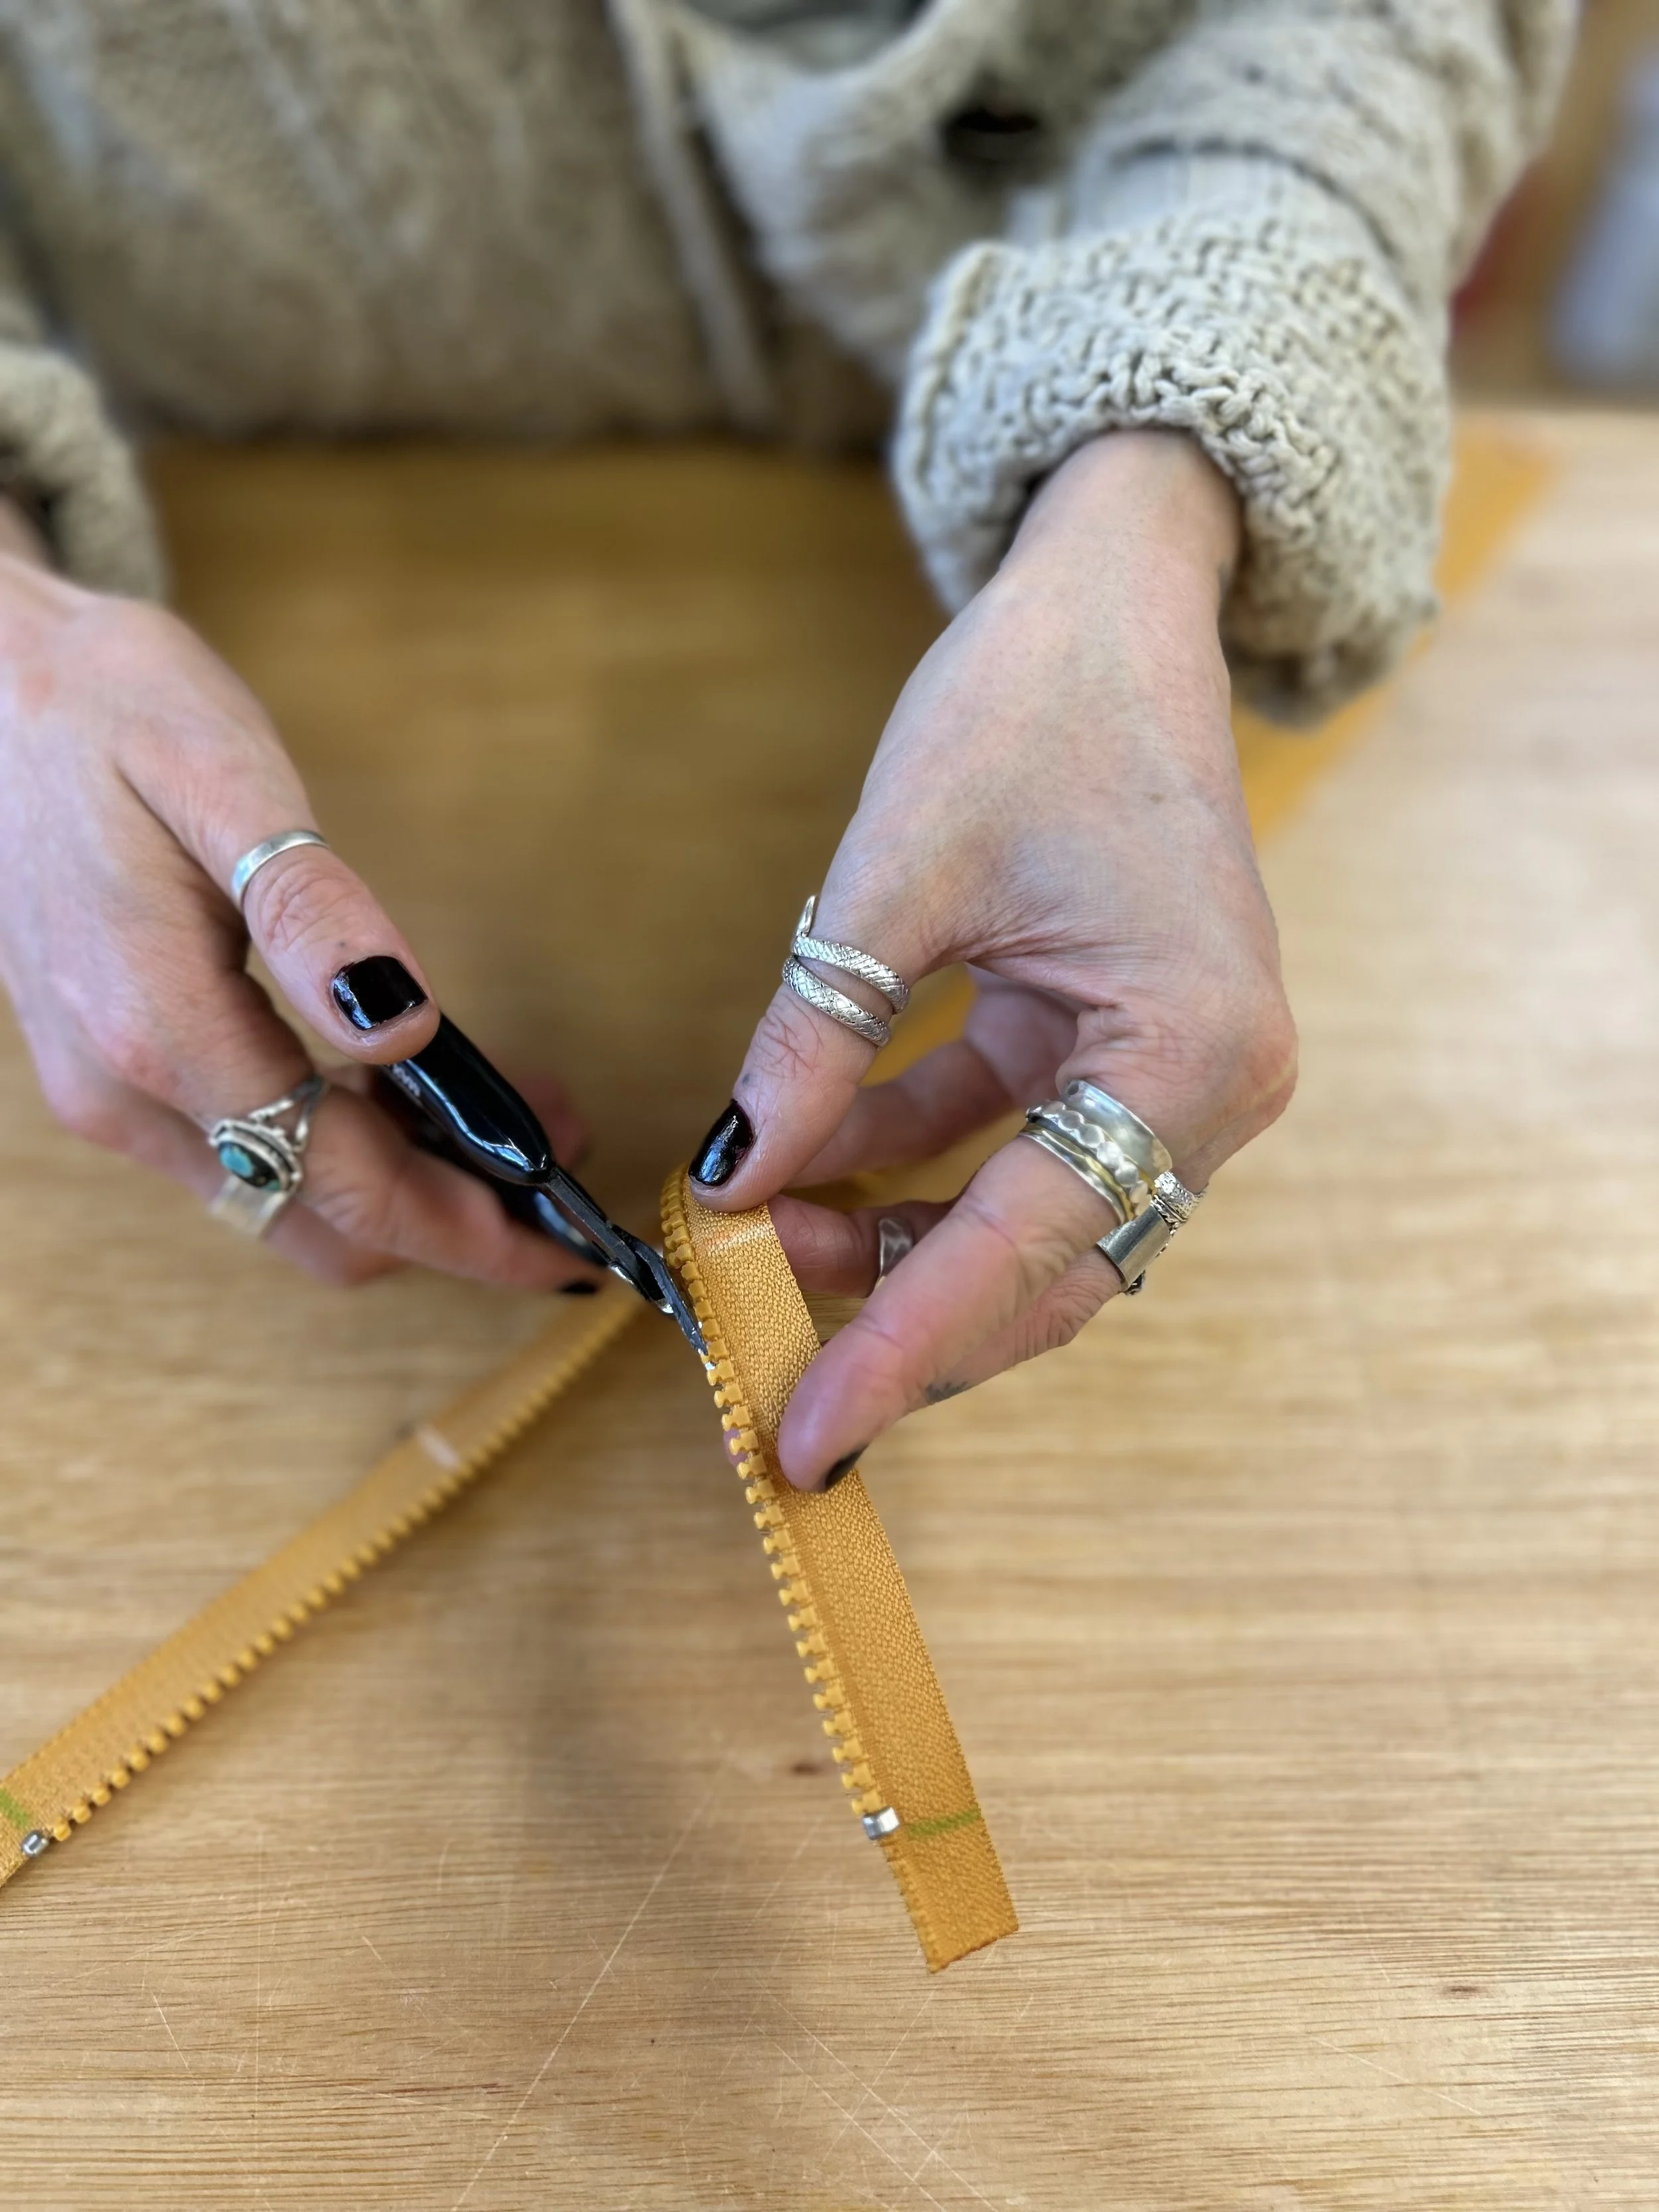
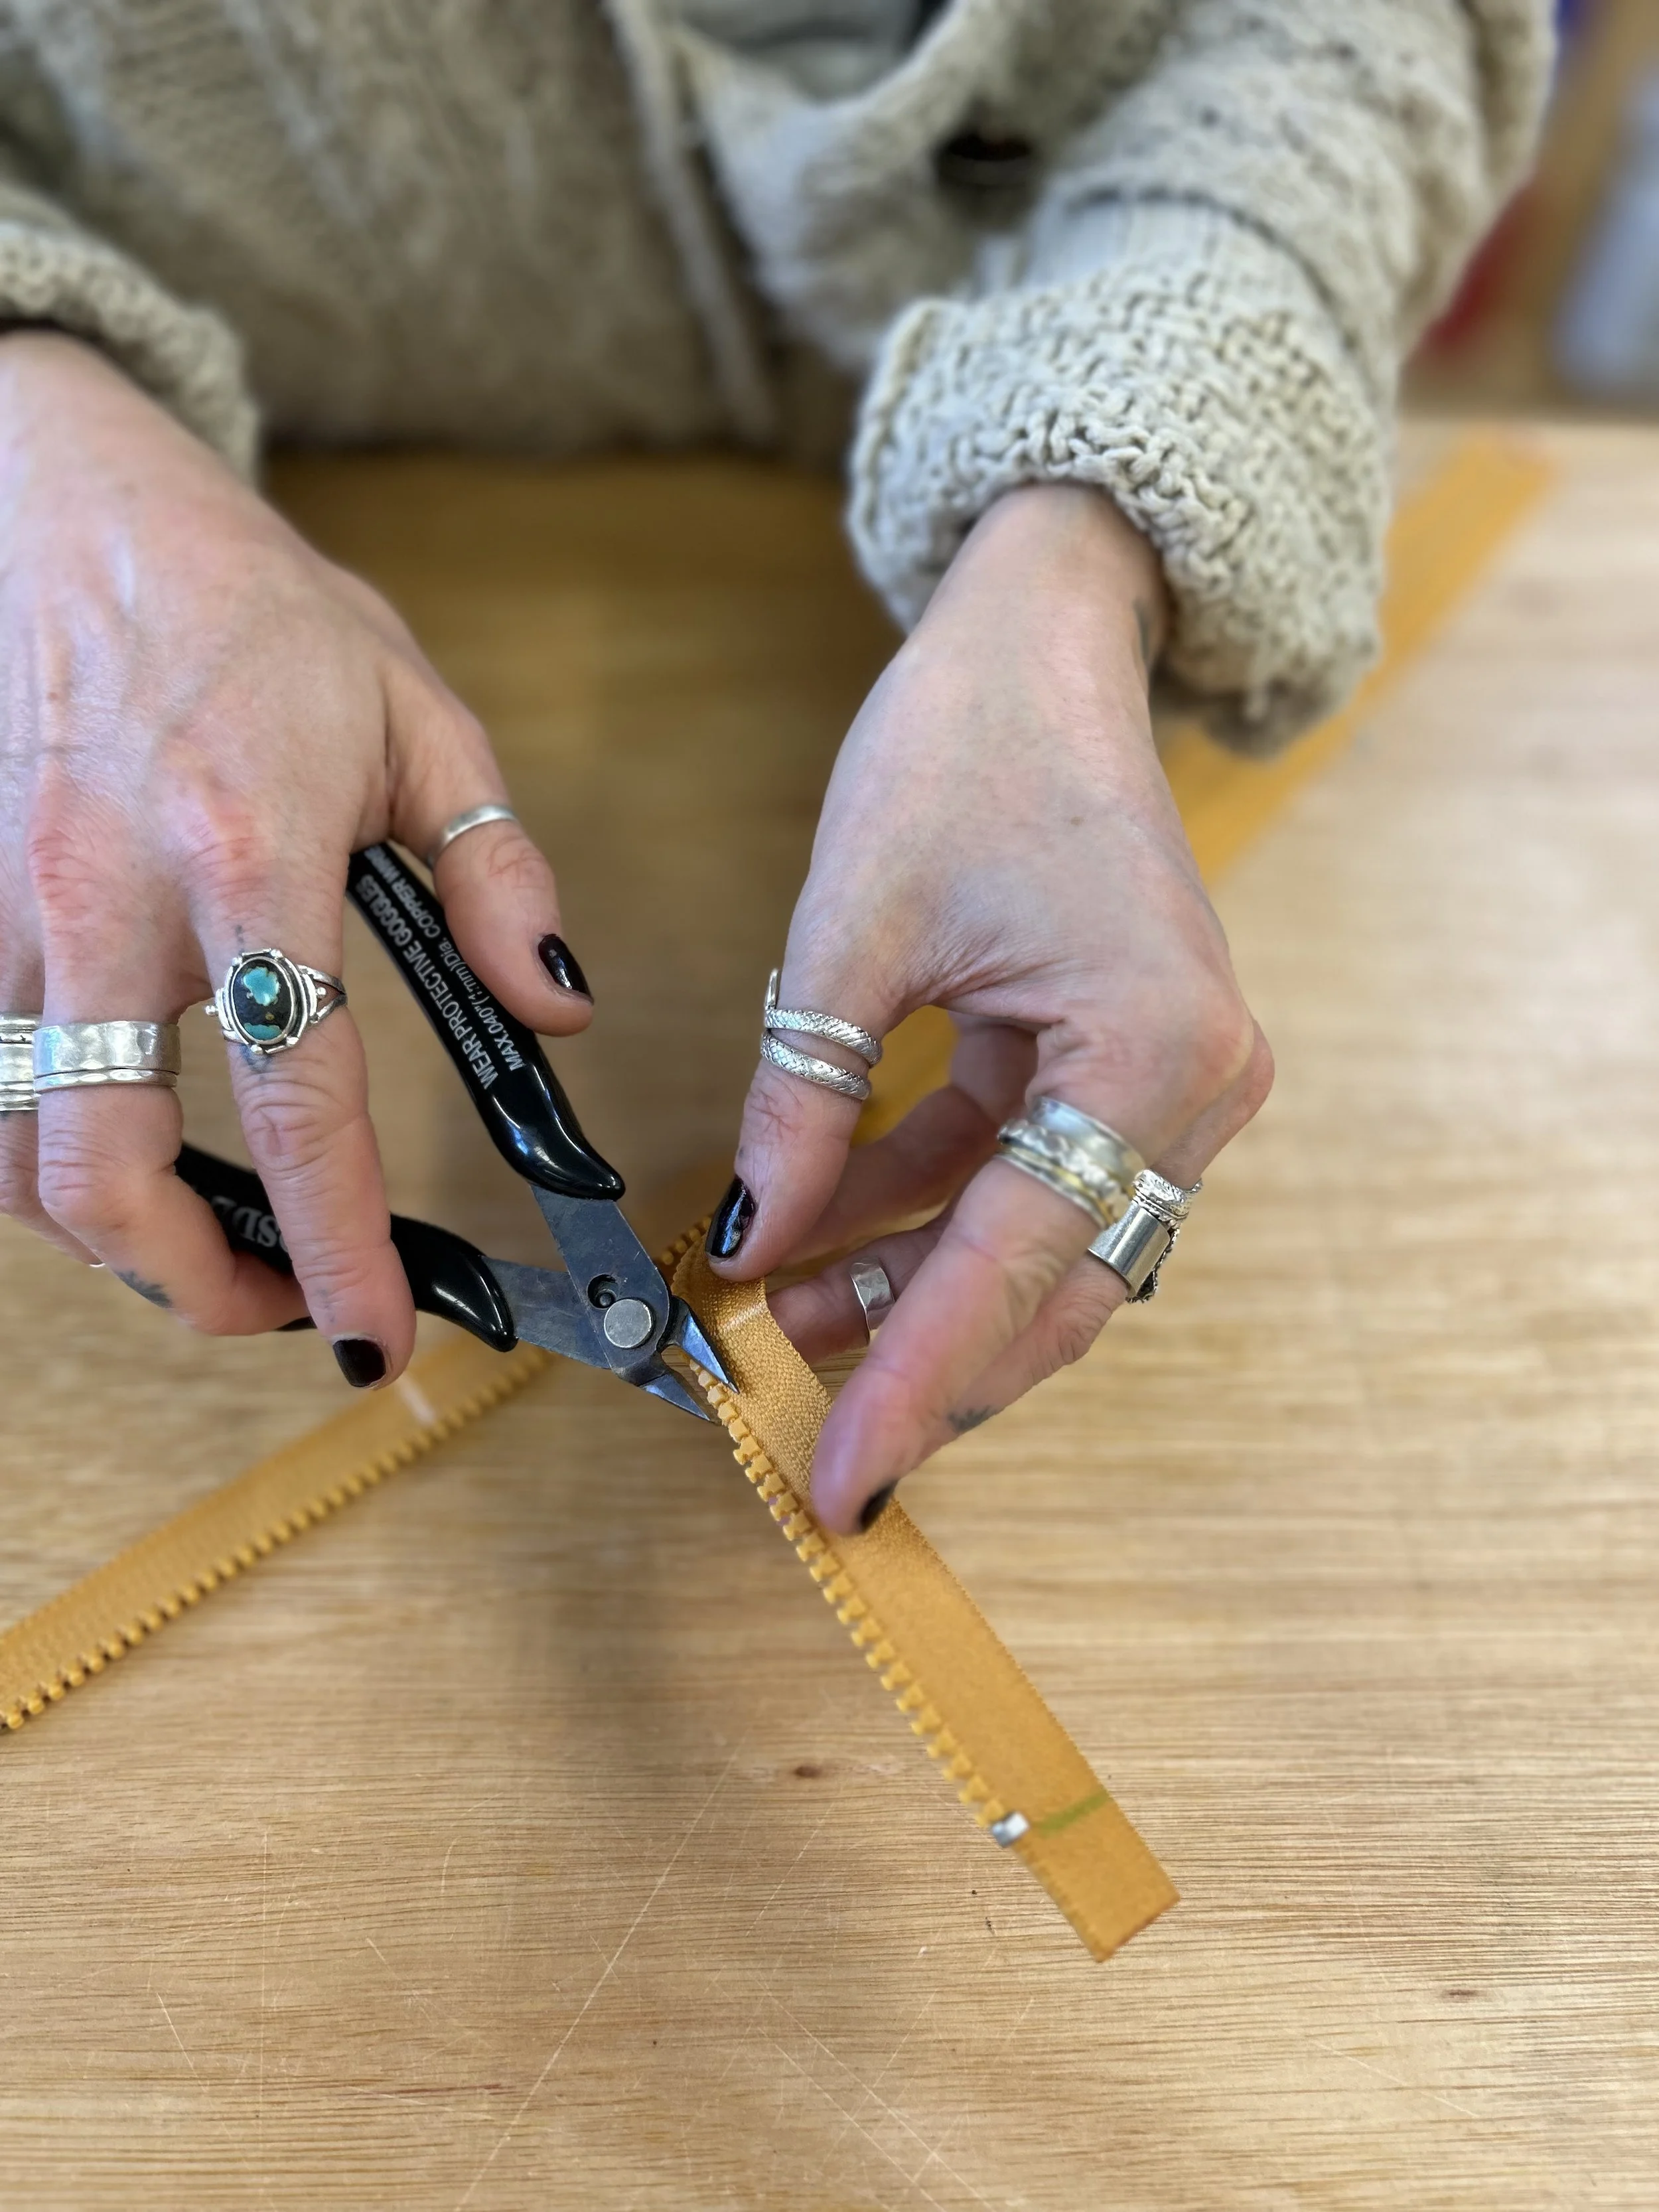
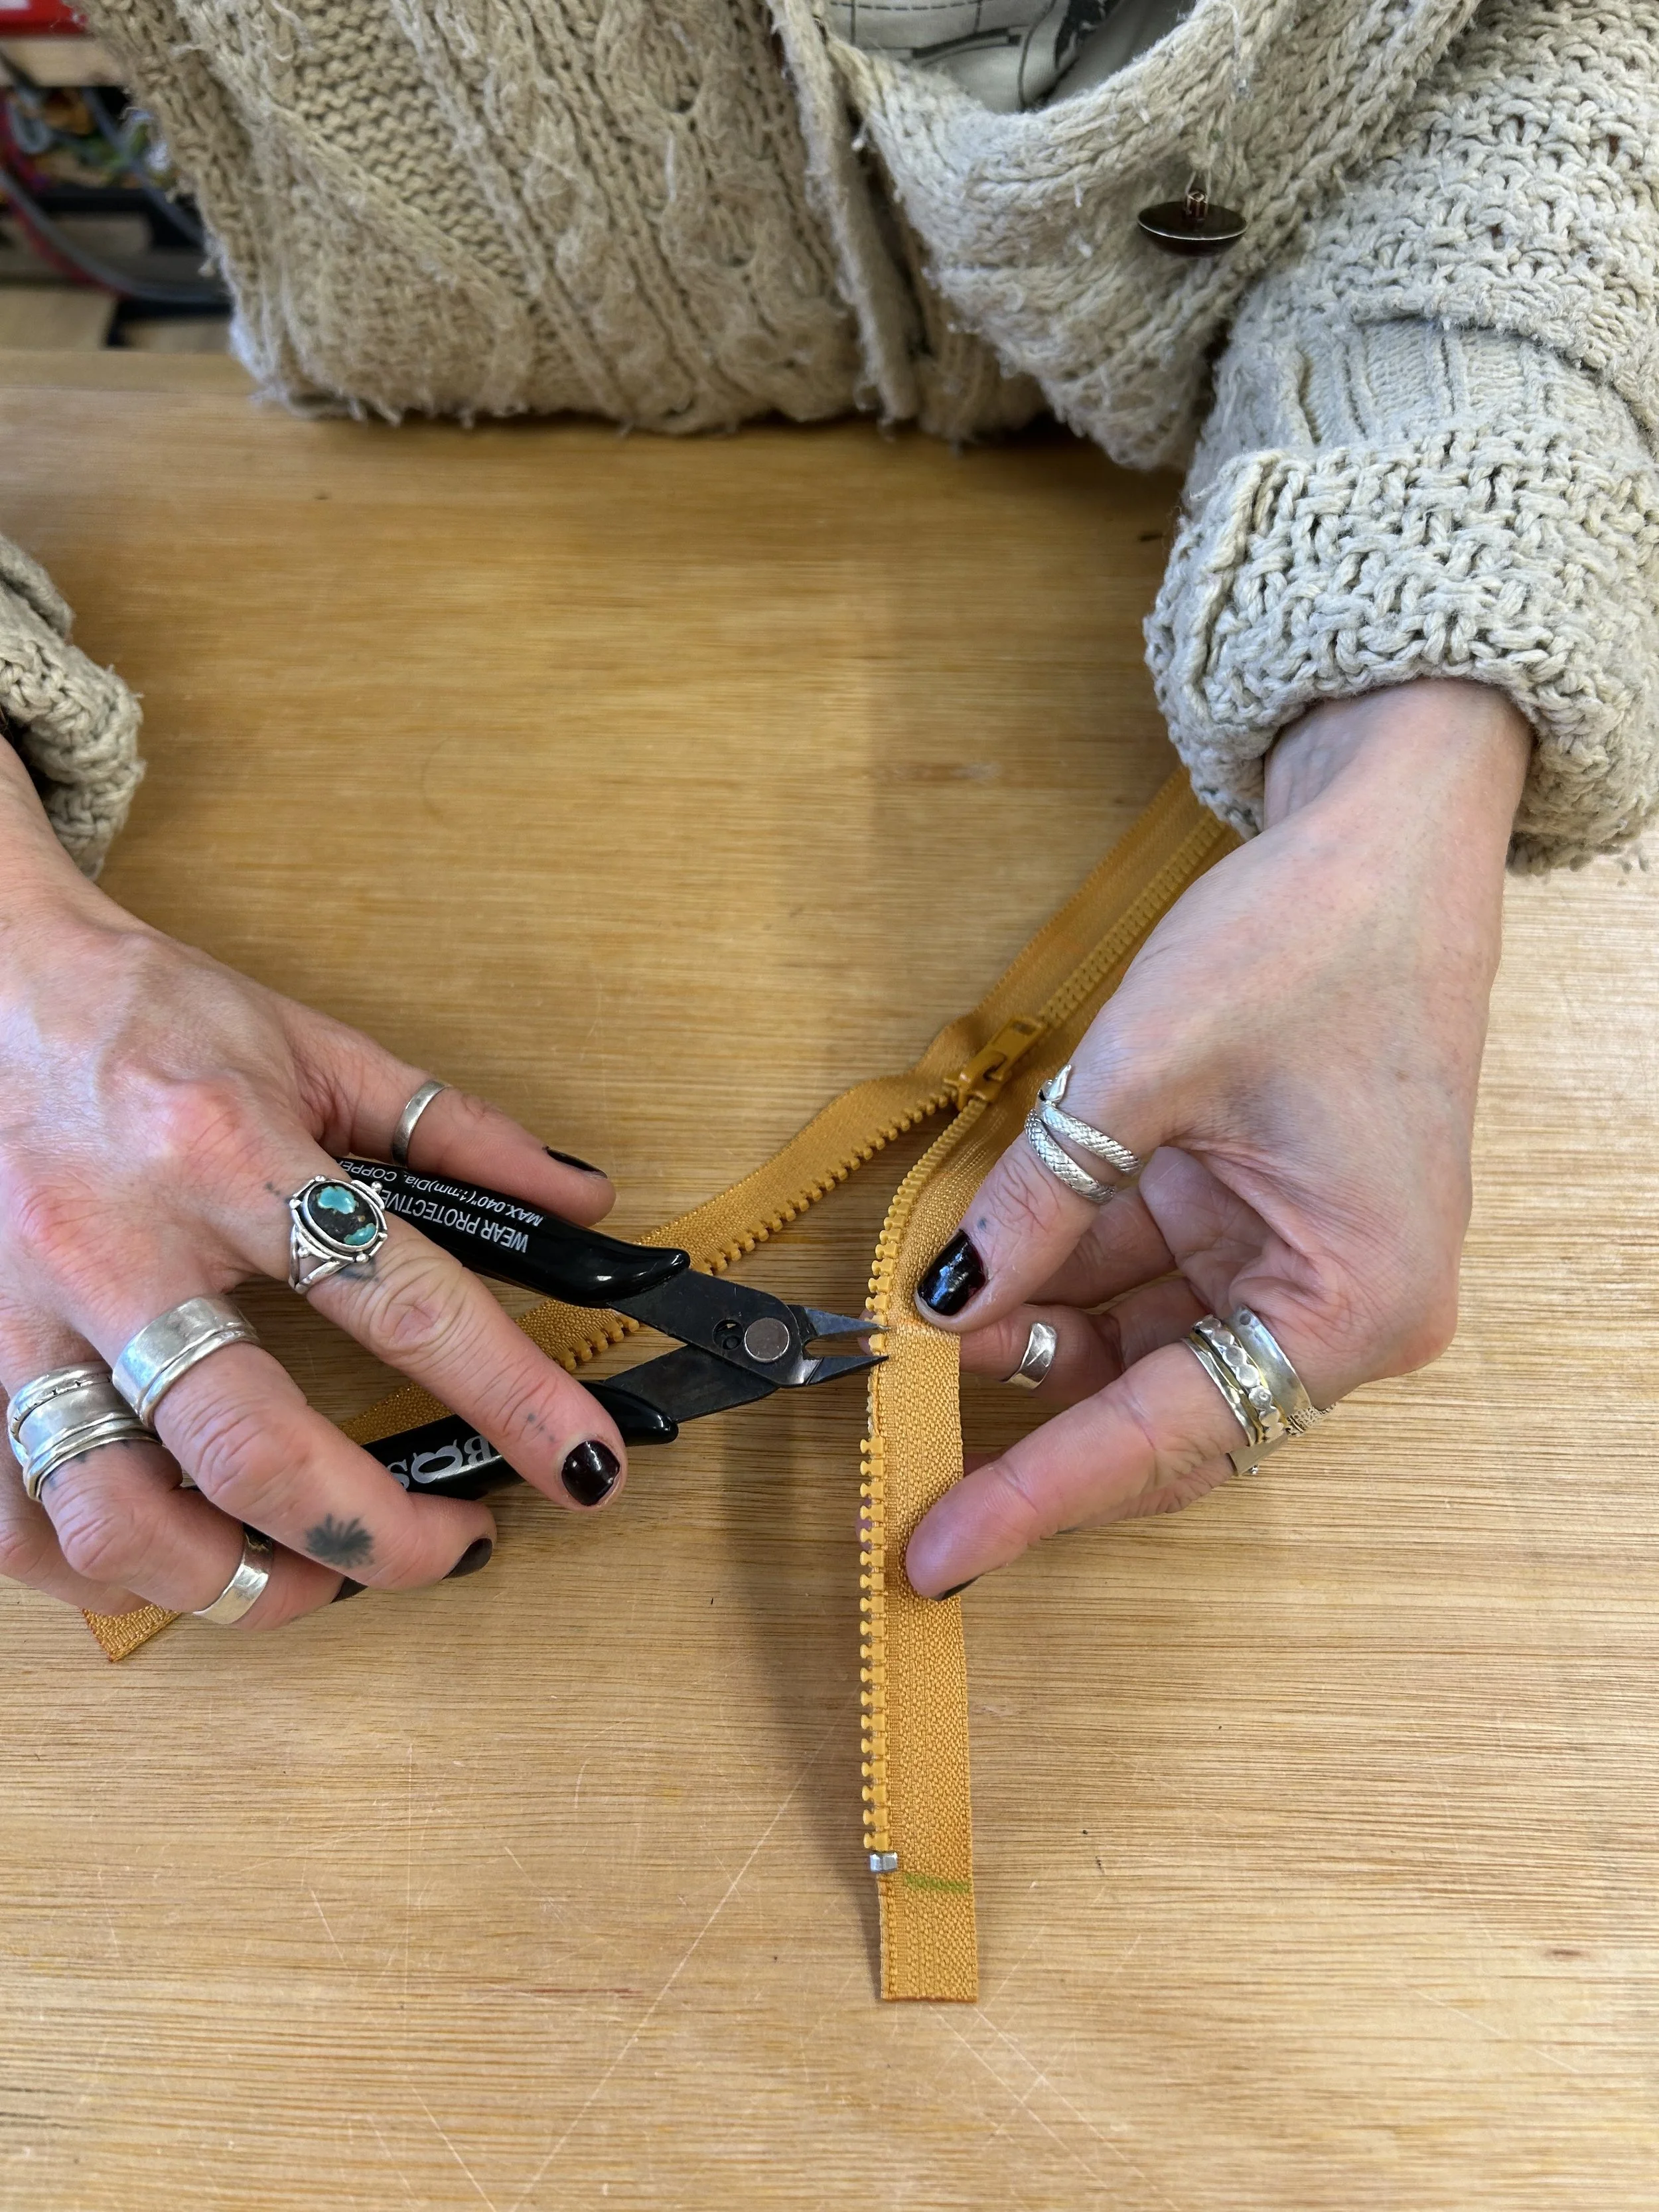
Using pliers, carefully remove the teeth above your chalk mark, leaving a 2 cm gap.
If a tooth falls directly on your chalk mark, remove that tooth too.
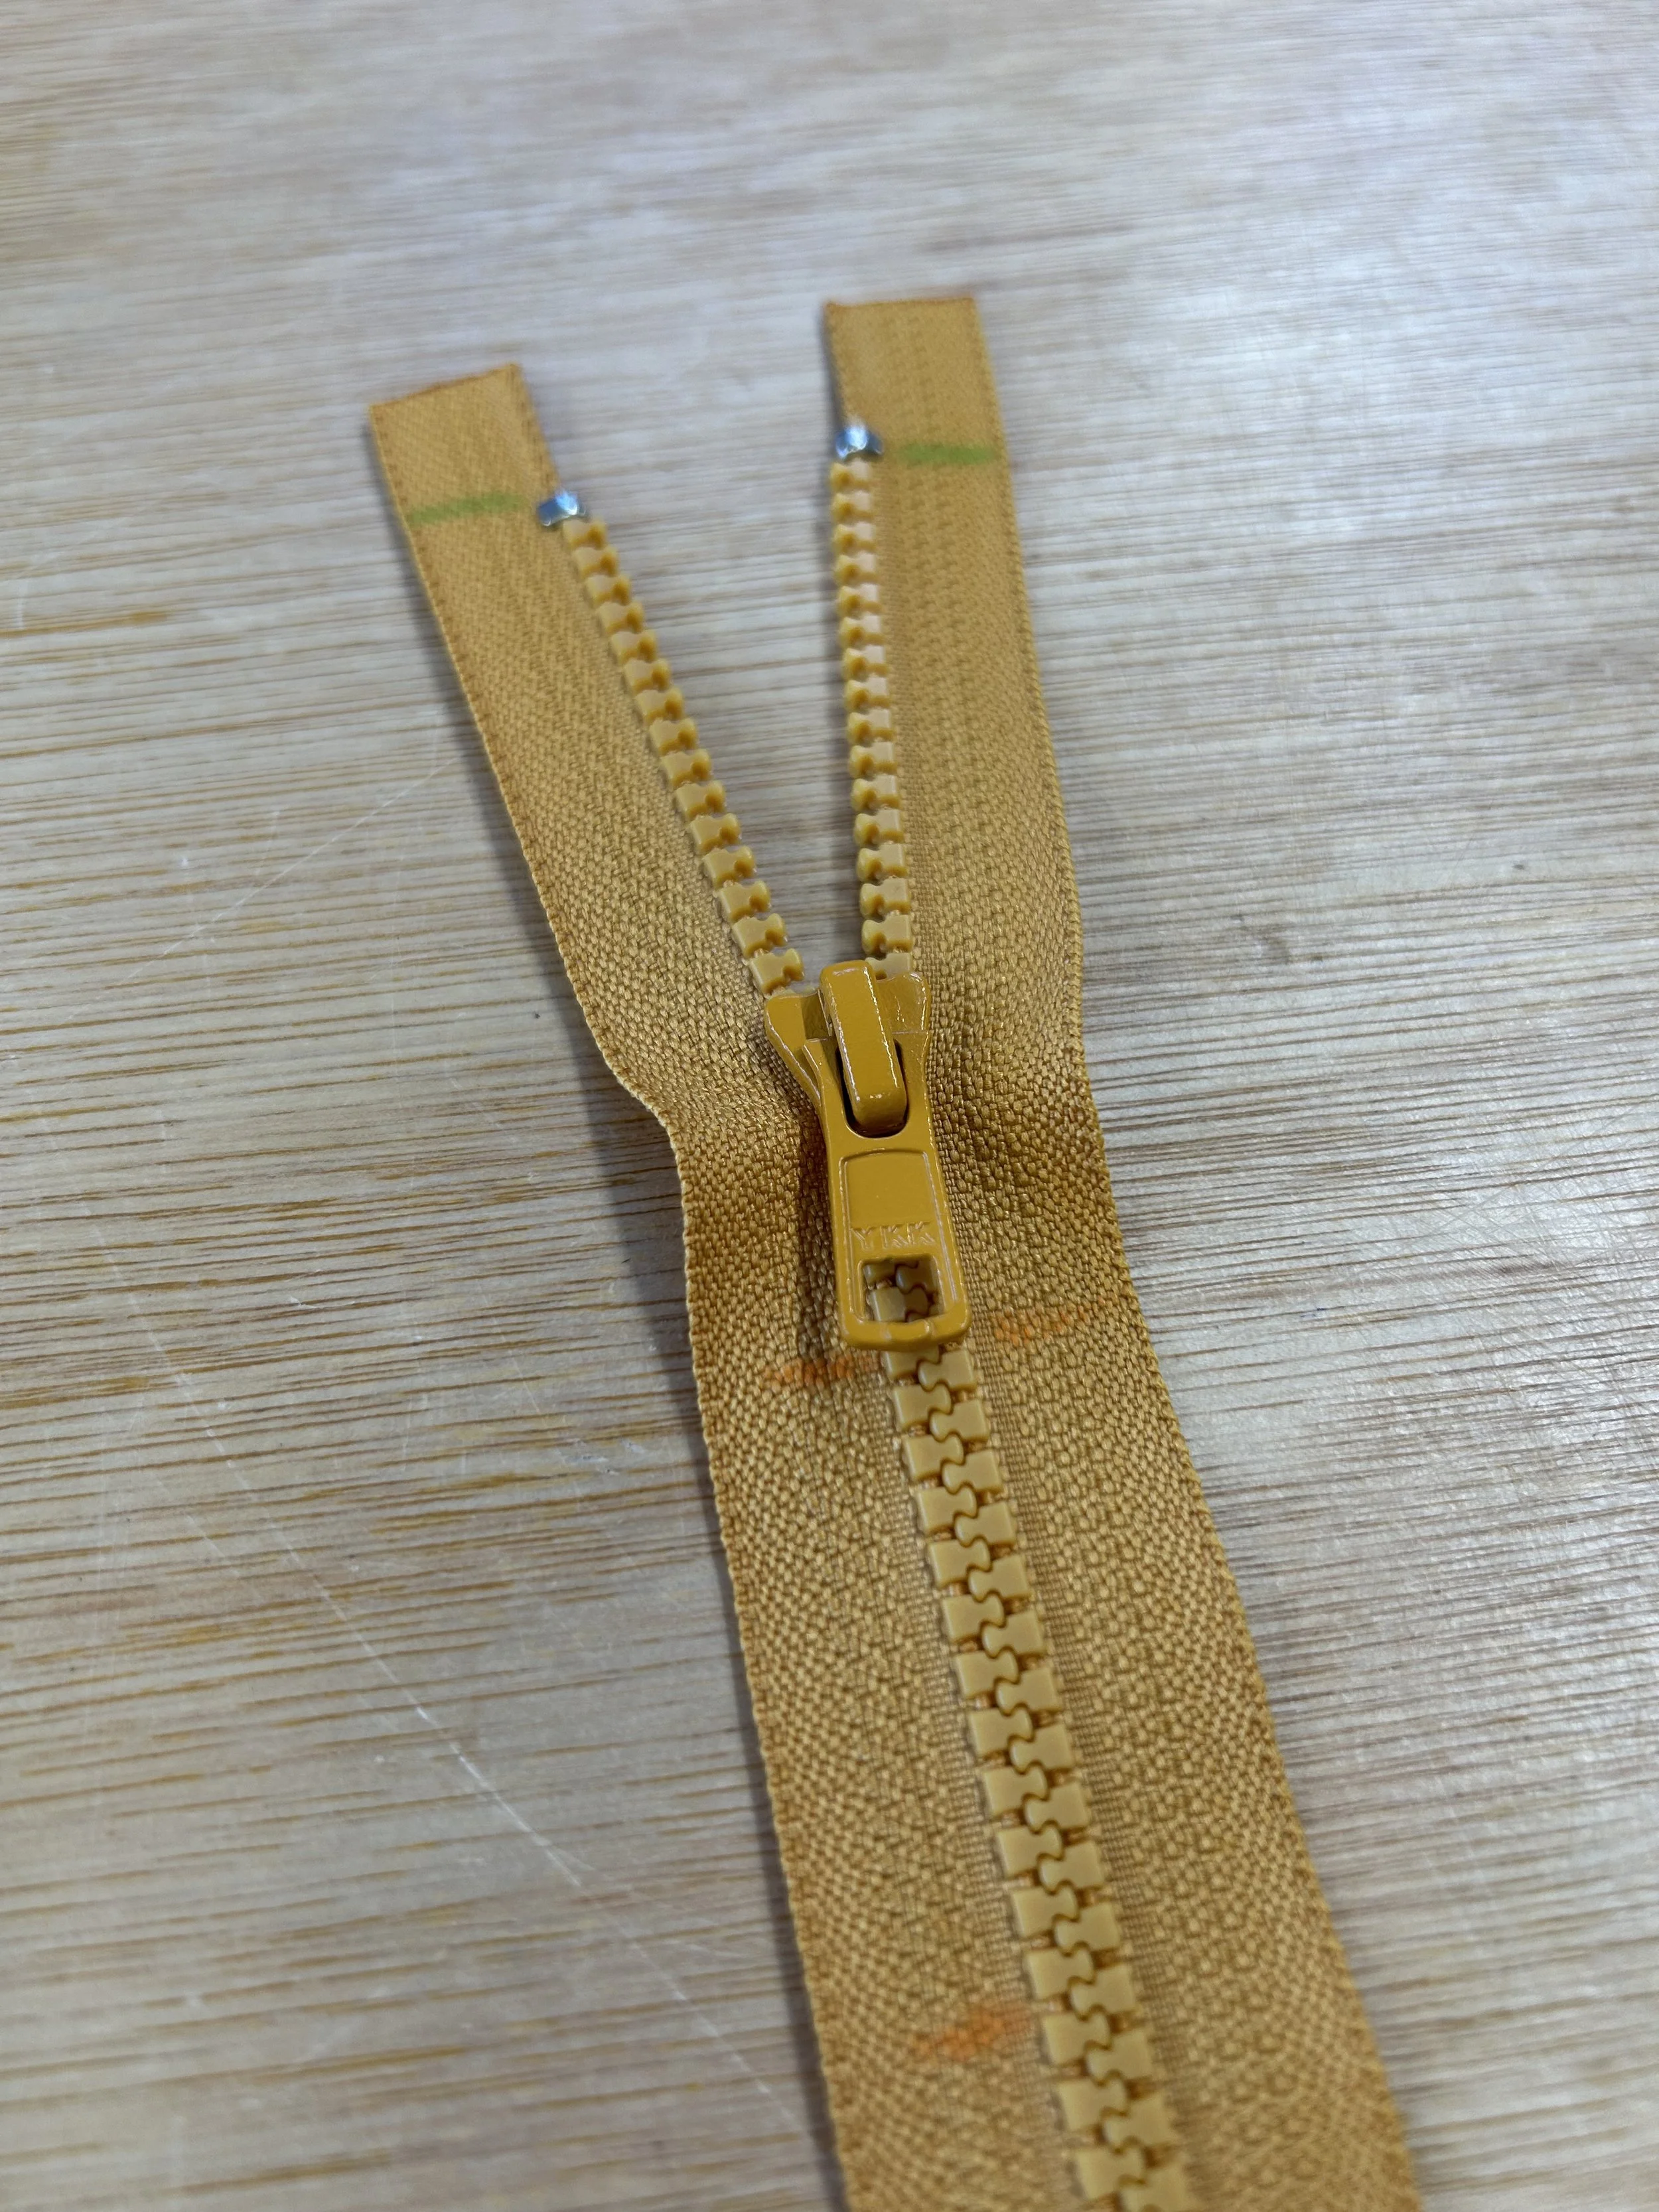
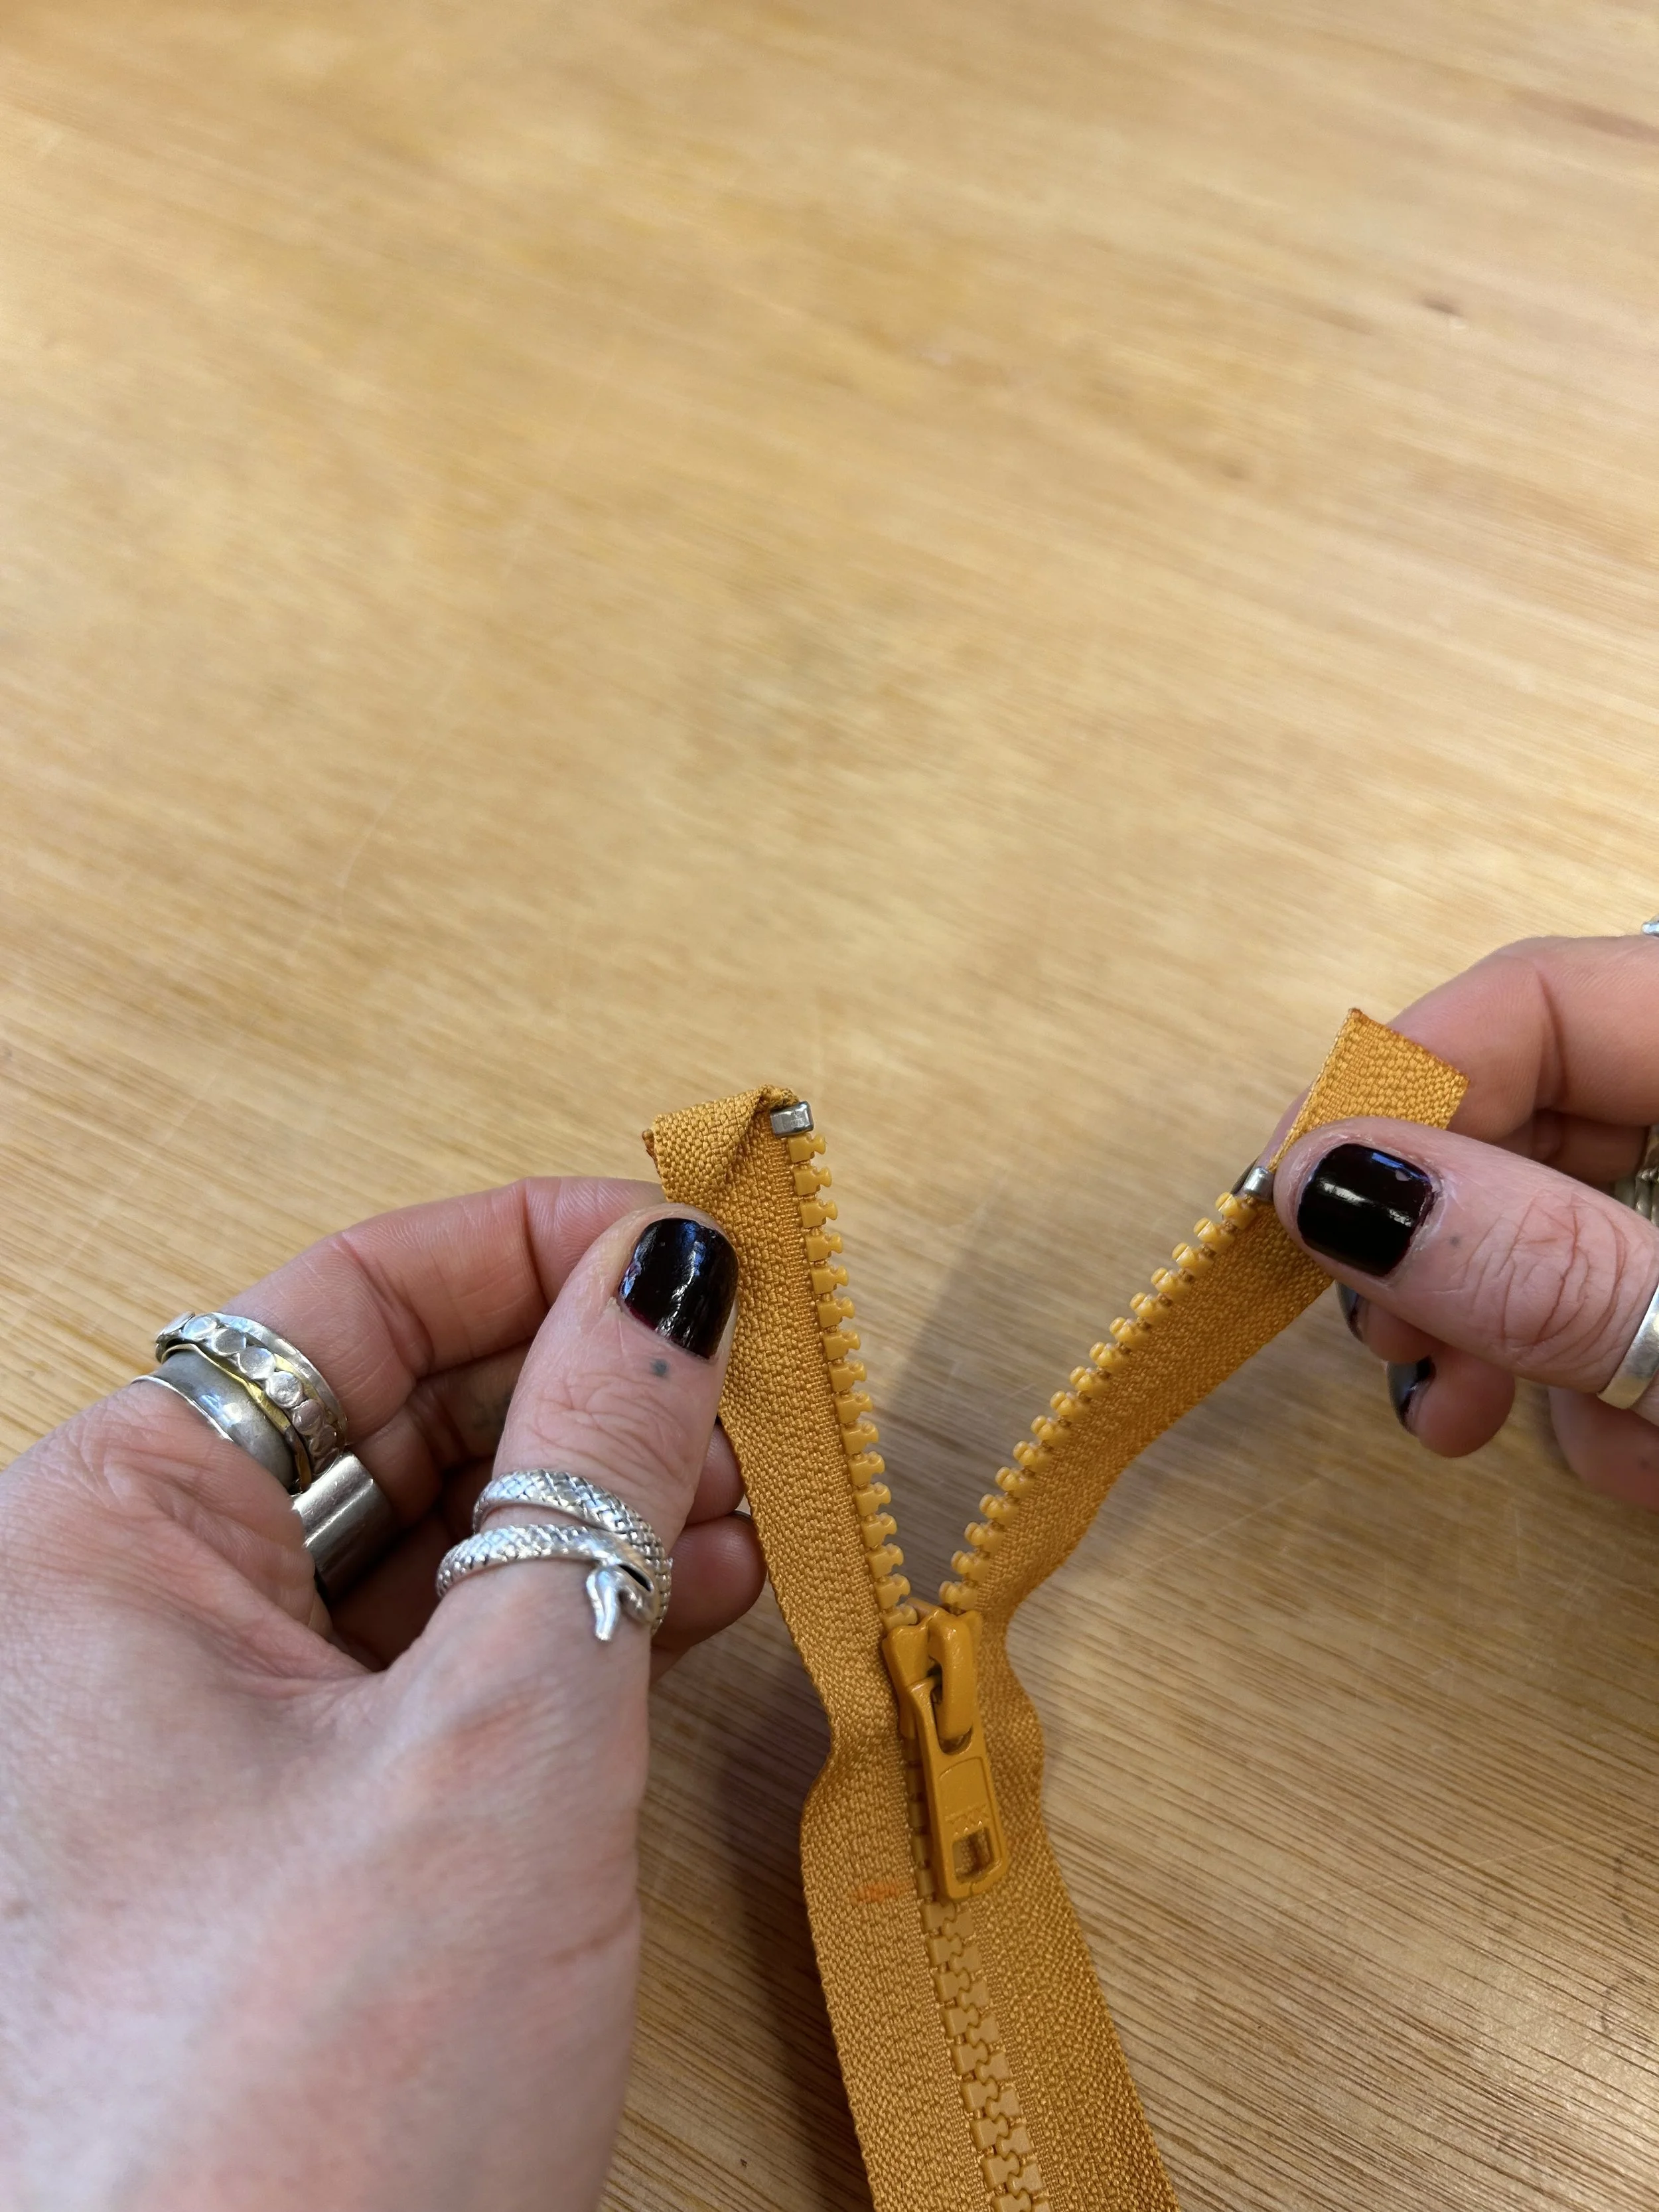
Making sure not to pull the slider off the zip, pull it up close to the top. Check that the teeth on both sides are lining up correctly.
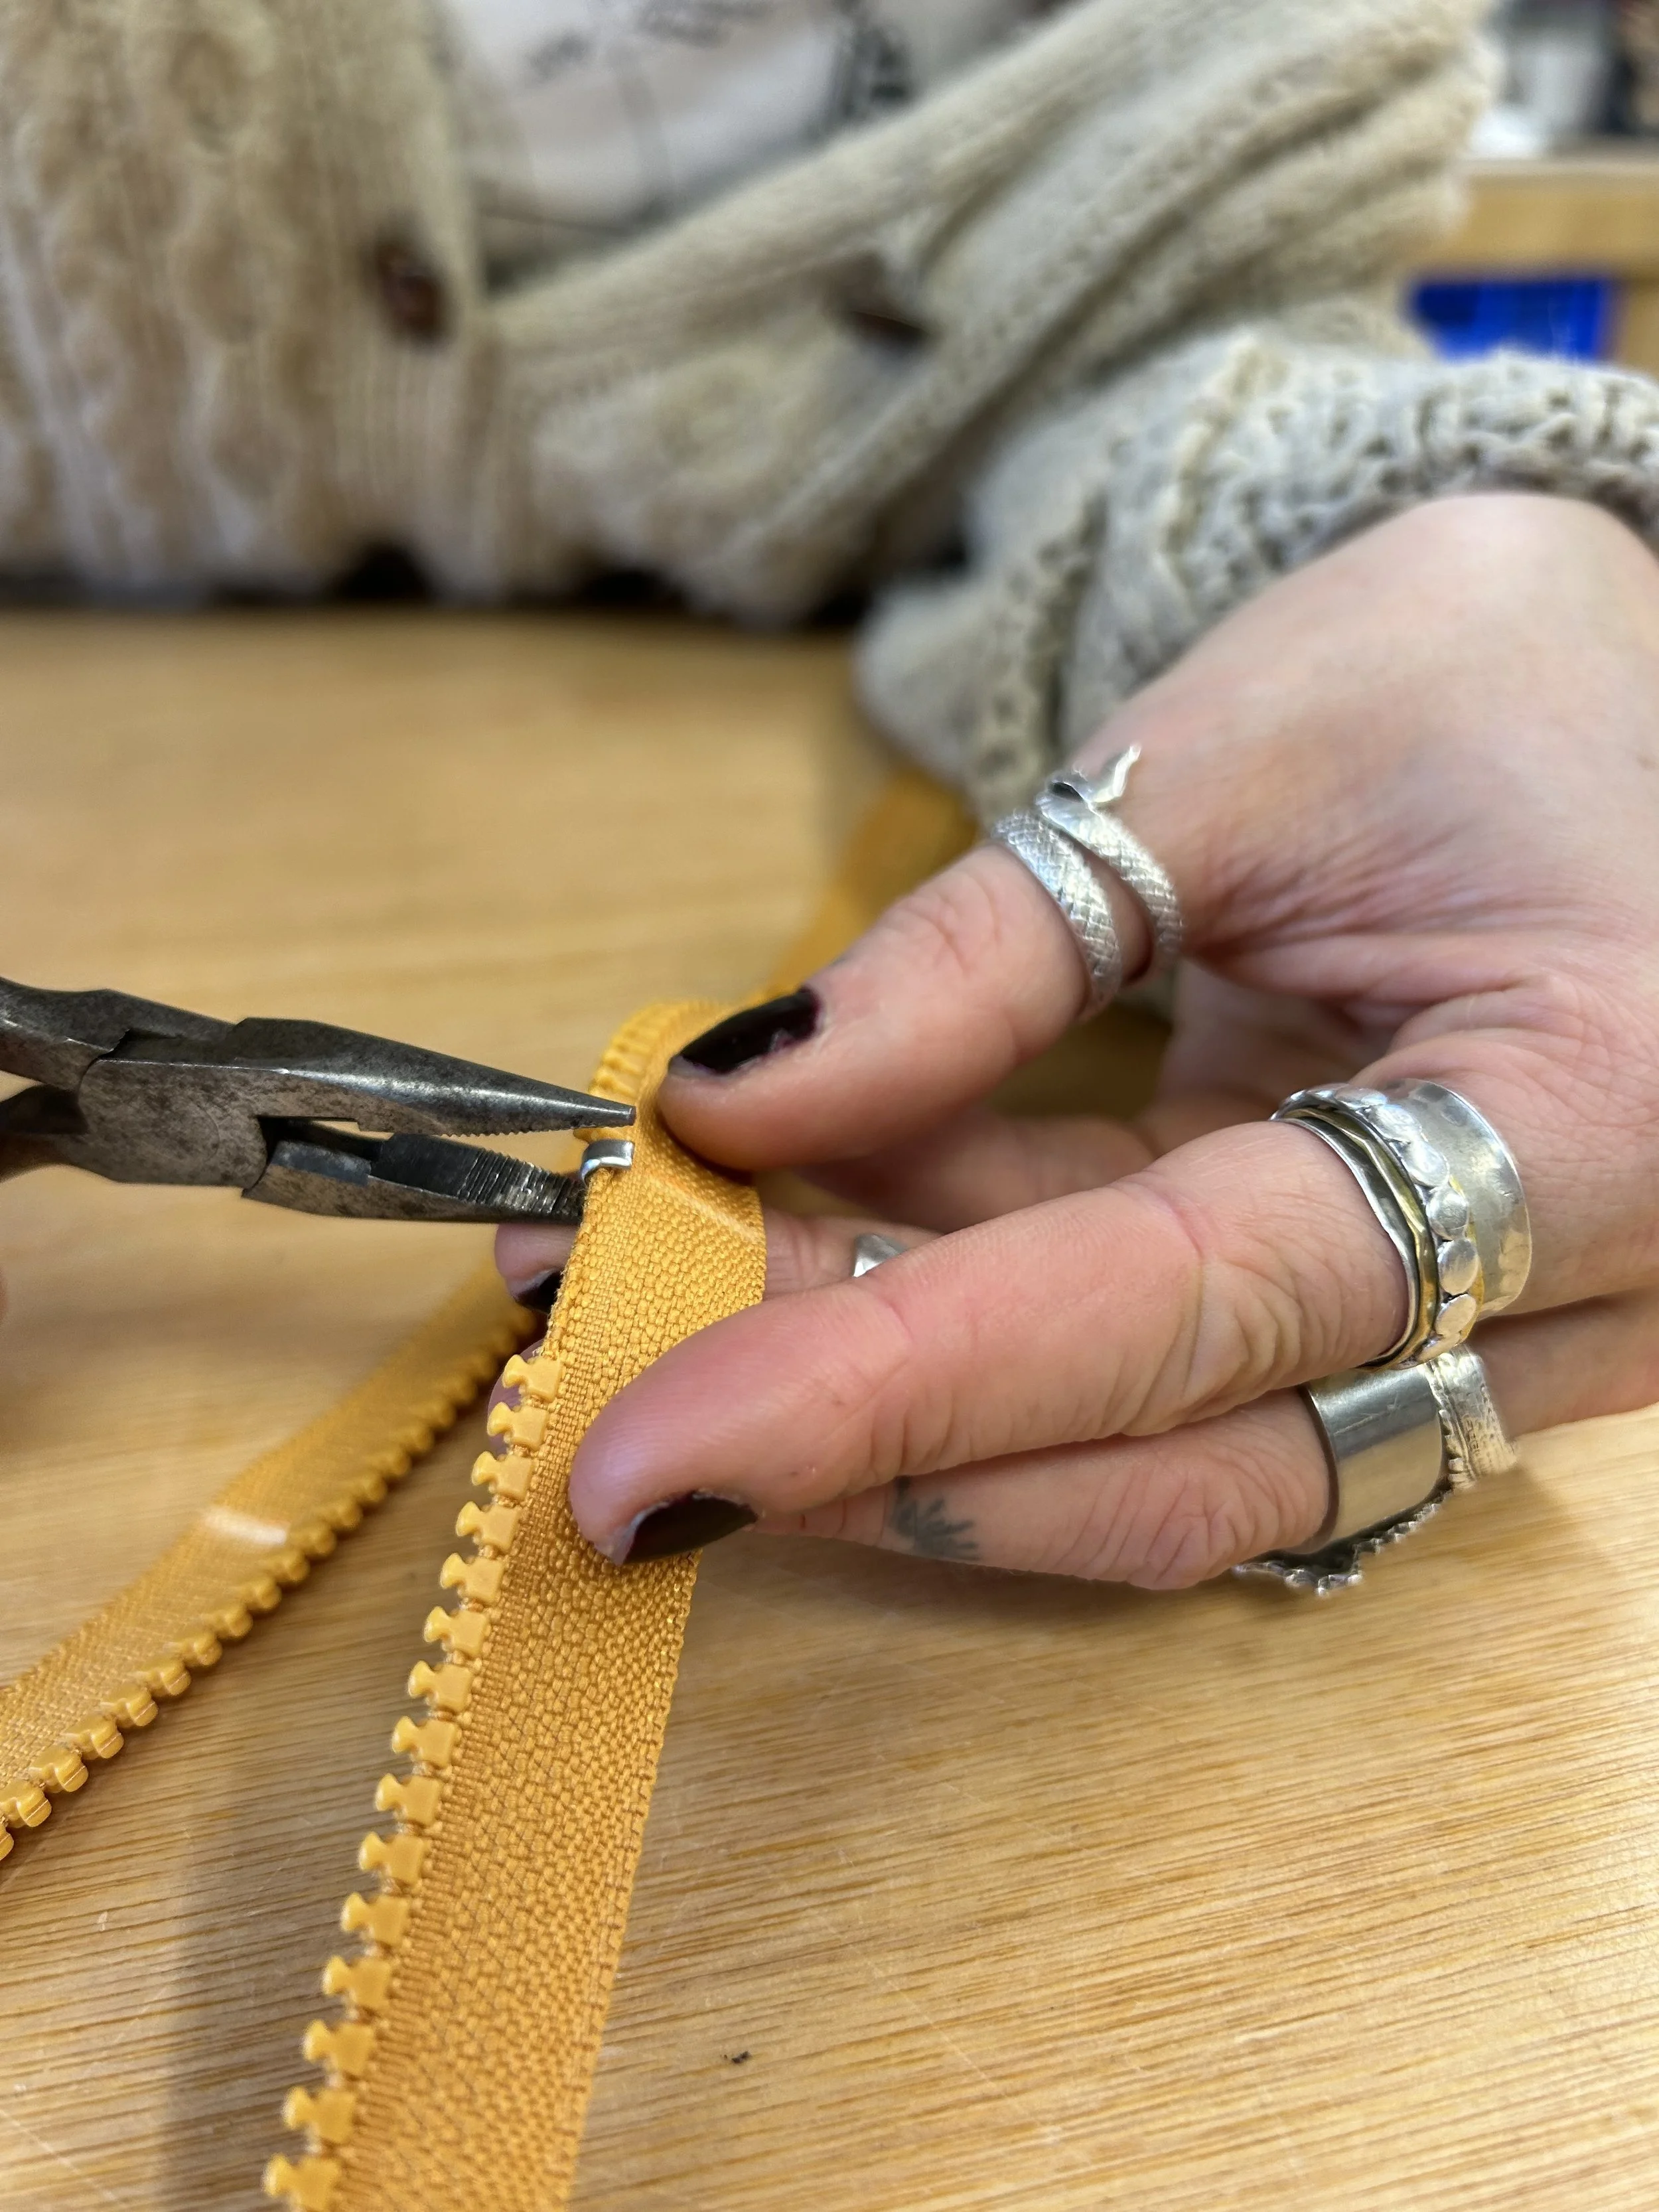
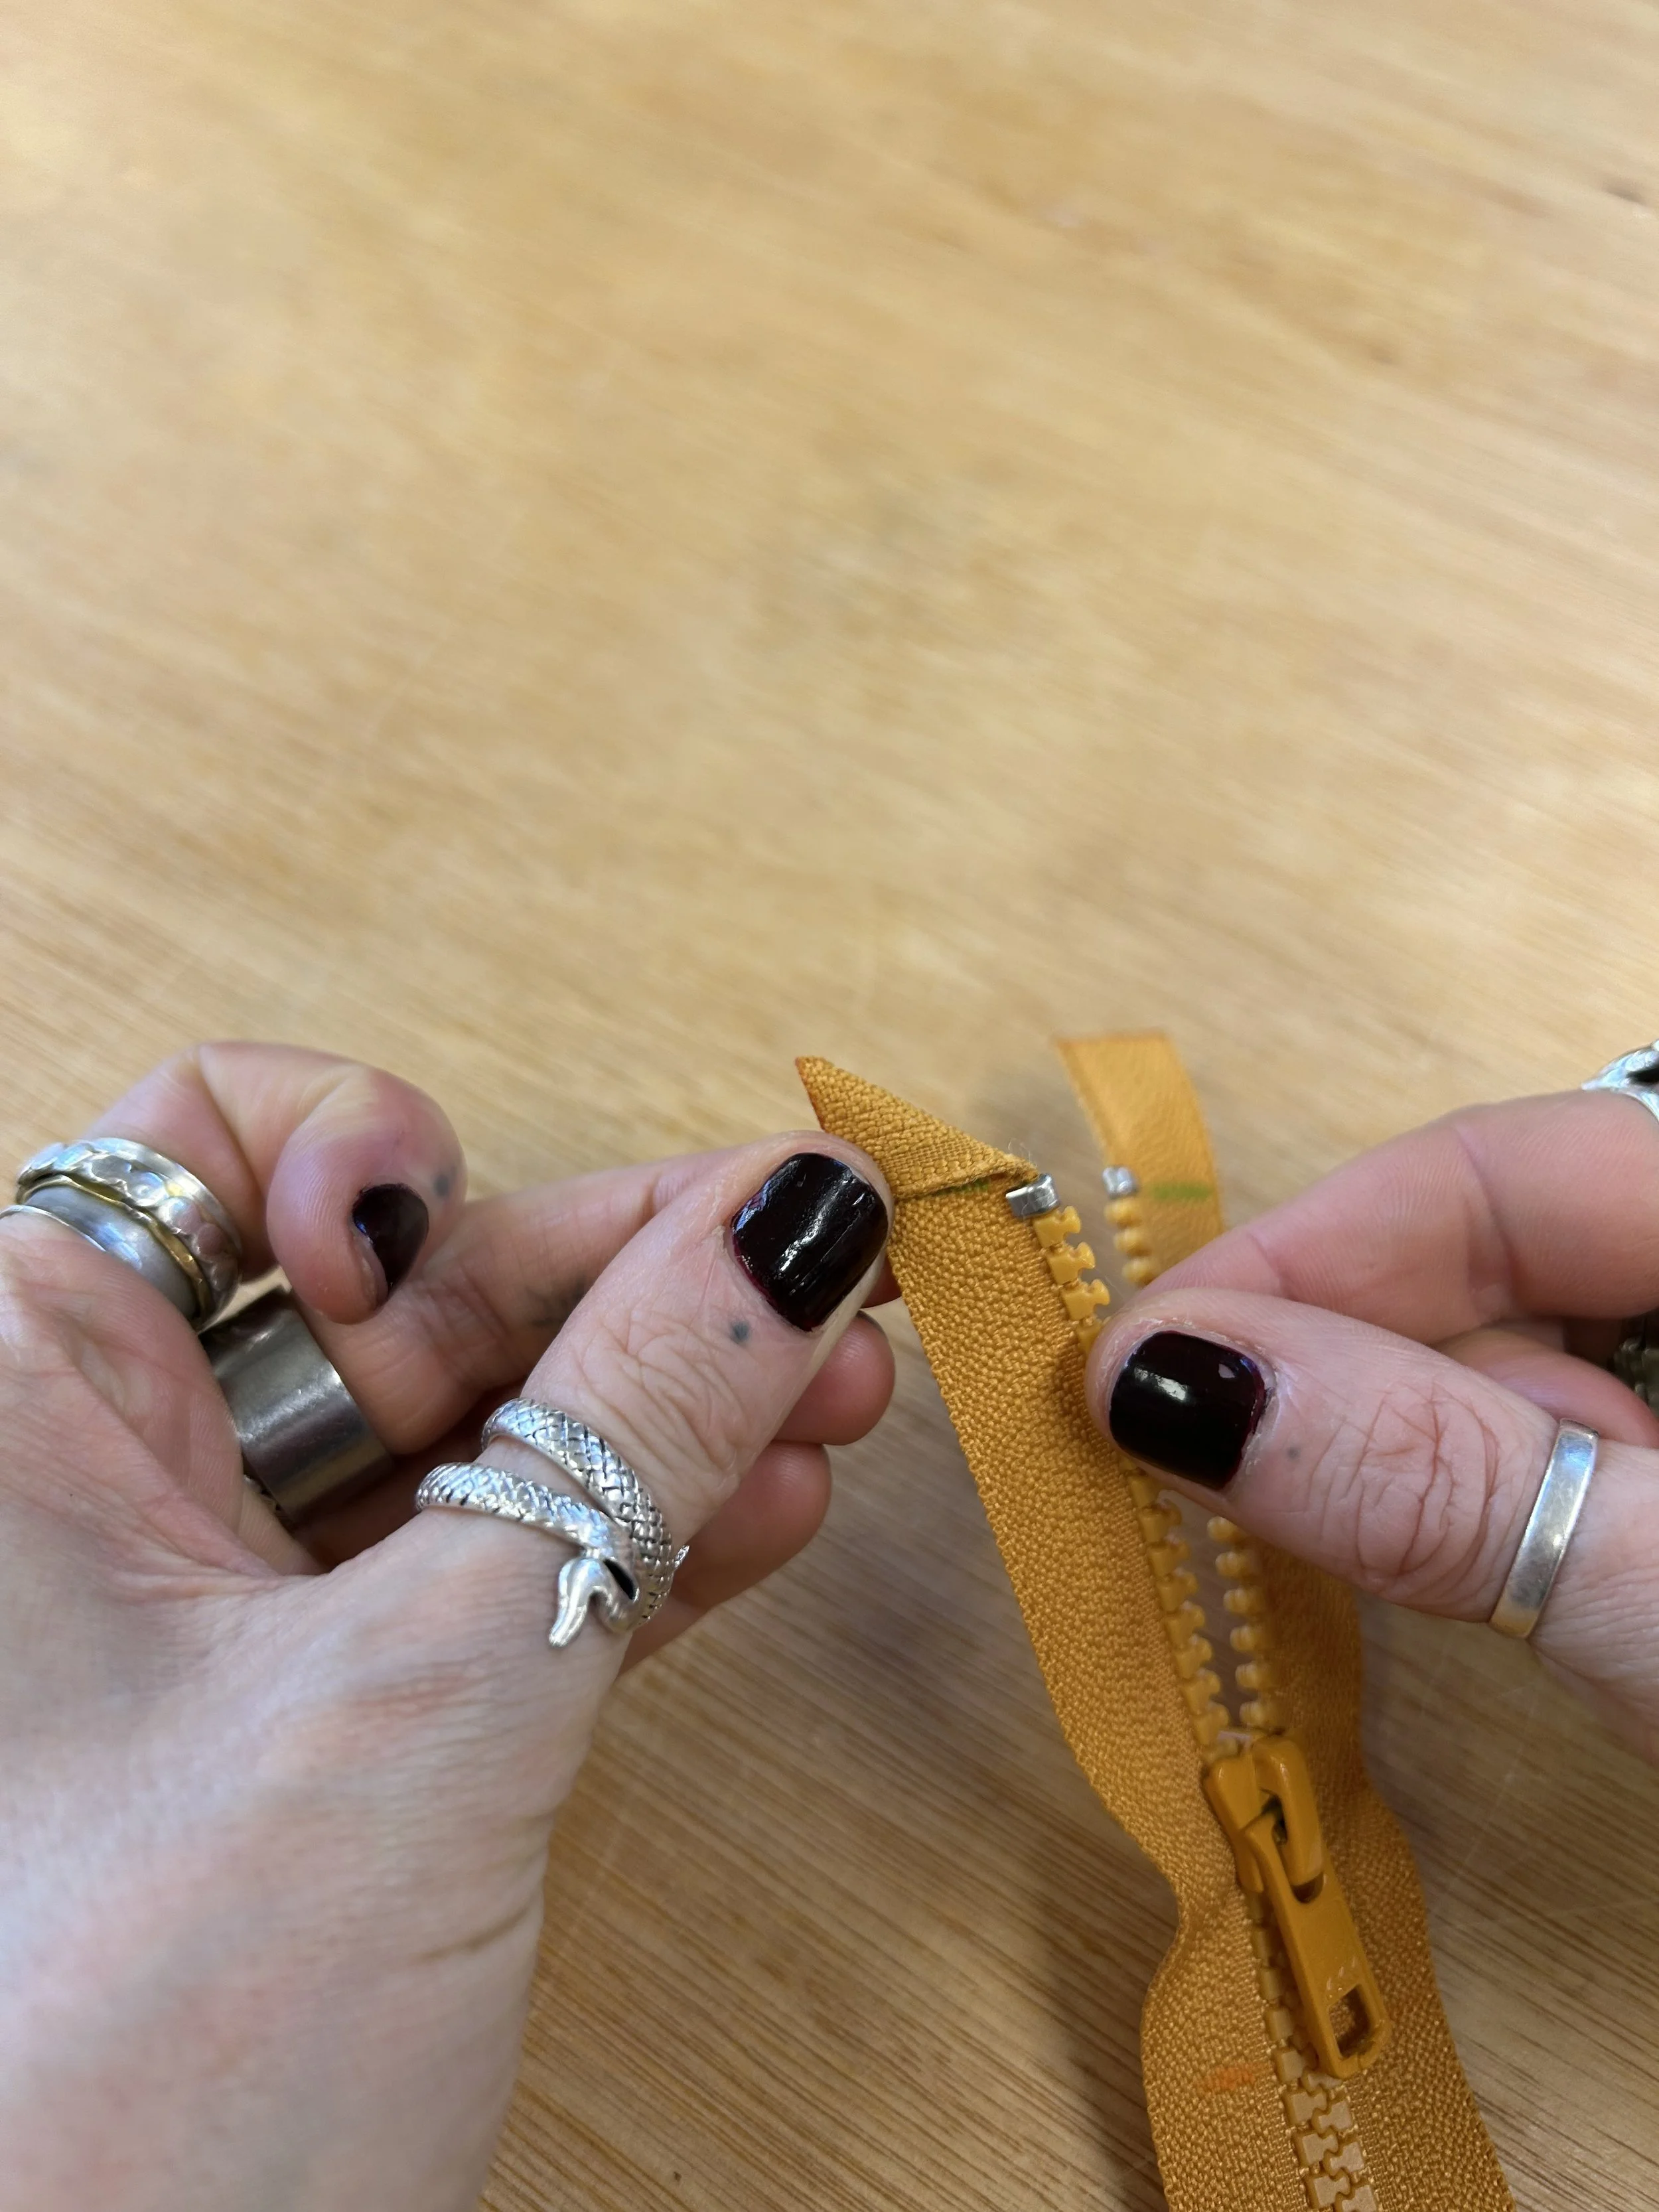
Using flat headed pliers add new top-stops.
Fold the tape back on itself and cut the excess zip off (leaving an extra mm or 2)
Unfold the tape and check that the cut is straight. Trim again if needed.
Carefully seal the cut edge of the tape with a lighter.
Sew a few stitches across the folded tape to hold it securely in place.
Your zip is now ready to be sewn into your item.
How to shorten a coil style zip
There are three ways to finish a shortened coil zip, depending on how it will be sewn into the item.
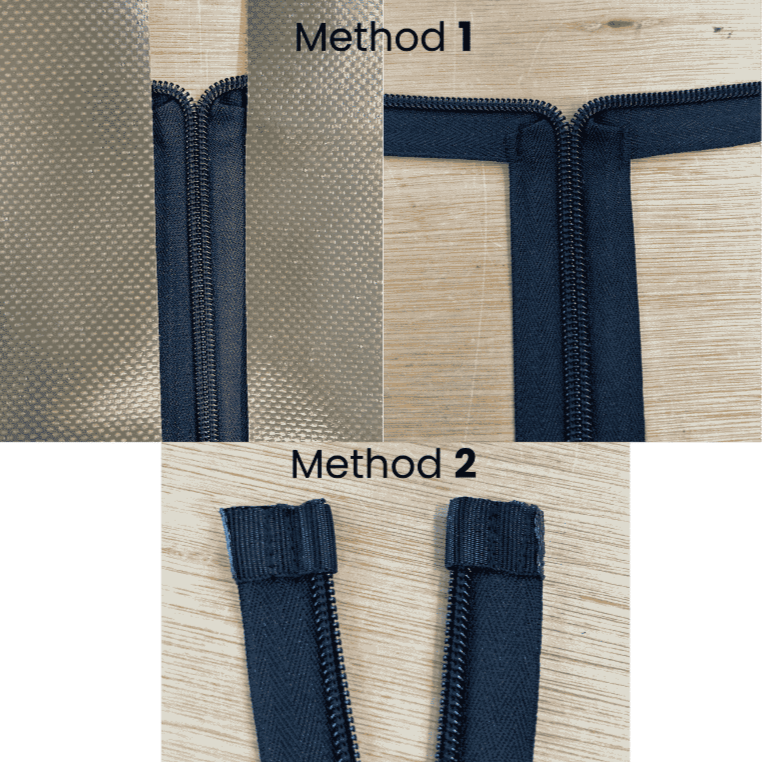
Method 1 - sewn the coil into the seam
At the bottom of the zip bend the coil outwards by 90 degrees making a L shape (with the coil of course facing out)
Sew a few stitches over the fold to hold it securely in place.
The bottom of the L shape will then act as a bottom stop on both sides of the zip
Method 2 - a sewn top stop
Cut the coil to the required length and carefully seal the end with a lighter.
Once the zip has been sewn into the item, sew a small folded strip of webbing over the top of the coil on each side.
These strips will act as top stops, preventing the slider from coming off.
Method 3 - The magic fold
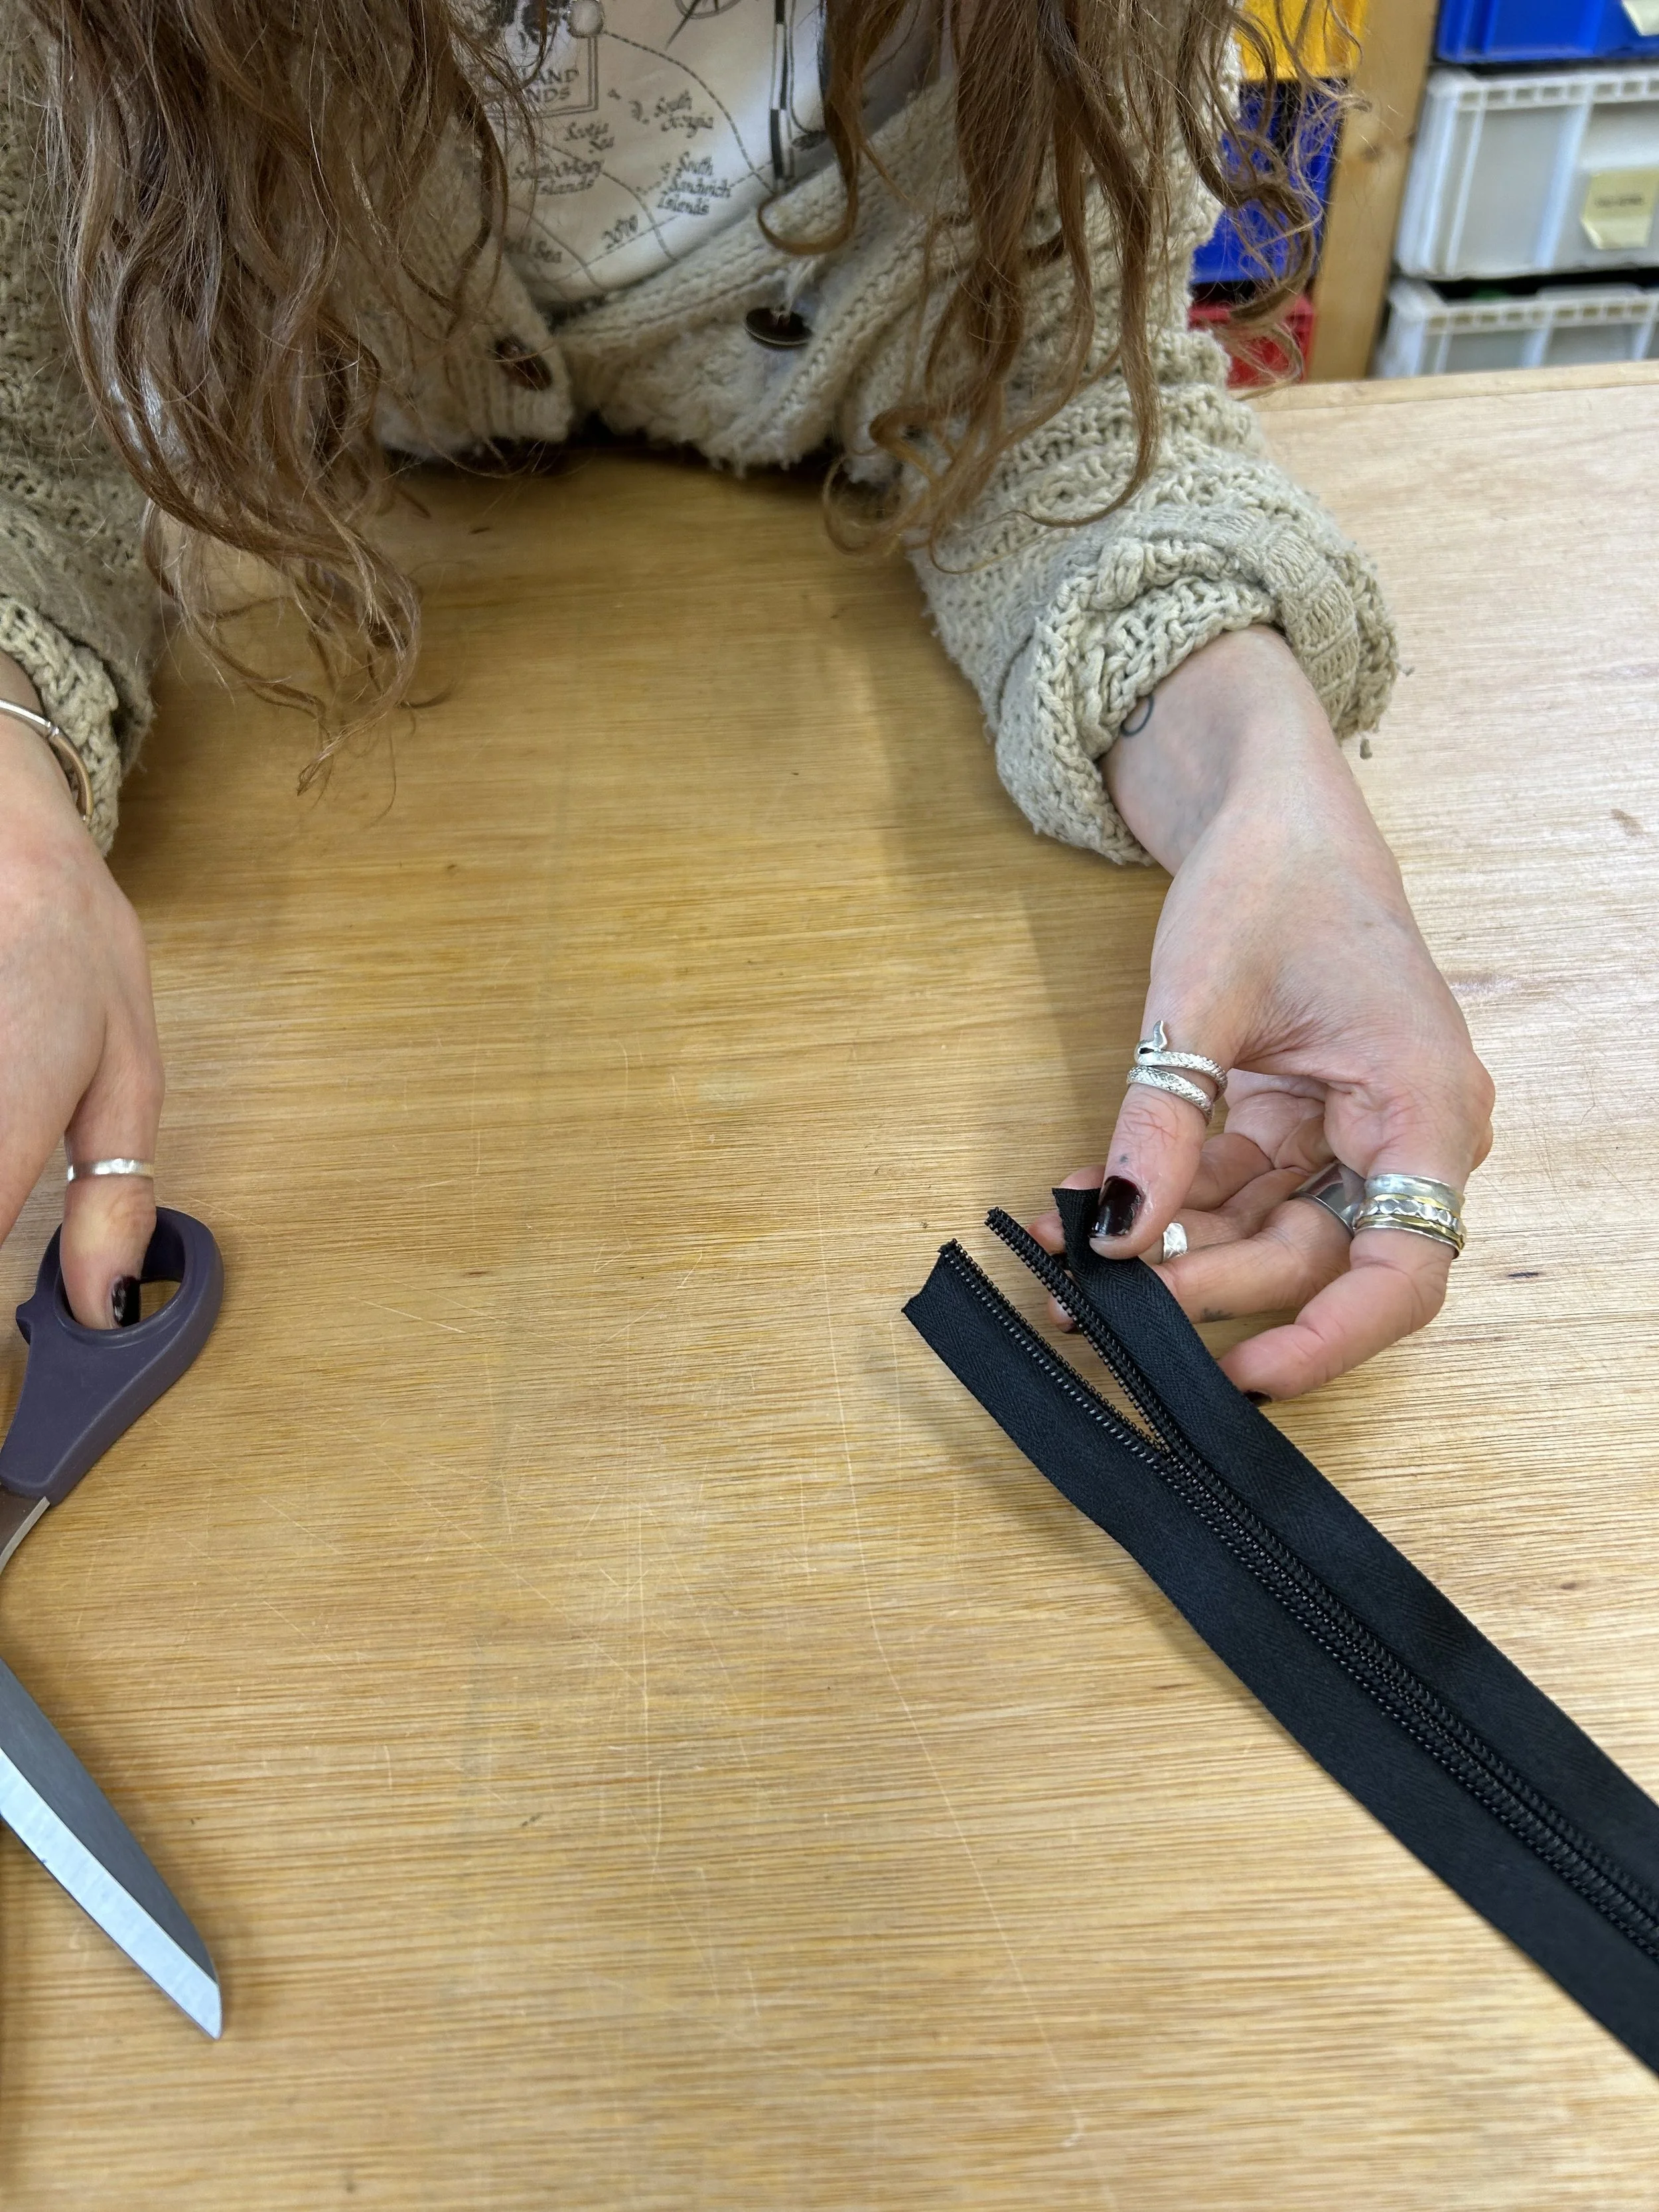
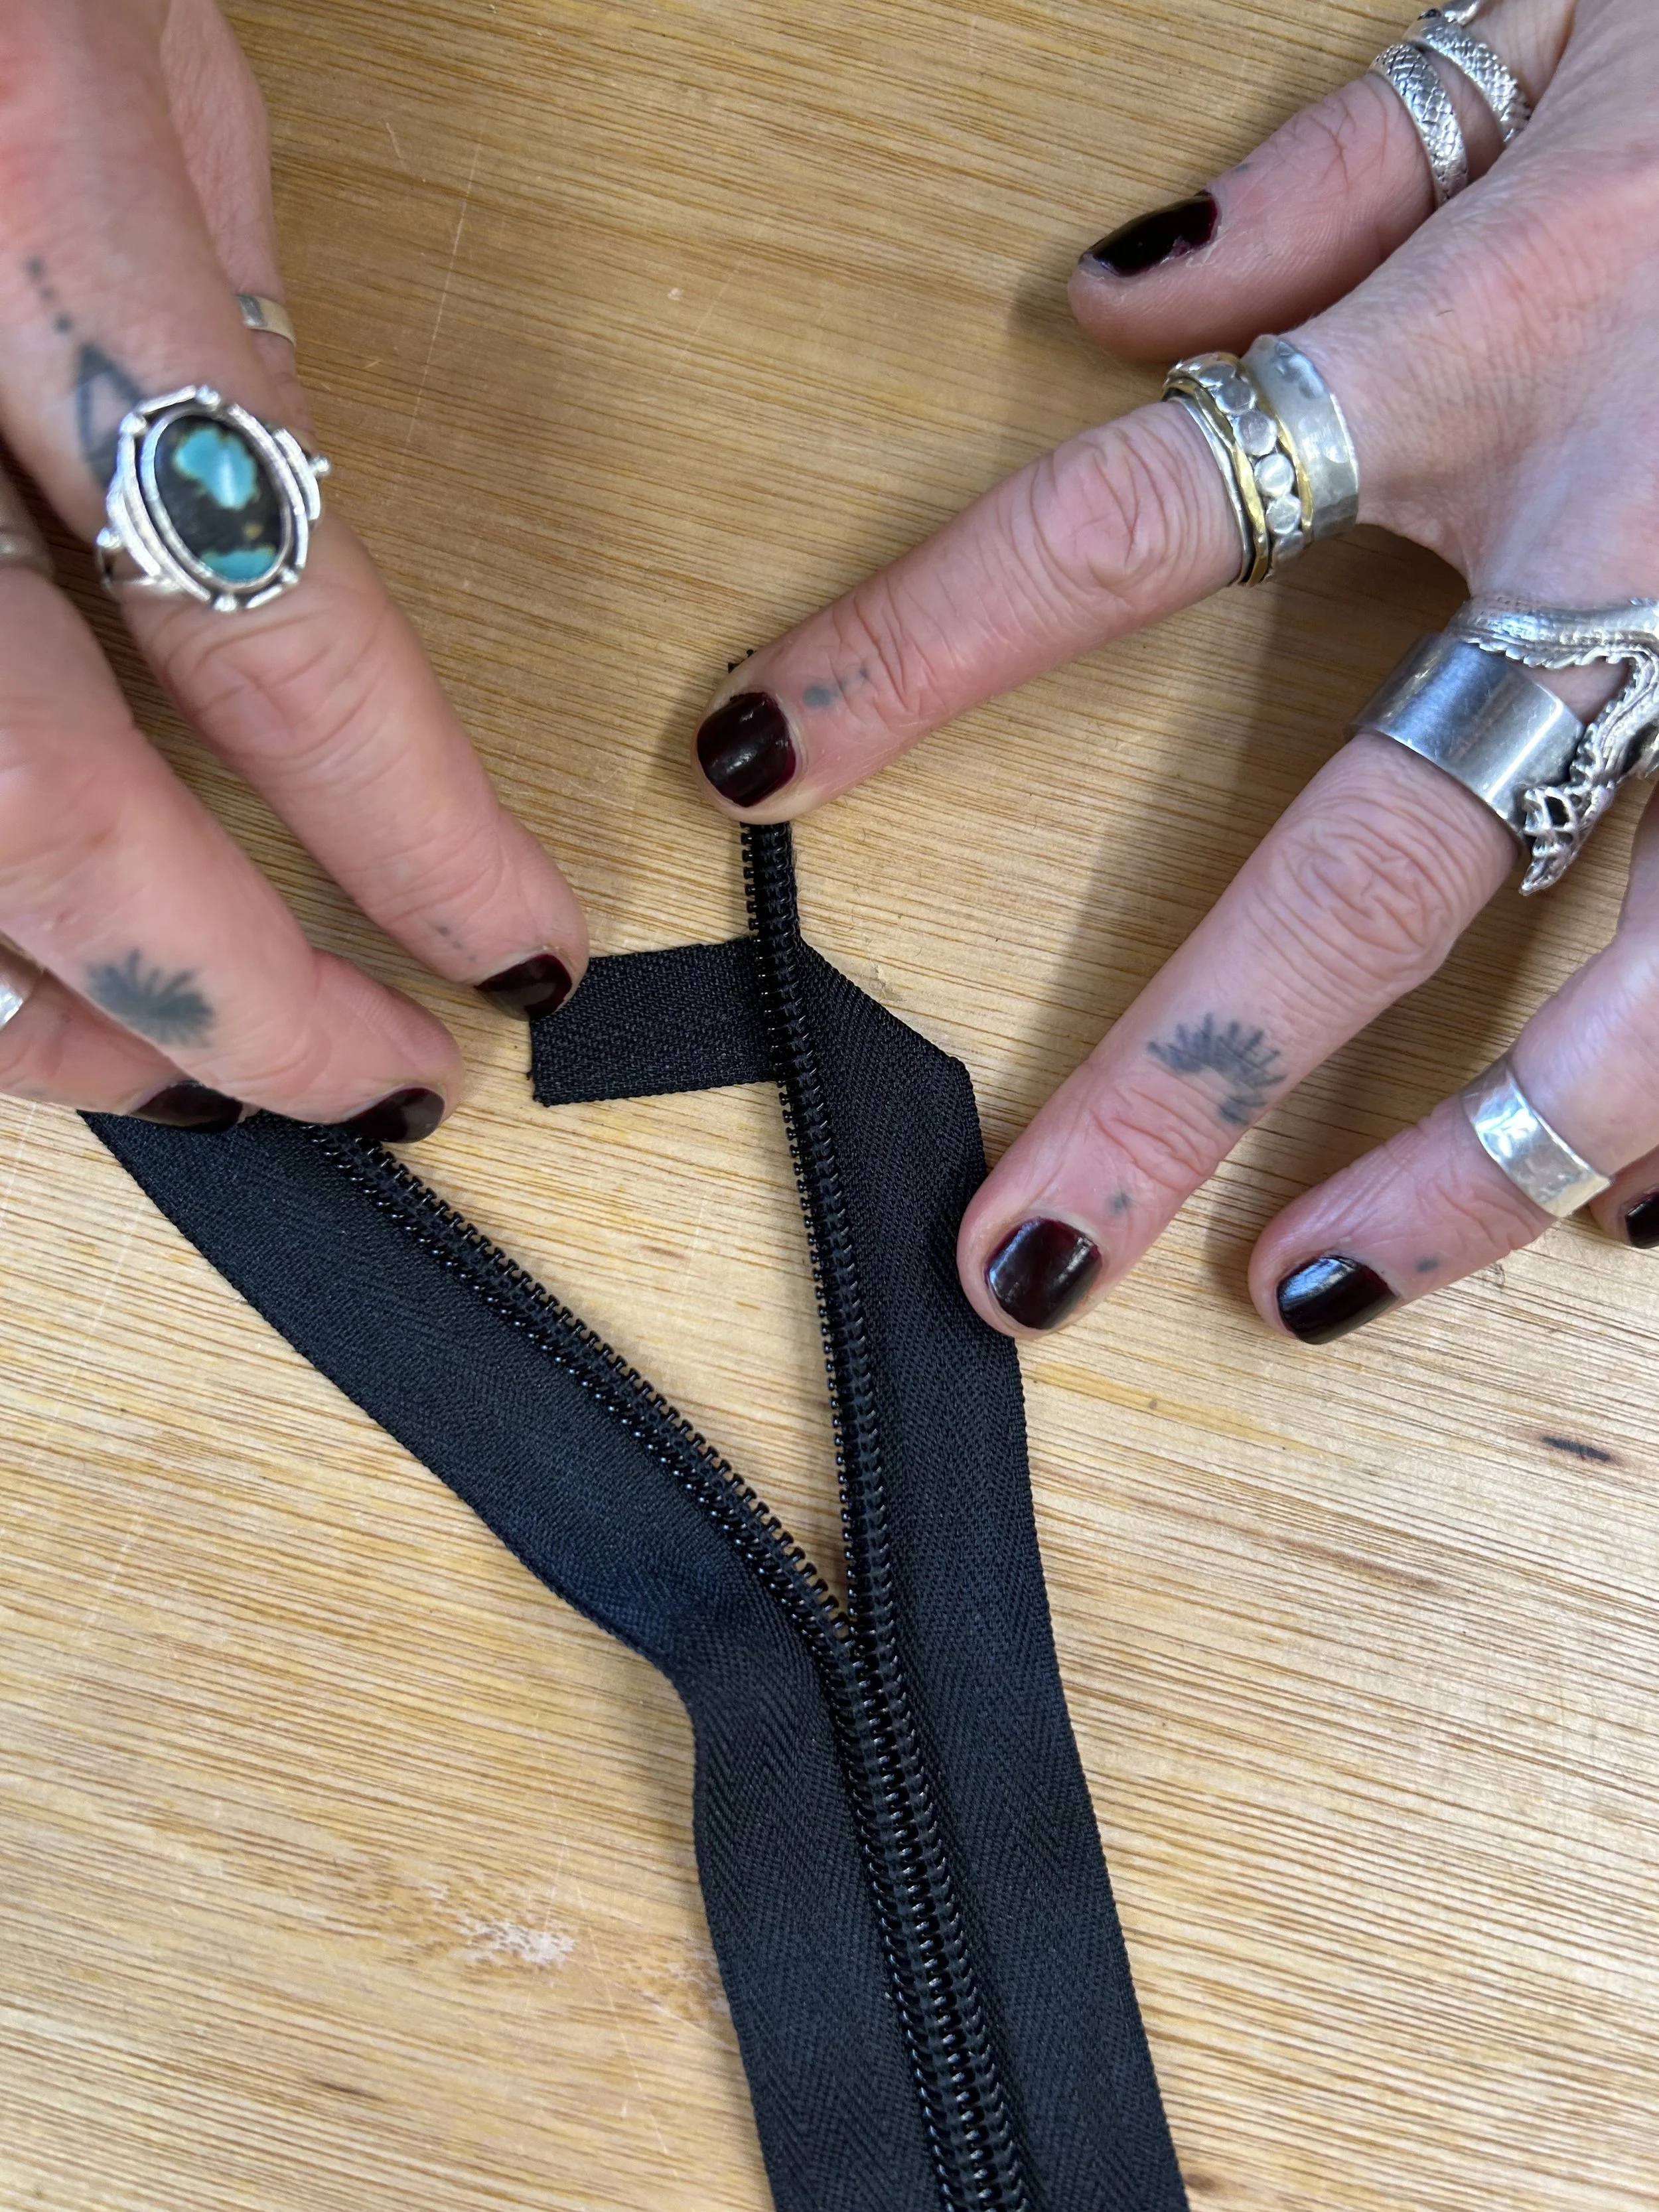
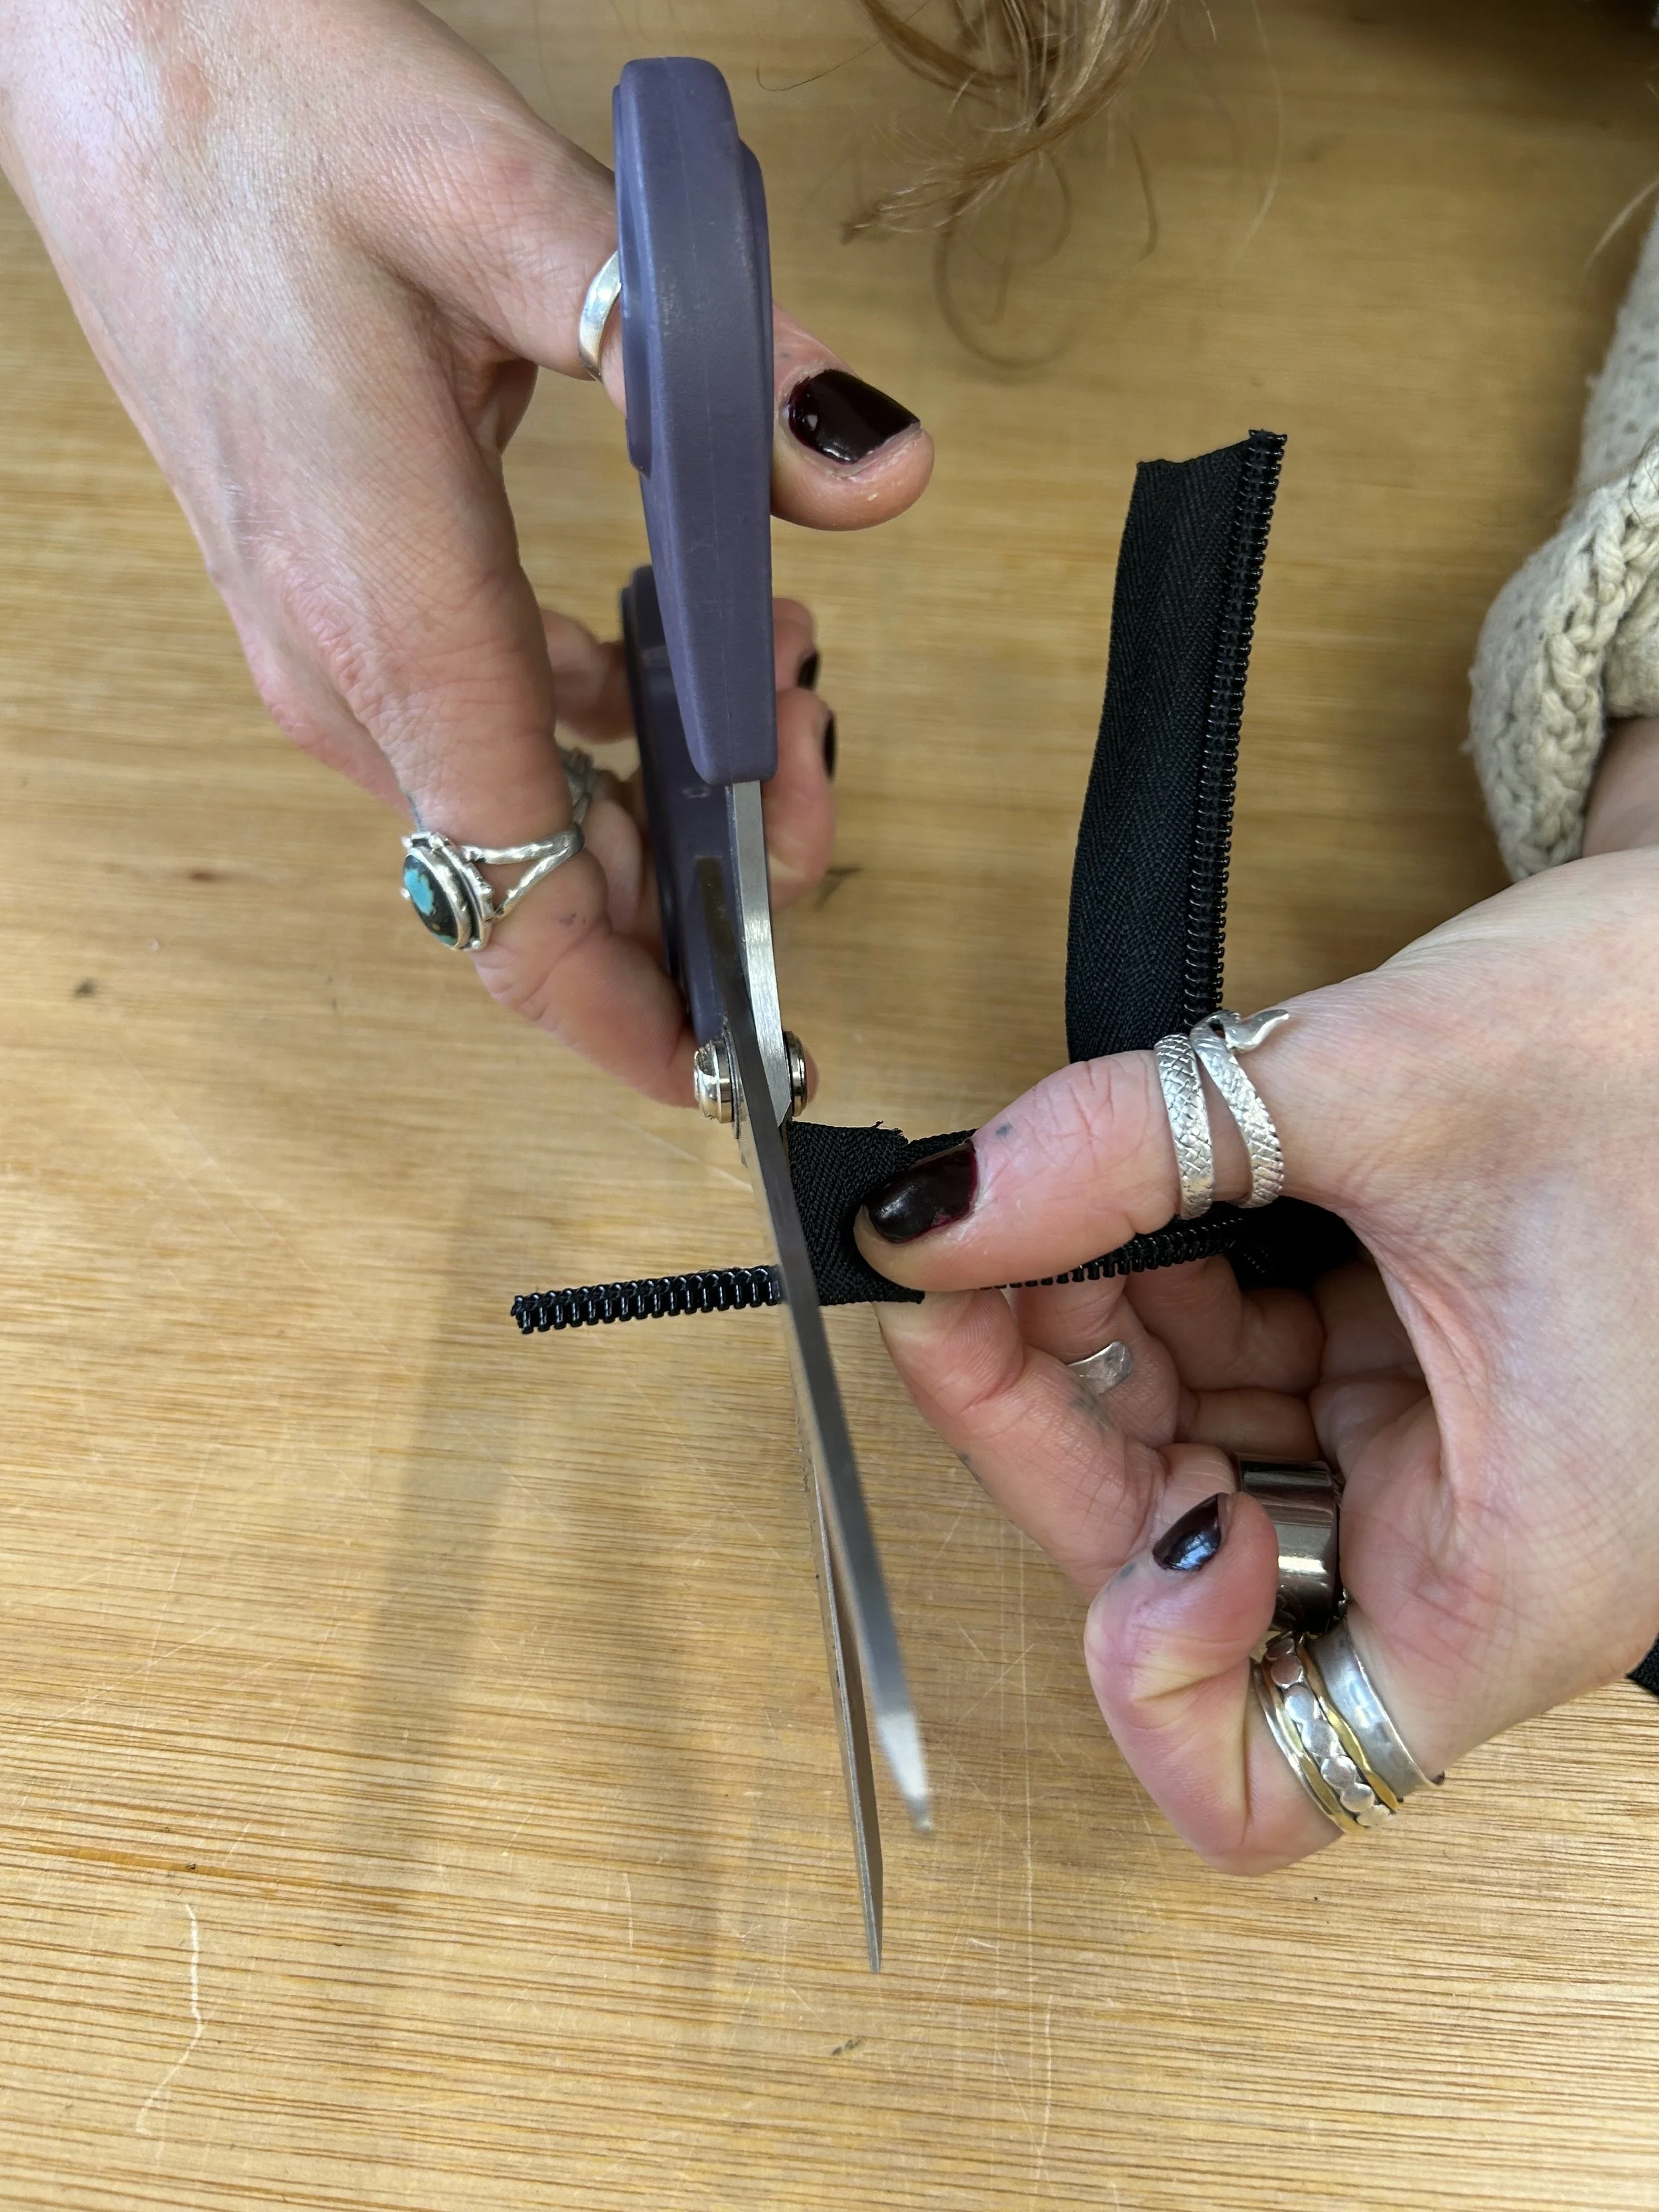
Cut down the tape right next to the coil by around 20mm, meaning there is a thin line of coil separate to the tape.
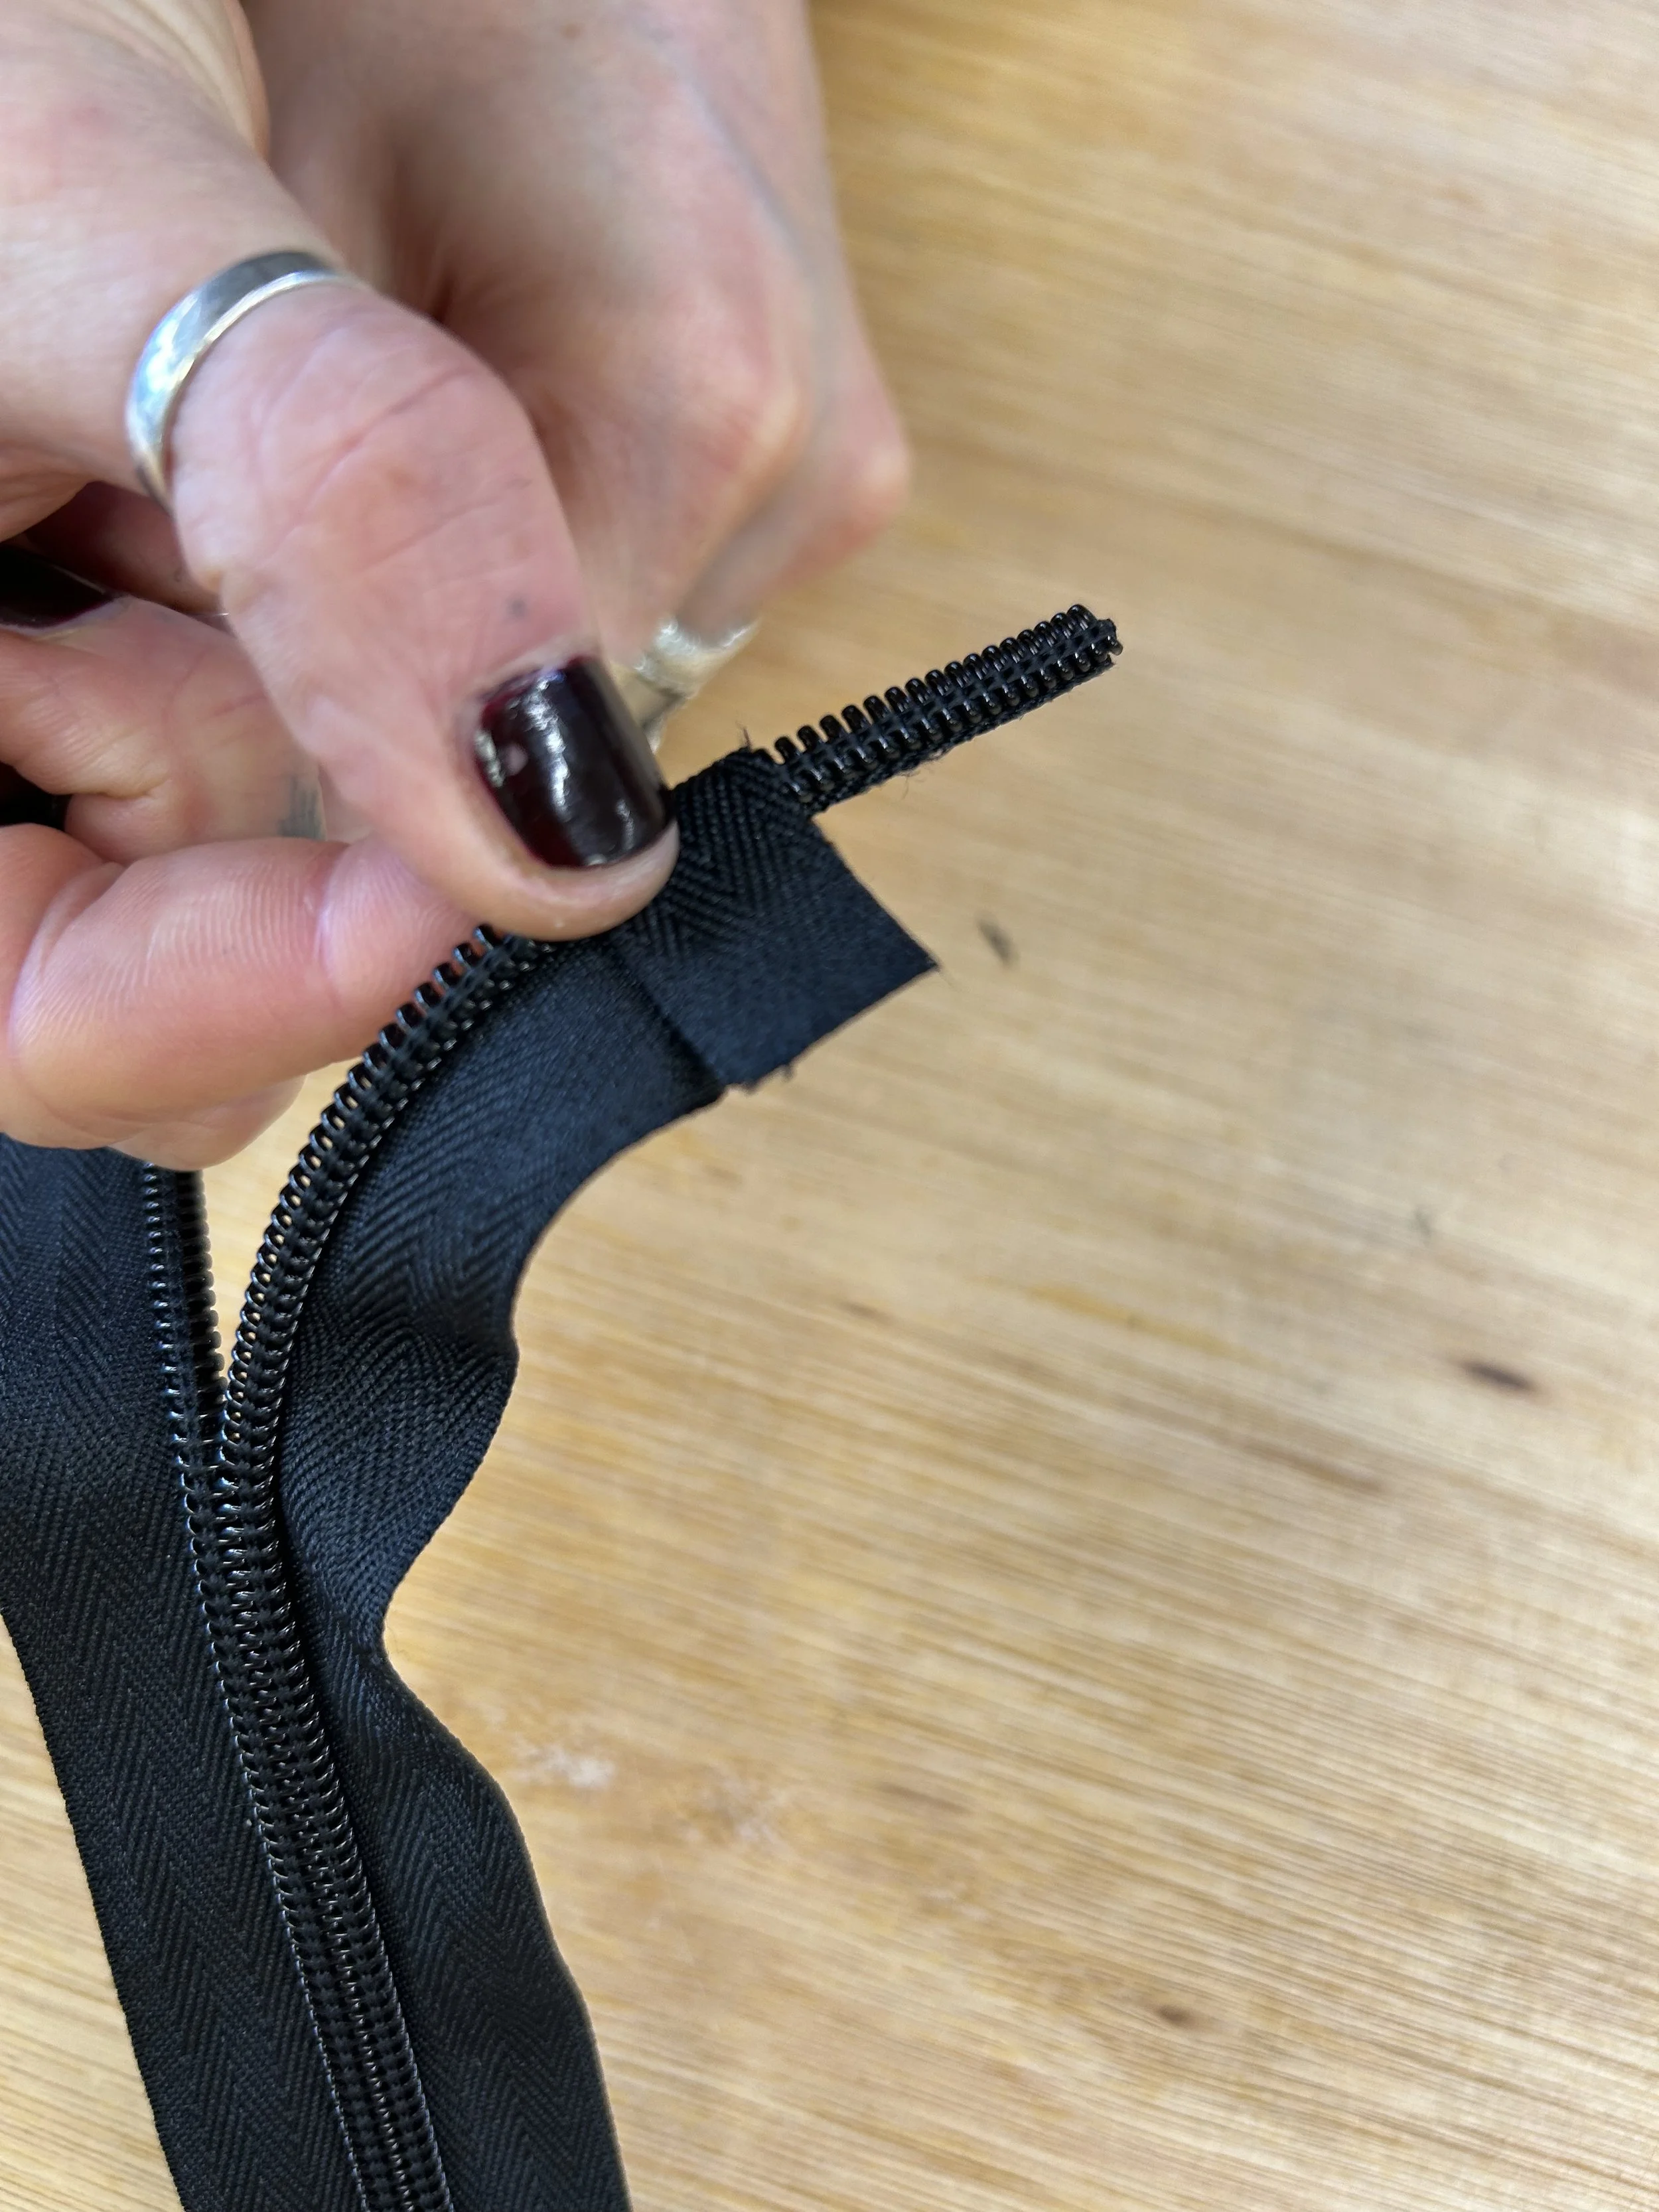
Then pass the tape behind the coil folding it to 90 degrees then fold the tape back over the top of the coil again at 90 degrees.
This should then look like a neat folded tape top with a line of coil poking out. Cut the coil down and lighter the end.
This is then ready to be sewn into the item and will act as its own topstop.
Method 3
Want some extra guidance? Want to learn something new? Want to share a repair space with likeminded earthlings? Check out or upcoming classes & repair clubs below :)