How to replace an open ended zip slider
A damaged or worn slider doesn't always mean you need to replace the whole zip. If the teeth or coil, zip tape, bottom box and pin are all in good condition, replacing the slider can be a much simpler repair.
Before you start, make sure the zip is suitable for a slider replacement rather than needing a full zip replacement. Our ‘Why Do Zips Fail?’ blog can help you diagnose the problem.
You will need:
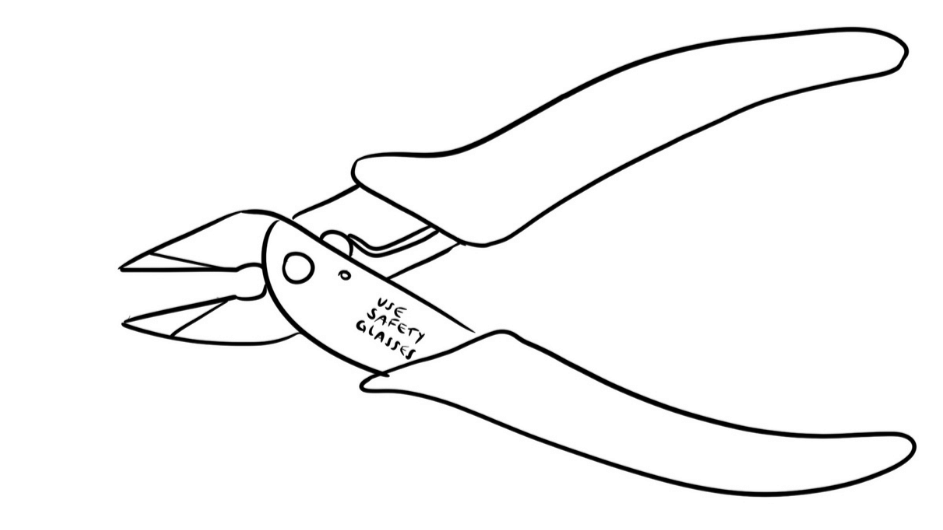
Pliers
Snips
Sliders (we recommend williamgee, profabrics & makeyourowngear)
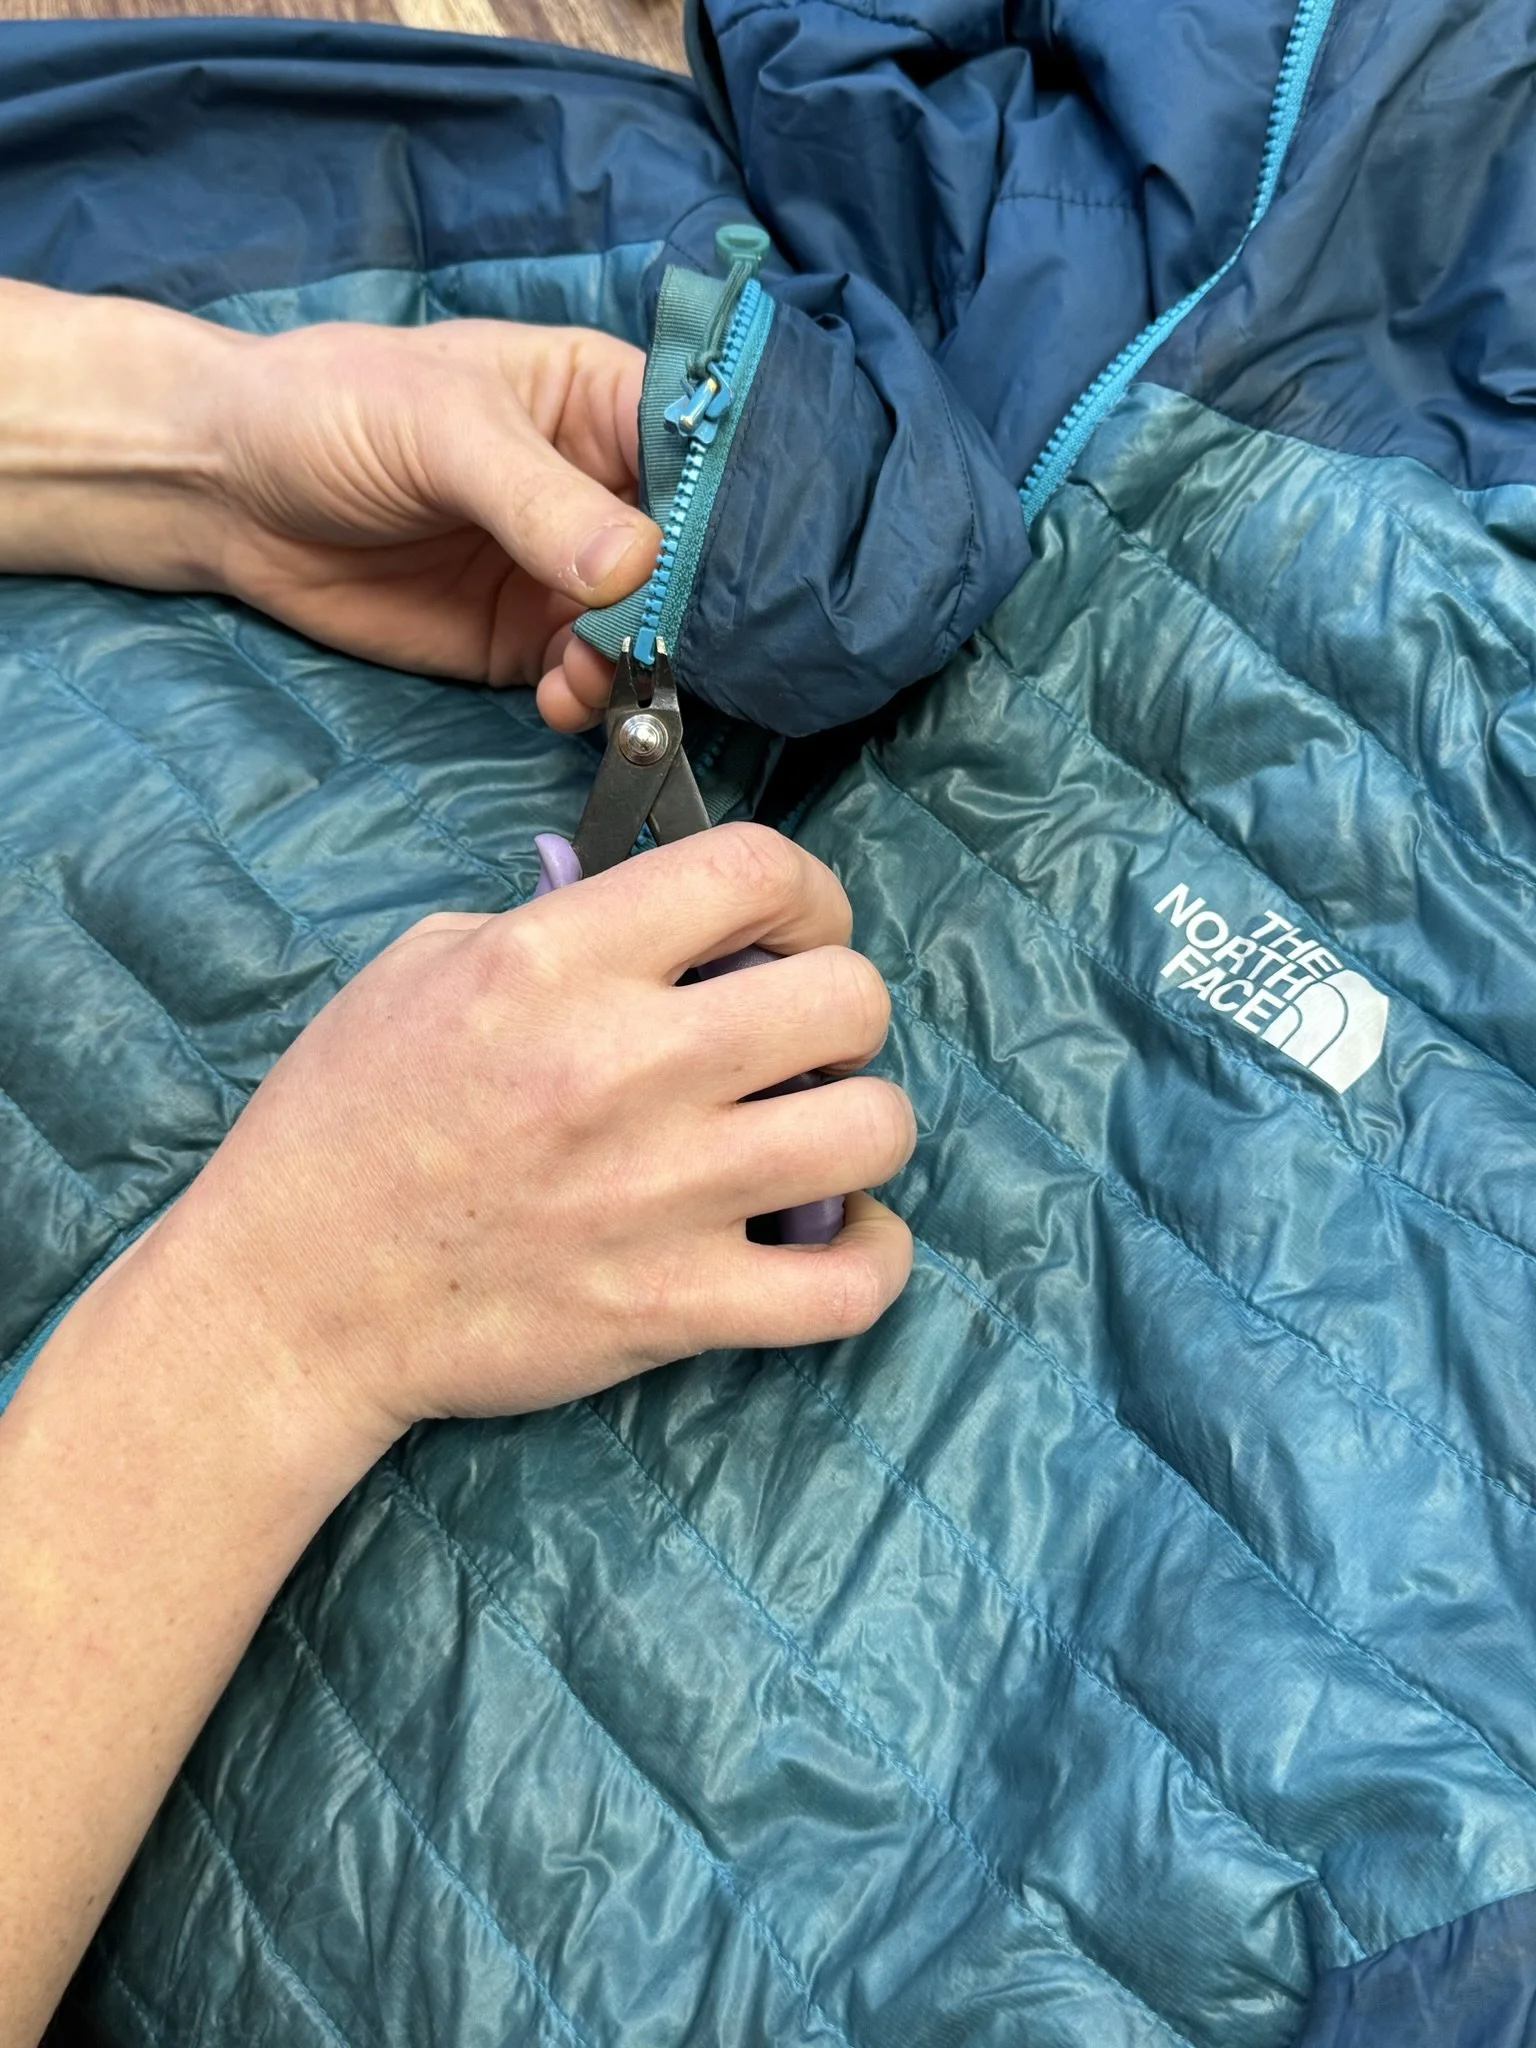
1. Remove the top stop
On an open-ended zip, you only need to remove the top stop on the side with the slider.
Using pliers, carefully open or remove the top stop. Depending on the type of stop, this may mean gently cracking it or slowly peeling it away.
Take care not to catch the teeth or coil with the pliers. The aim is to remove the top stop without damaging the zip.
Some coil zips have plastic top stops which are partly melted or fused into the zip tape. Be extra gentle when removing them as they can sometimes leave a hole in the zip tape if you’re not careful.
2. Remove the old slider
Once the top stop has been removed, carefully work the old slider off the zip. If the slider is moving freely, it should come away fairly easily. Don't force it along the zip.
If the slider is corroded or seized:
Use pliers to carefully squeeze or open the slider.
Work gradually rather than trying to force it along the zip.
If necessary, you can carefully crack the old slider to remove it.
When using pliers, concentrate the pressure on the slider itself and keep the zip teeth, coil and tape clear of the jaws.
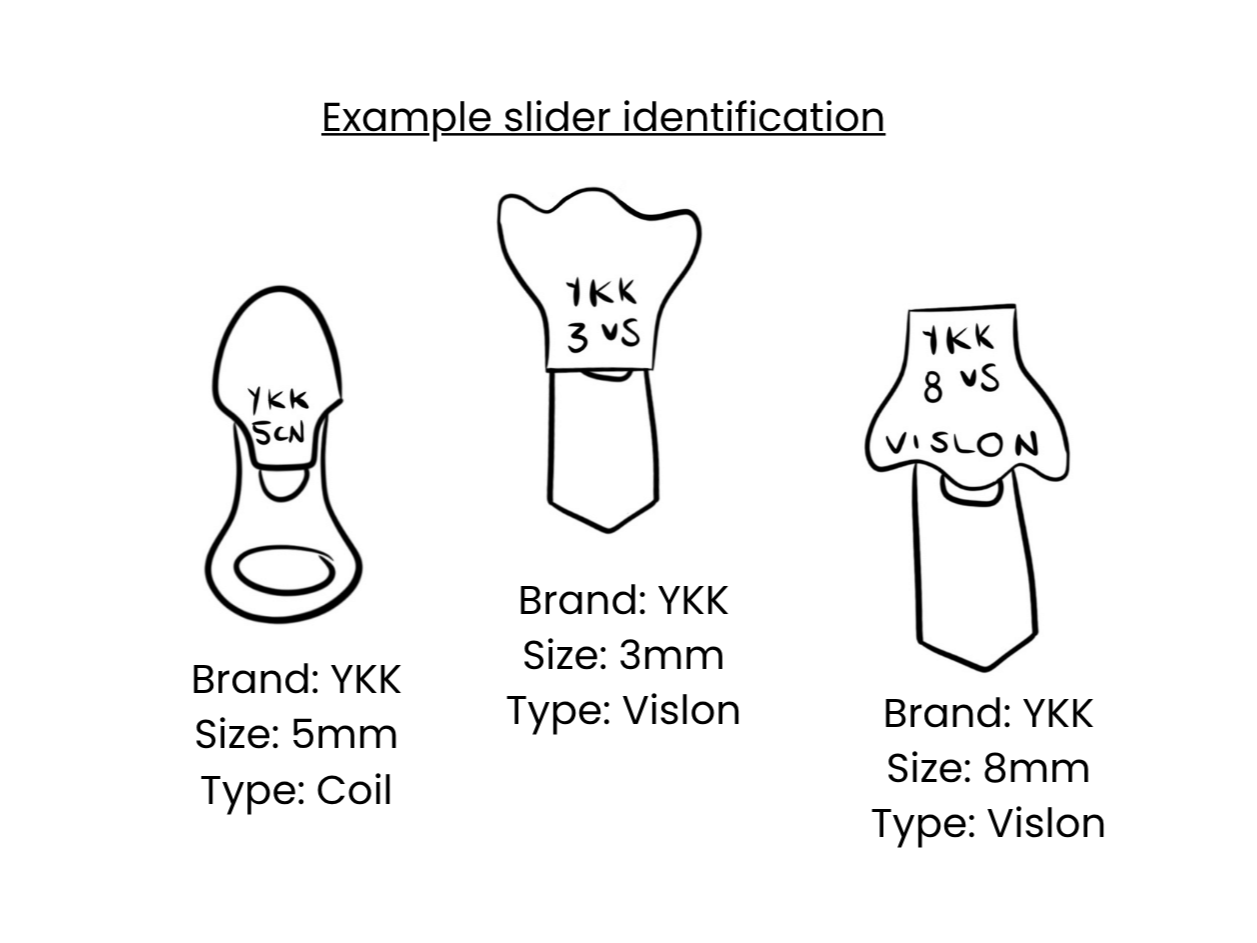
3. Identify the replacement slider
Choosing the correct replacement slider is one of the most important parts of the job.
Check:
Zip type – Coil (C or CN) or VISLON
Size
Brand – for example YKK or another manufacturer
Locking or non-locking slider
Slider orientation / type
If you still have the original slider, use it as a reference when choosing the replacement.
If the old slider has been lost, there can be an element of trial and error. Start with the most likely size and type, then test whether it fits and runs correctly. Our ‘Slider Explainer’ job sheet has more information on identifying different sliders.
4. Fit the new slider
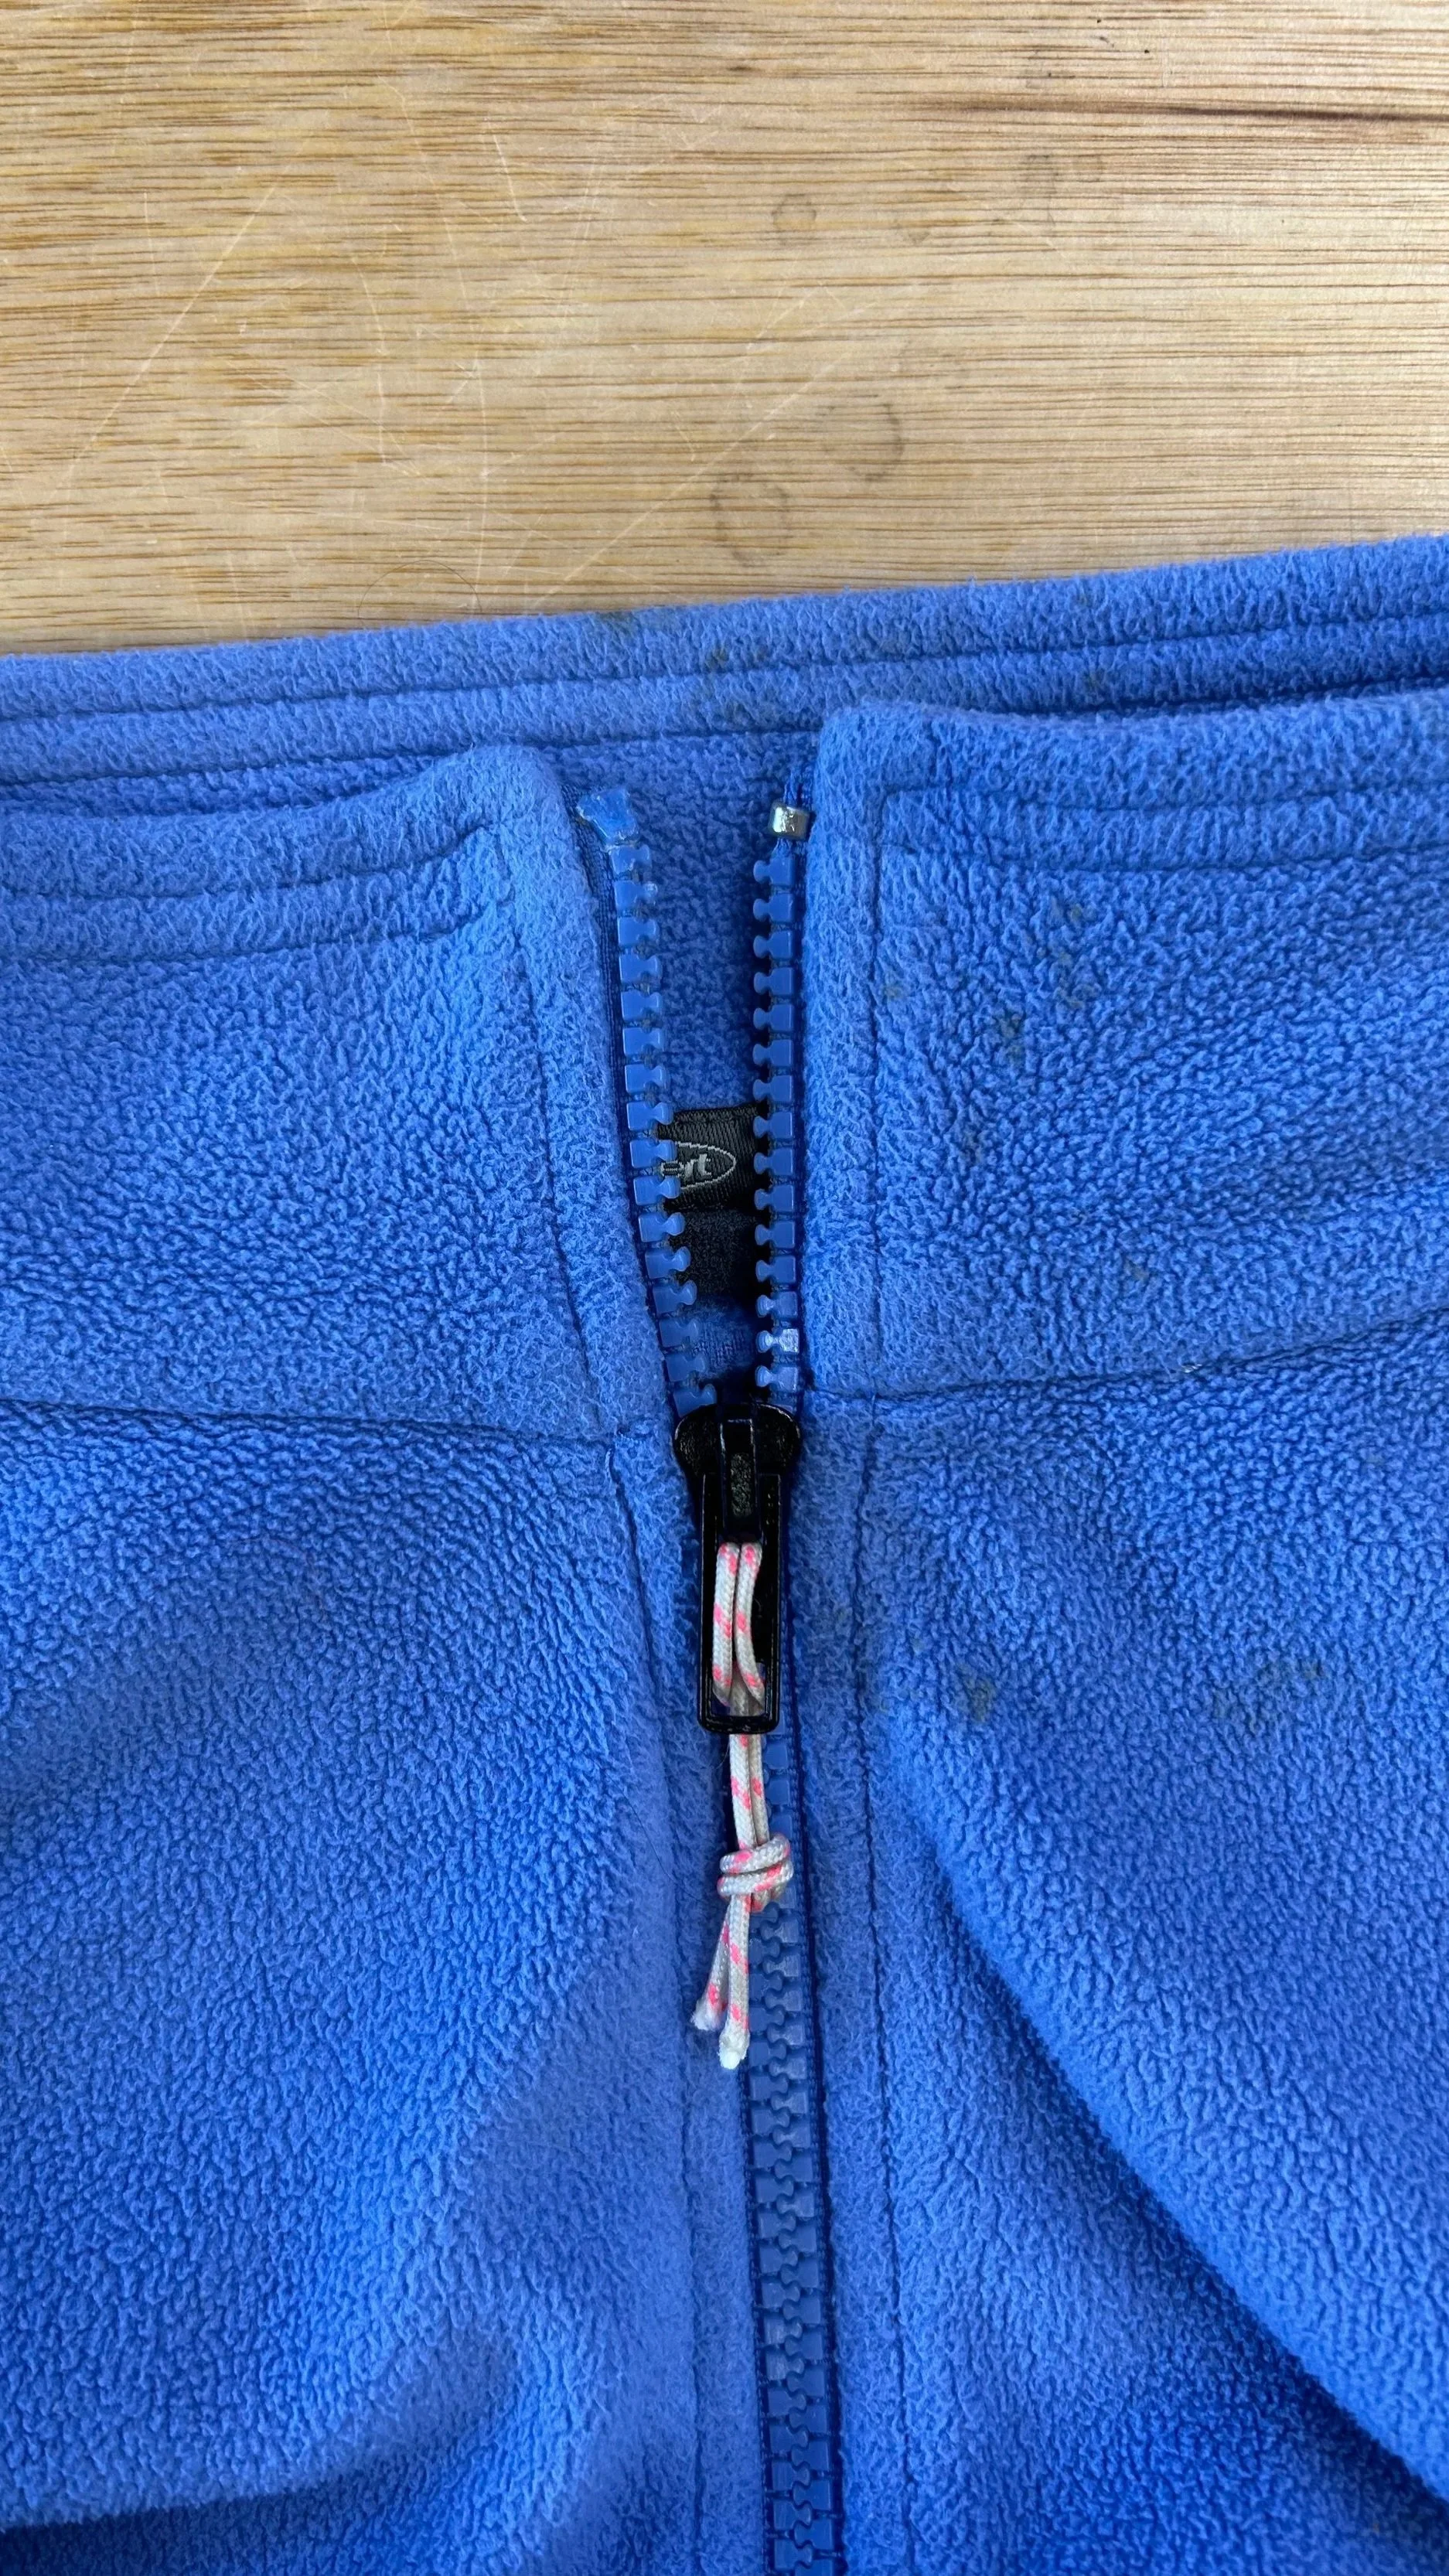
With the top stop removed, you should have a small ‘runway’ at the top of the zip where the new slider can be introduced.
Carefully feed the slider on to the zip.
Check that:
The slider is the correct size and type.
The slider is facing the correct way.
On a two-way zip, both sliders are fitted in the correct orientation.
The bottom box and pin are compatible with the slider.
If the slider doesn’t move smoothly along the zip it’s likely it's not the right one for the job, reassess which slider you are using.
There can be an element of trial and error when identifying an unknown slider — that's just part of the fun!
5. Test the slider
Run the slider up and down several times.
Check that the zip closes correctly.
Check that the slider moves smoothly without catching.
Check that the teeth or coil are engaging properly behind the slider.
If the zip is two-way, check both sliders individually.
Make sure to add a zip pull (reusing the old one if possible), this helps the slider live longer by evening out the pulling pressure.
6. Replace the top stop
Once you're happy that the new slider works correctly, replace the top stop on the side you removed it from.
Position the top stop correctly at the end of the zip and use flat-headed pliers to squeeze it securely into place.
Take care when applying pressure:
Avoid pinching the fabric with the top stop.
Keep the pliers away from the teeth or coil.
Don't squeeze directly onto the teeth or coil.
Check the top stop
Once fitted:
Check that it is secure. (Use your fingernail to gently try to move it. If it shifts, give it a little more pressure with the pliers).
Check that it is correctly positioned.
Run the slider towards the stop and make sure it stops securely.
7. Do a final check
Give the whole zip one final inspection before putting the kettle on and having a celebratory cuppa -you’ve earnt it!
Enjoyed this blog? Fancy yourself a repair DIY master? We regularly run repair clubs and classes from our workshop. With full access to our tools and materials. Click below to find out more