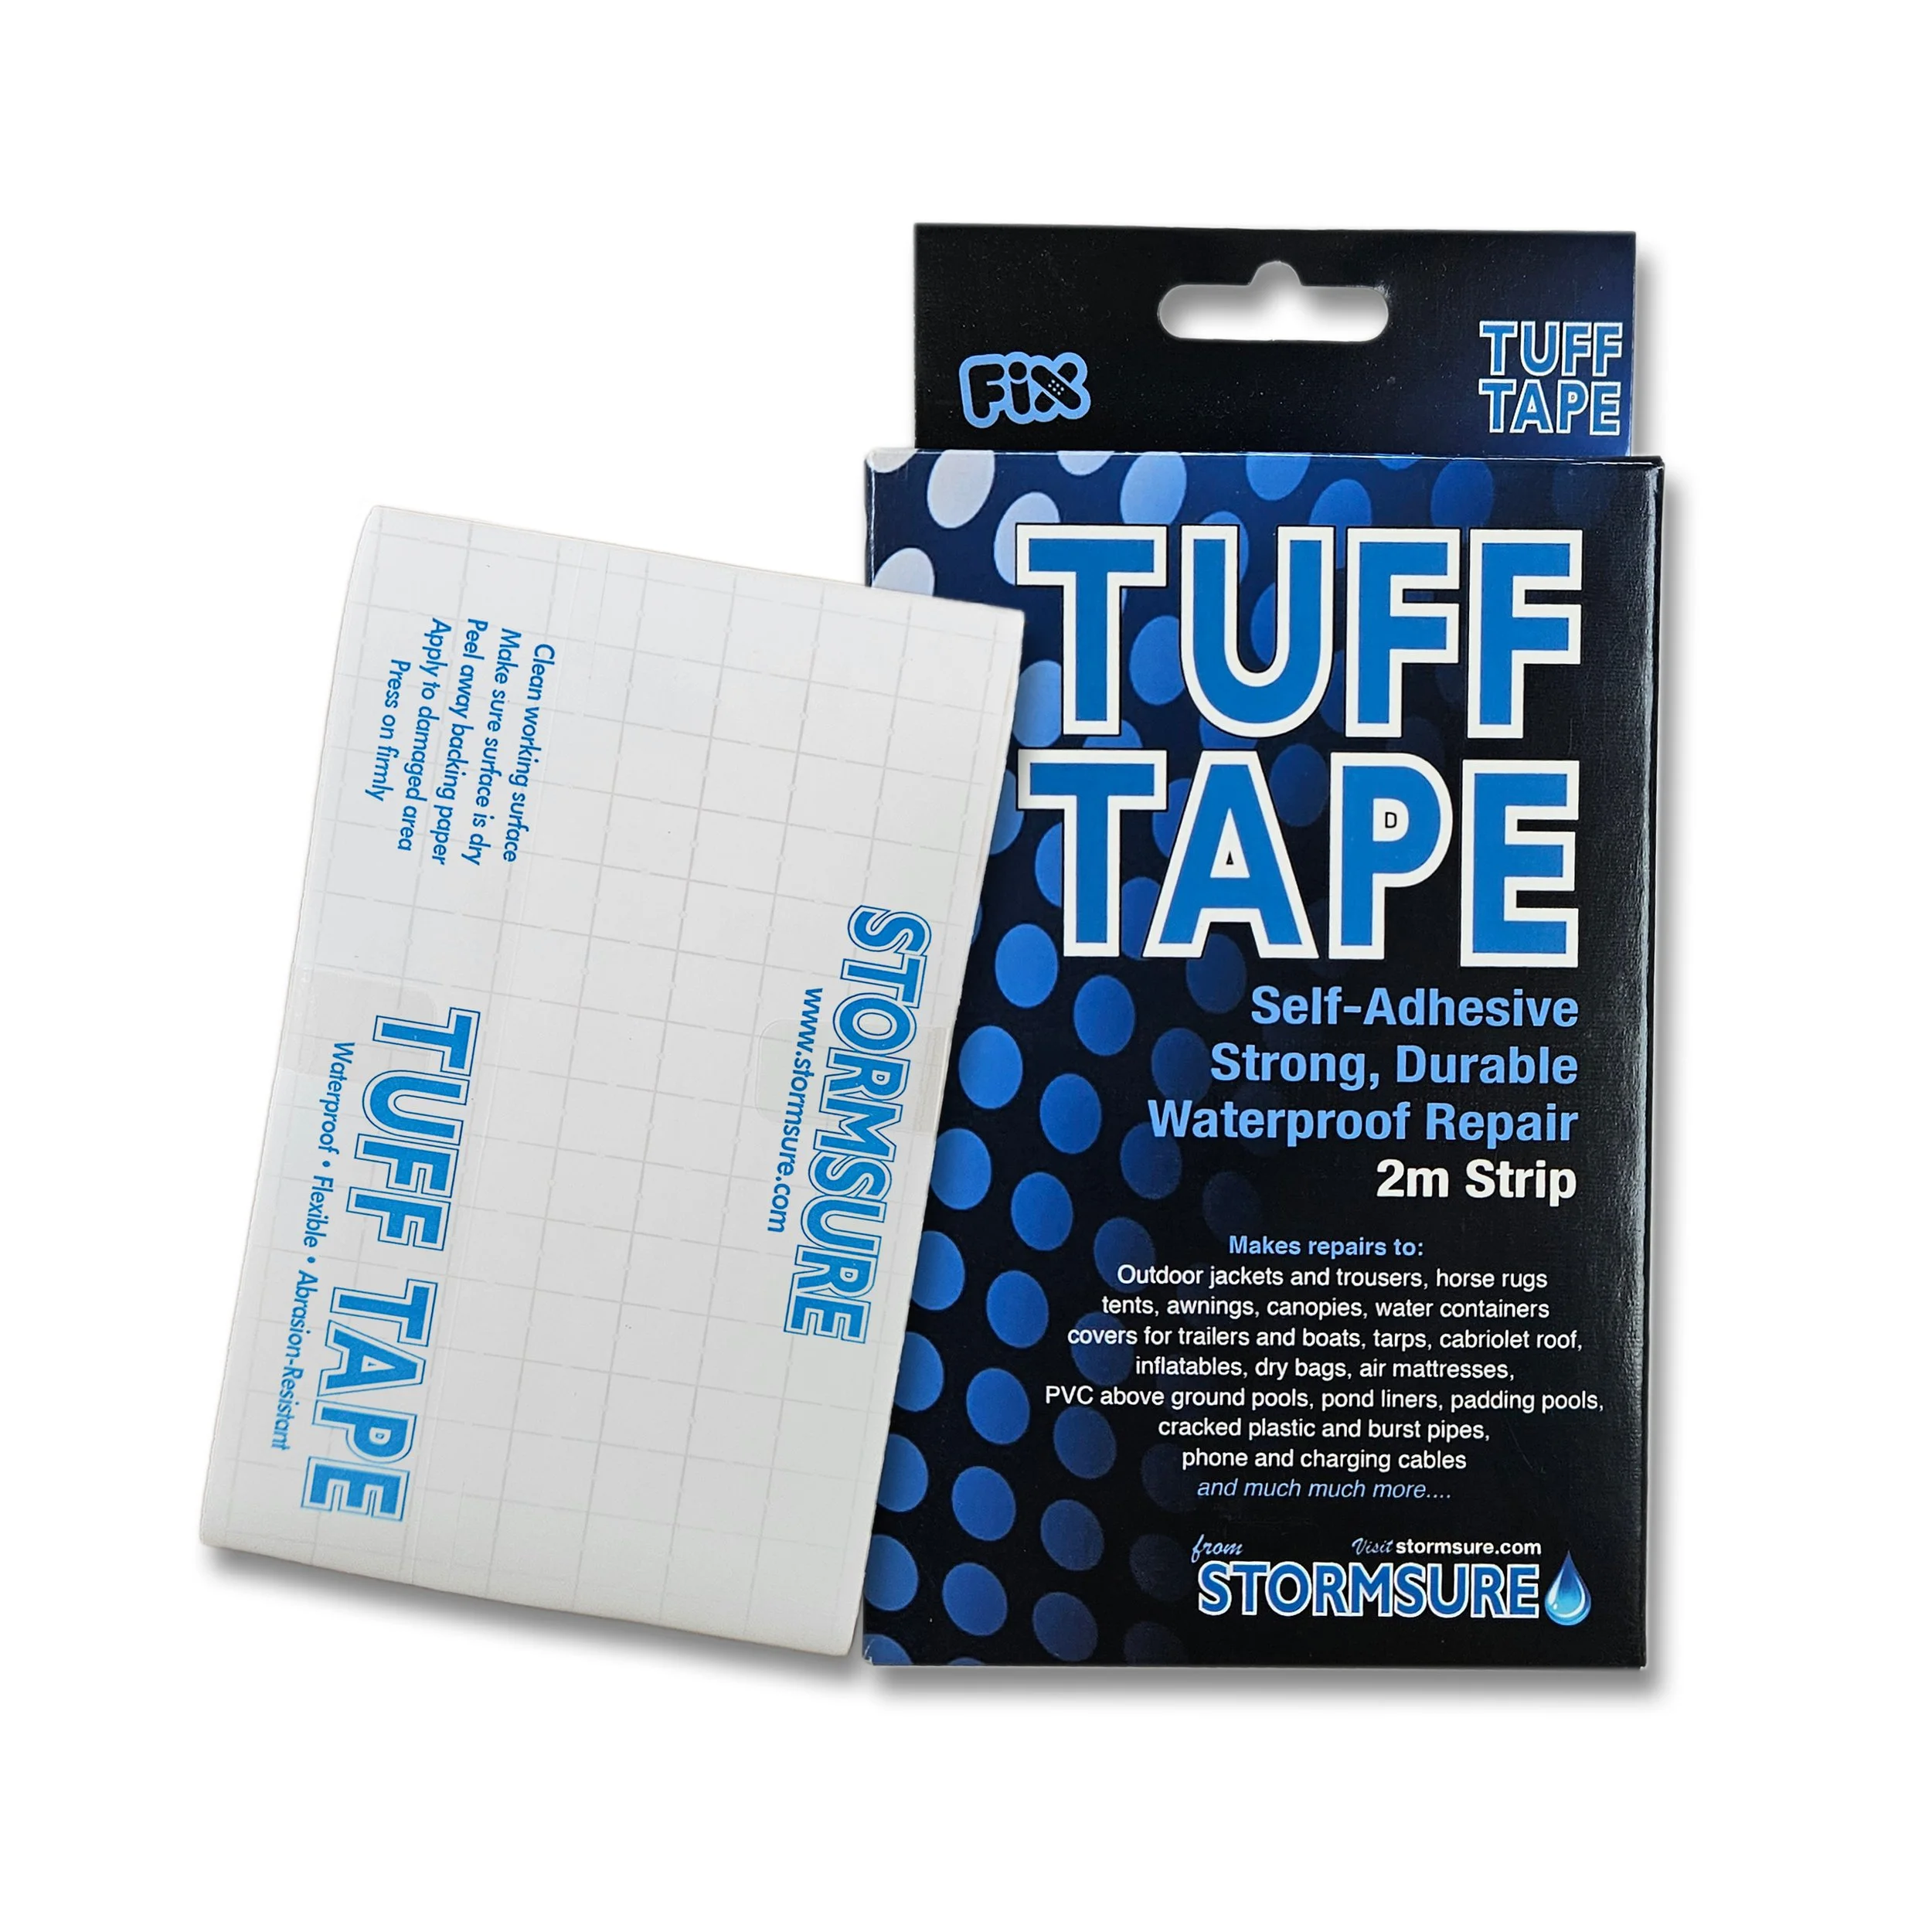
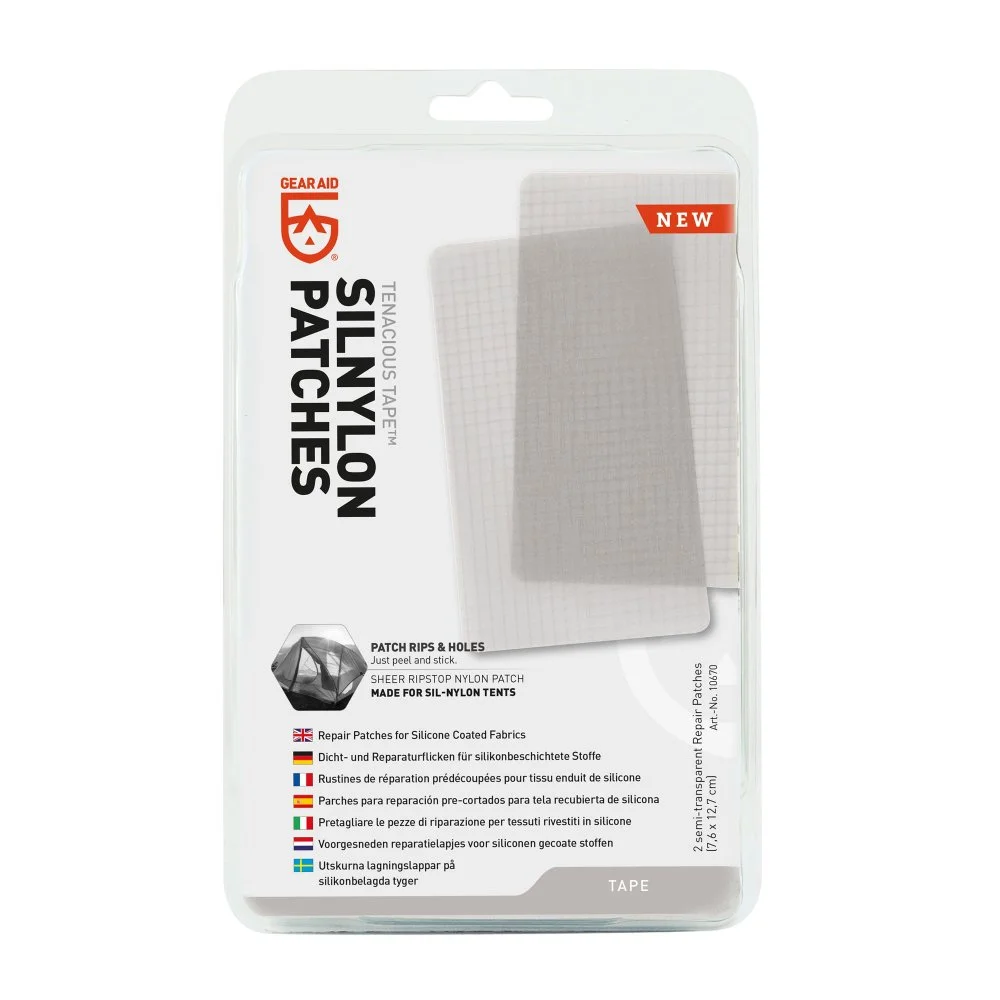
How To Apply a Double Sided Repair Tape Patch
Welcome to our guide for repair tape patches.
Heat patching can be a great way to keep good gear out on adventures big and small - whether out sailing, hiking in the Welsh mountains, trekking in polar regions, or dog walking in the village. A double-sided heat patch is useful when you need to repair a hole or rip where fabric is missing.
Read on for our easy guide on how to apply them:
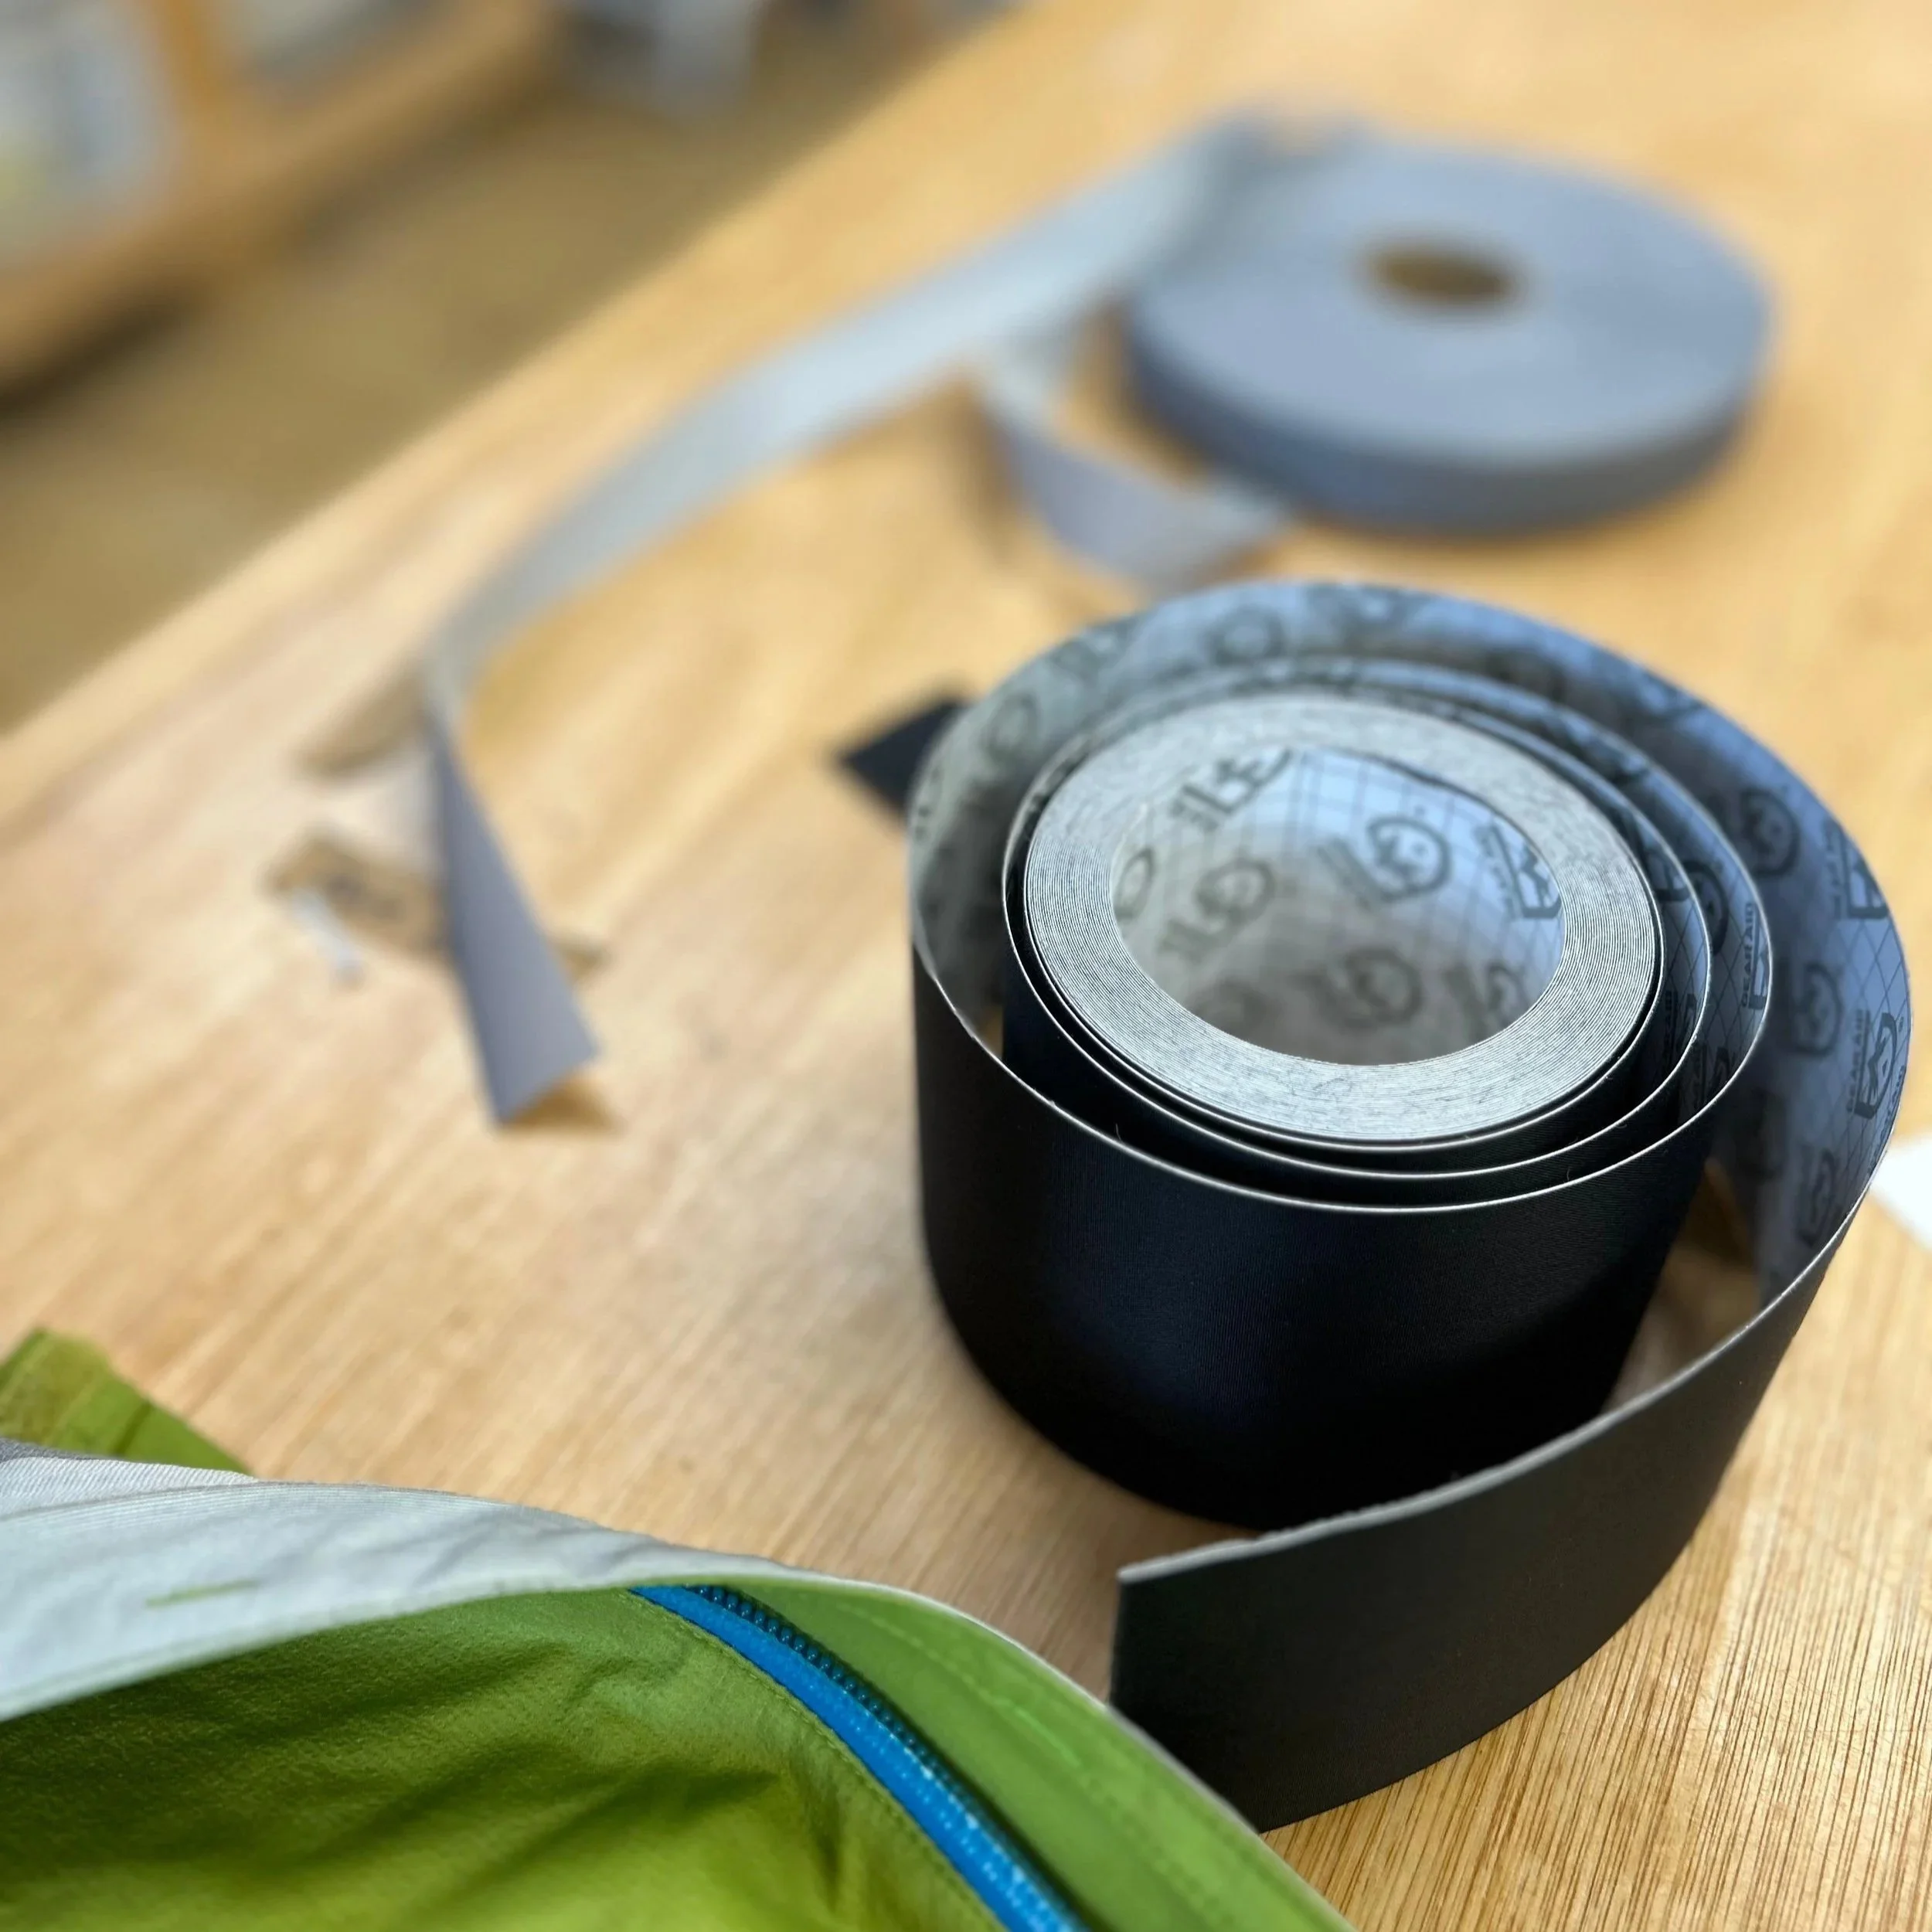
What you’ll need
Suitable repair tape
Scissors
Optional
Domestic iron or travel/mini iron
Non-textured tea towel or baking paper
Flat, heat-resistant ironing surface
Before you start
Choose a tape suitable for the garment:
Insulated/softshell garments: Tenacious Tape or Tuff Tape can be used for the inner and outer patches, depending on the garment and product instructions.
Waterproof garments: use an appropriate grey seam tape on the inside and a suitable heat patch such as Tenacious Tape or Tuff Tape on the outside.
See our guide to find the right tape. If you are still unsure we recommend doing a test patch somewhere subtle, or feel free to contact us for advice!
Tip: Always patch the inside of a garment first, then move onto the outer patch.
Applying the inside patch
For insulated or softshell garments
Cut the patch so it extends approximately 1.5 cm beyond the damaged area on all sides.
Round all the edges of your patch, this makes it less likely to catch and peel up.
Peel the paper off the back, and smooth patch to the inside of the garment, with the sticky side down.
If your garment is lined, you may need to push the patch into place from the outside, making sure sticky side is facing out.
Tip: use tweezers to help position the patch if the tear or hole is too small for your fingers work with.
For waterproof garments
Cut triple layer seam tape to the right size to cover the rip/hole - it is often easier to do it in multiple strips. Round the edges, this makes it less likely to catch and peel up.
Position the tape over the damaged area.
Then follow instructions for heat below.
Applying the outer patch
Turn the garment right side out.
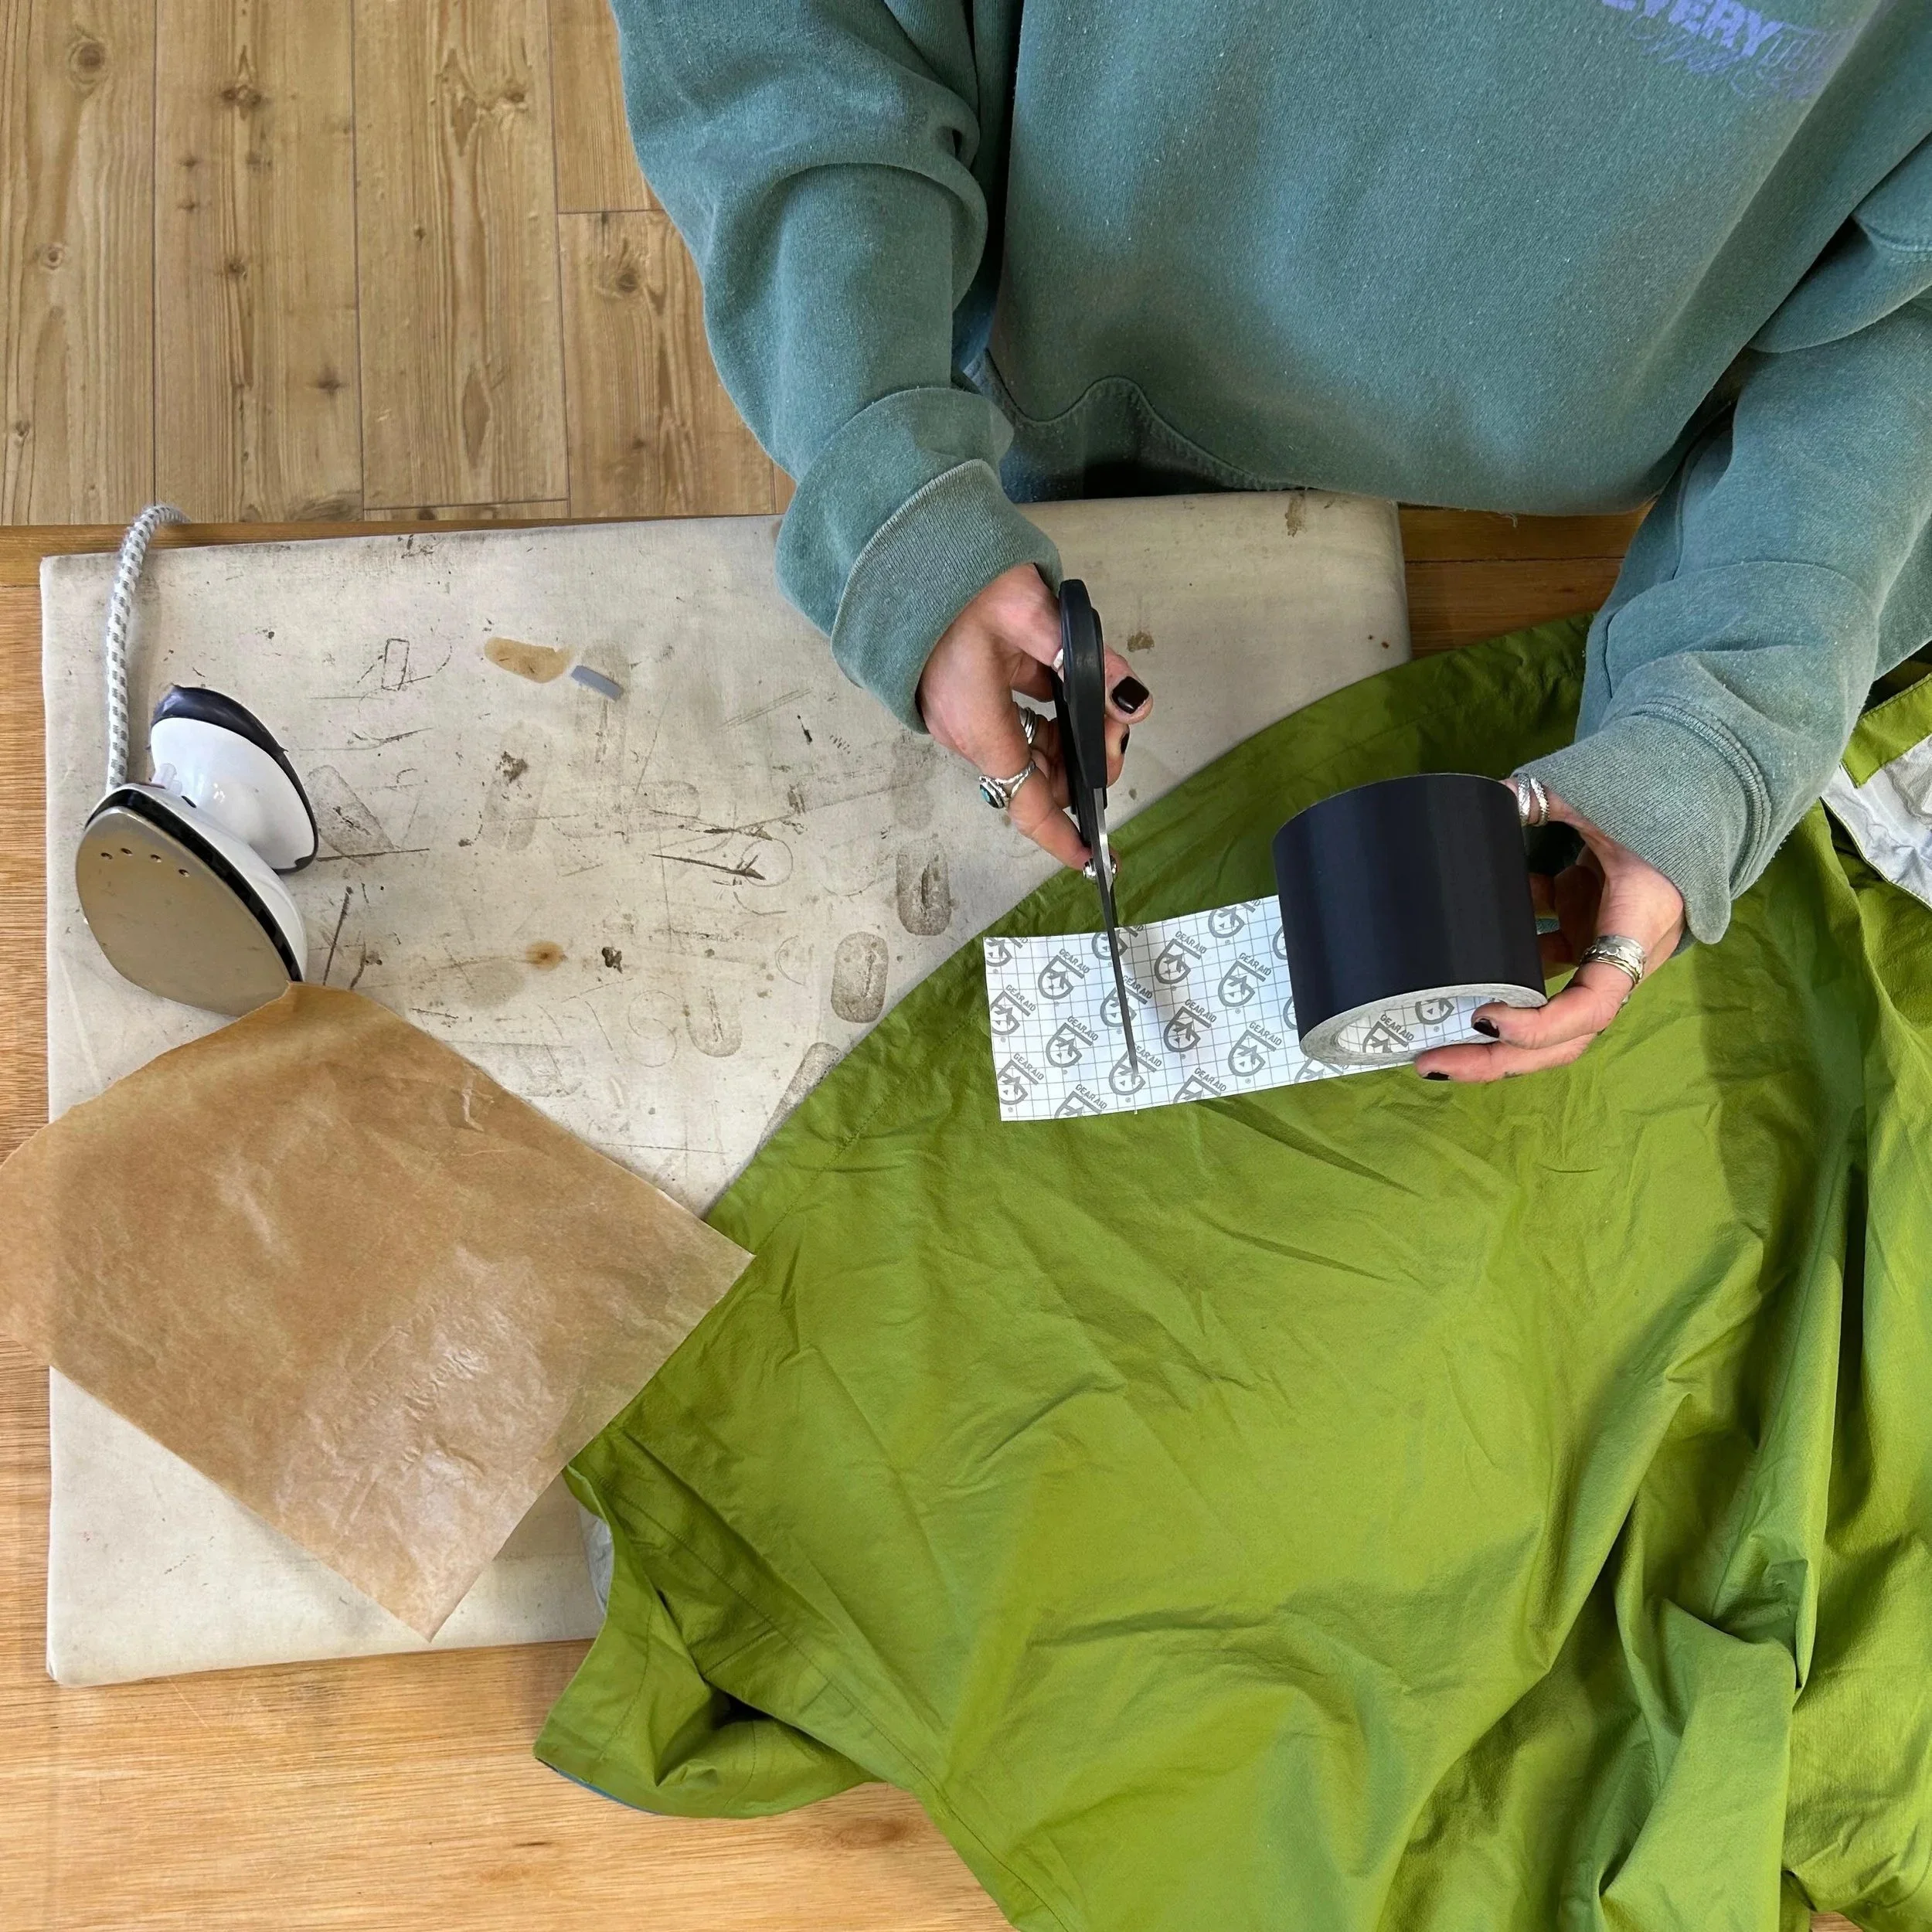
Cut tape to size & round all corners.
The outer patch should ideally be slightly larger than the inner patch (our rule of thumb is 1cm larger) so that the area maintains flexibility.
Smooth any wrinkles or warping in the fabric.
Peel off the backing and position the patch carefully over the repair, smoothing from the center outward.
Using heat
Heat softens and melts the adhesive, bringing it flush with the fabric and creating a strong bond. Though repair tape works perfectly well without it, heat makes your tape patch last longer. Steps below:
Place a non-textured tea towel or baking paper between the iron and the patch.
Set your iron to the lowest temperature setting.
Before applying heat, make sure to avoid any metal hardware including zips, eyelets and poppers with heat treatment as they can heat up and burn through fabric. For complicated areas such as hoods, cuffs or curved sections, a rolled-up towel can help support the fabric while applying the patch.
Start with a short application of heat — approximately 2–3 seconds — and check that the fabric is not being damaged.
Continue applying heat in short intervals of no more than 3 seconds at a time, checking the patch between applications.
The adhesive should become shiny around the edges when it has activated properly.
If you can’t yet see the shiny border of glue, continue with short applications of heat, make sure not to leave the iron in one place for a long period.
Finishing the repair
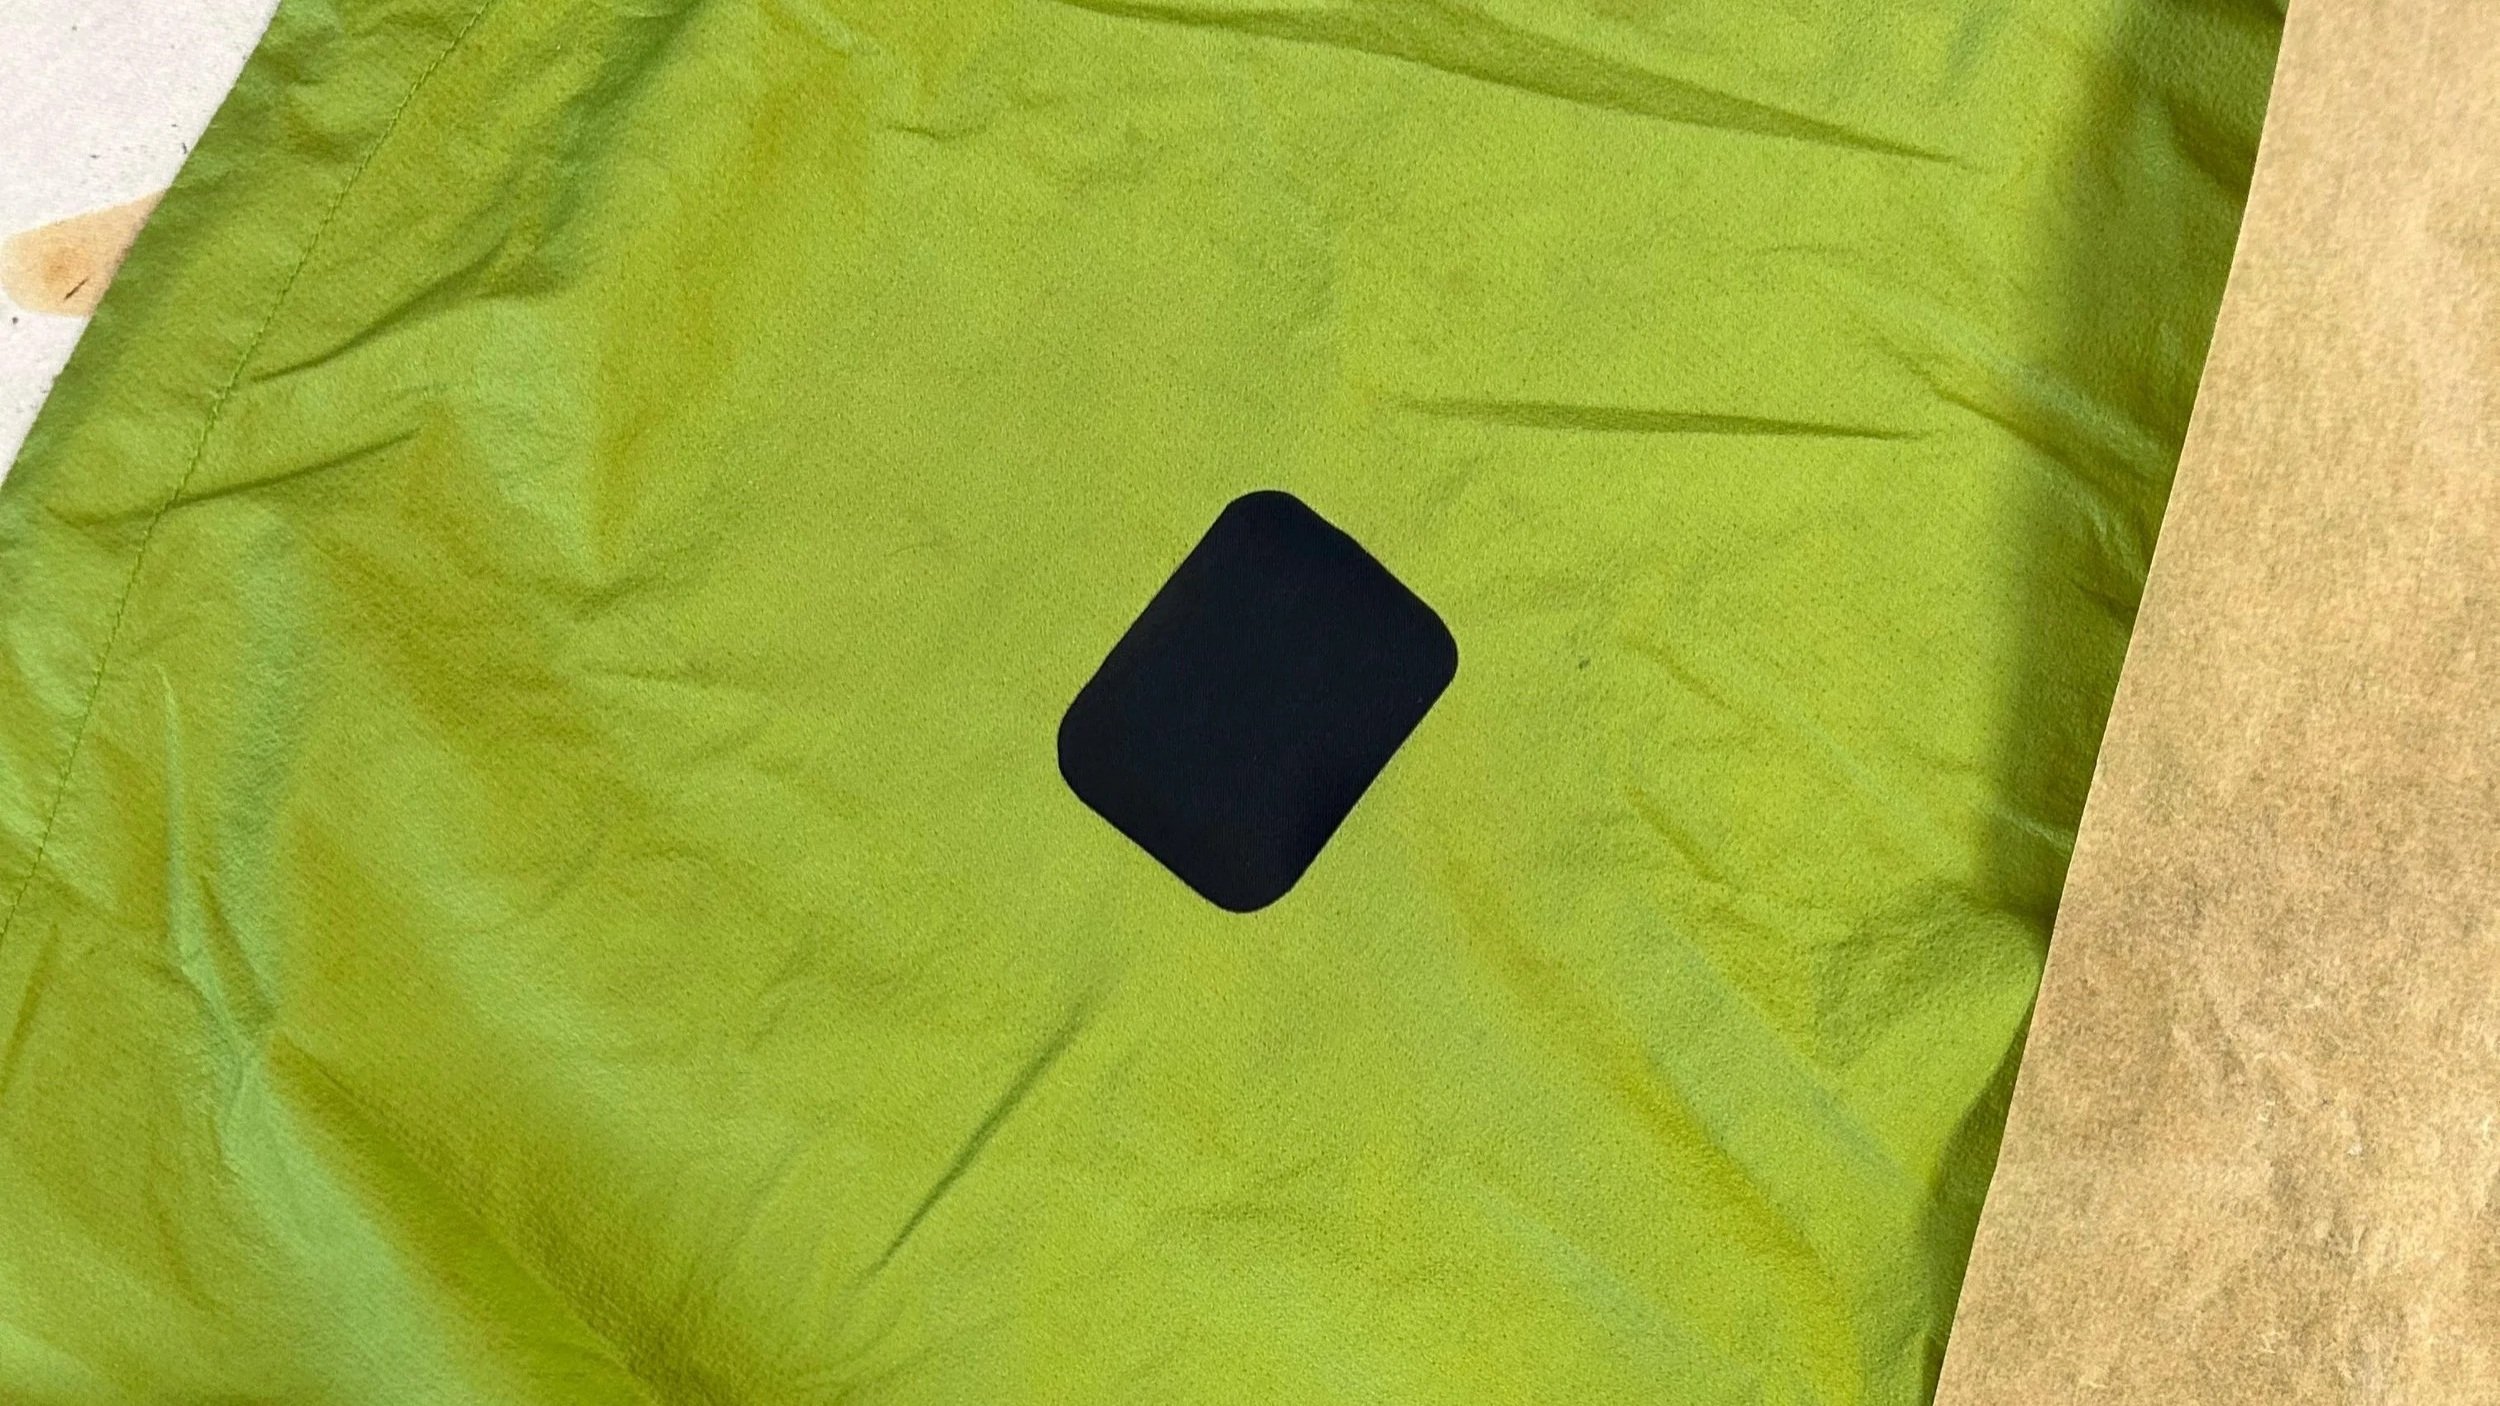
Check that the patch is firmly bonded by running a fingernail along the edges to make sure you can’t peel it up easily.
If necessary, carefully smooth wrinkles in the patch while the area is still warm - we use a face roller.
Leave the garment flat and allow it to cool completely before folding or packing it away
Note
Domestic irons are much less accurately calibrated than professional heat presses. If you are unsure about the correct temperature or the suitability of the tape please don’t hesitate to get in touch for advice. We are also able to do Heat Patches in our workshop using a heat press.
Curious about heat and glue? Explore our heat & glue master class, held at our workshop in Y Felinheli.